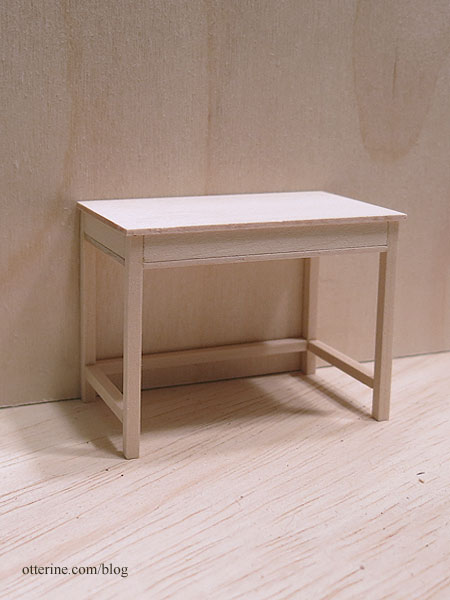
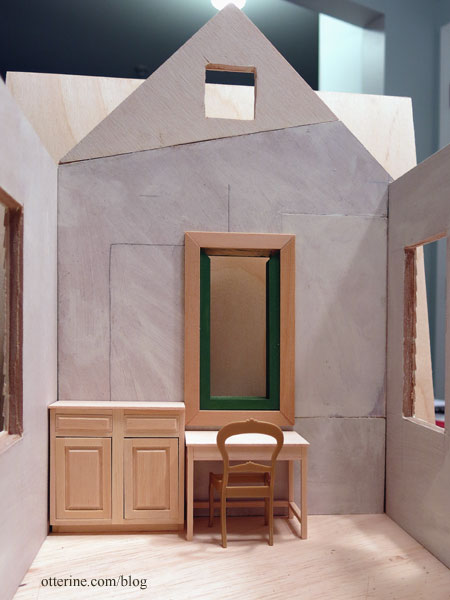
The desk is adapted from a table pattern in the book Finishing Touches by Jane Harrop. Clean, simple design with a false drawer to save time (knobs to come after finishing).
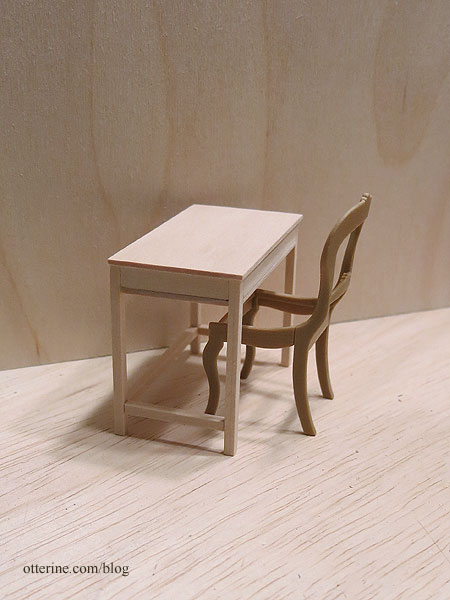
Barbara sent me some Chrysnbon kits for seating options, and I’m choosing the Victorian chair for the postmaster’s desk. It’s fancy, but I plan to age it a little to look like a hand-me-down.
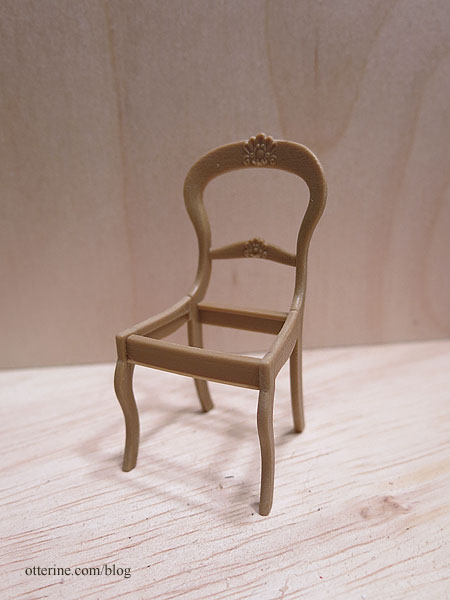
These kits are more delicate in style and often smaller in stature than other 1:12 scale chairs, which works well for the small interior.
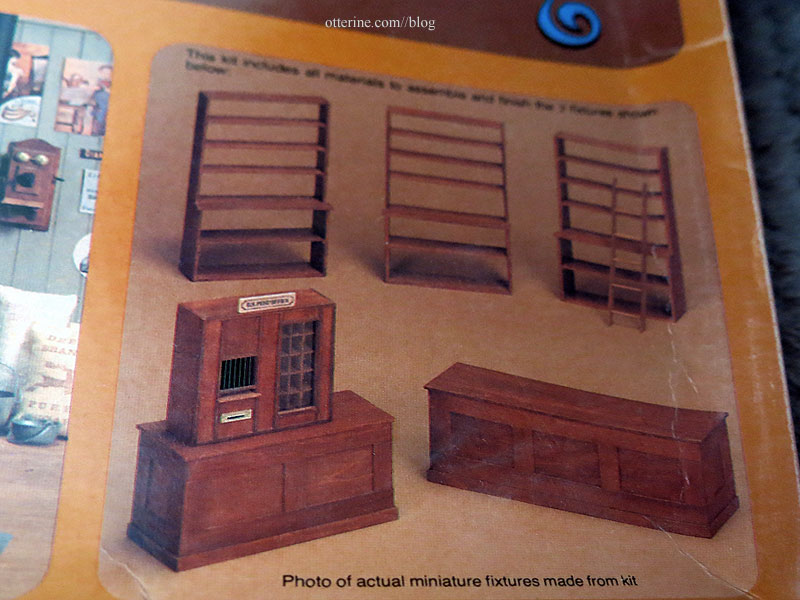
The boards of the shelving units in the Realife Country Store fixtures kit weren’t salvageable due to warping – not even as wood scraps, but they would have required modification to fit the space anyway. Easier to just work from scratch.
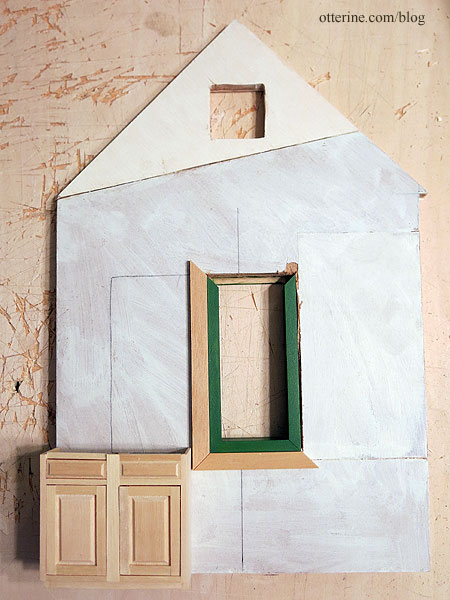
After deciding I needed another window on the already finished back wall, I cut an opening without damaging the siding. Whew. But, I measured the back wall window opening incorrectly…it’s off-center. Oy. Guess what, my brain was apparently ahead of me since it knew I needed three inches of space on the left. Had the window been centered, my idea of adapting a 3″ Houseworks kitchen cabinet kit wouldn’t have worked. Double whew! :D
I cut the depth down considerably and altered the construction a bit since this was originally a sink/stove cabinet with false drawer fronts. I used surplus parts from an identical kit I had scavenged before and cut some new pieces as needed.
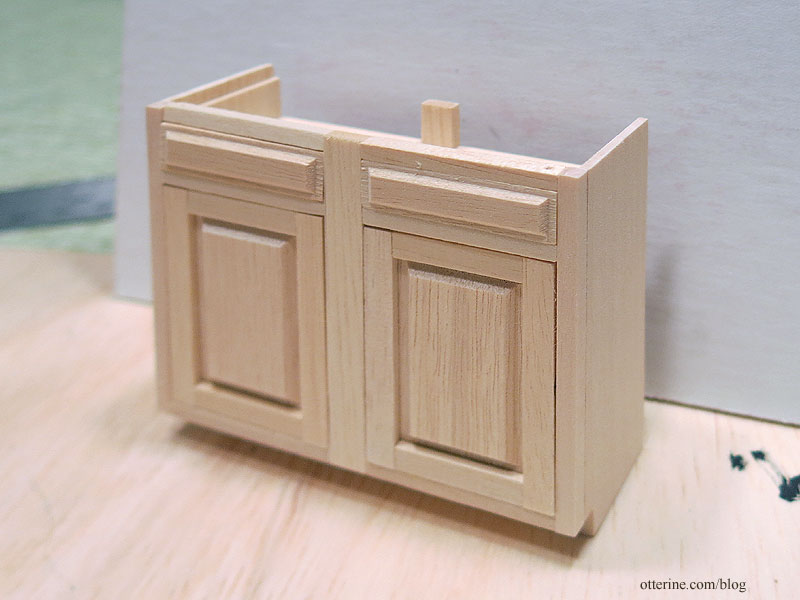
These are great kits, but I usually buy the partially assembled versions if I plan to use them without modification.

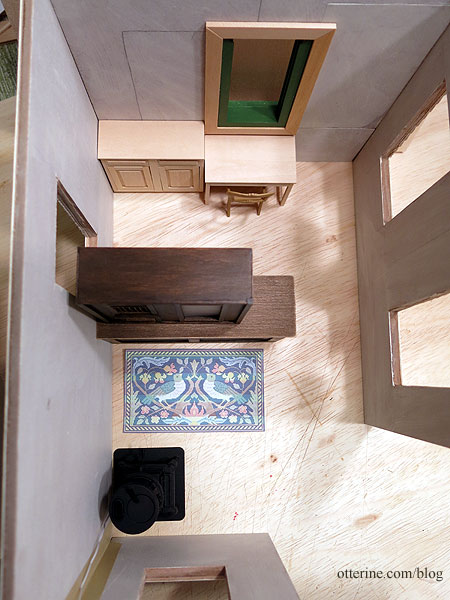
The cabinet fills the bottom space, adding storage, but I don’t have to actually fill said space with minis that won’t be seen (nor will I have to dust this space).
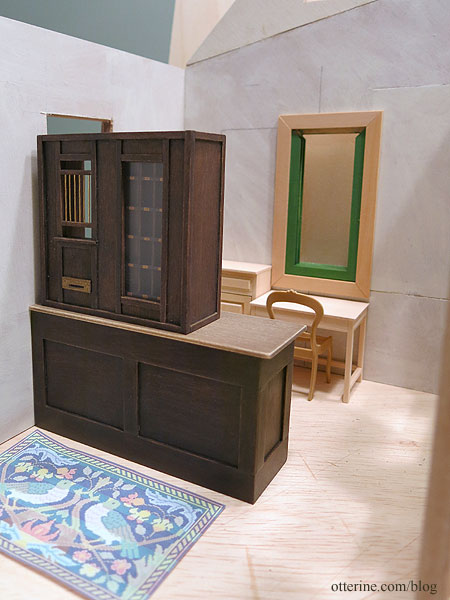
More is planned for the space to the right, of course. :]
These pieces all fit well, but that window placement next to the postal teller is going to bug me. :\ When I flipped the house structure and furniture arrangement, I neglected to reconsider the window placement. This is when my penchant for leaving a house in dry fit until the end works in my favor. This is a relatively simple fix…cut a new rectangular wall, add siding and paint. It’s a task that I can do in the background while moving forward and using the existing wall for planning, etc. Plus, I will keep the old wall for whatever may come up.