
The first order of business is building up the foundation. I had to raise the base because the horse is so tall, and the building looked out of proportion with the horse standing in front. I will build up the landscaping in the ends so the height of the foundation is not quite so obvious.
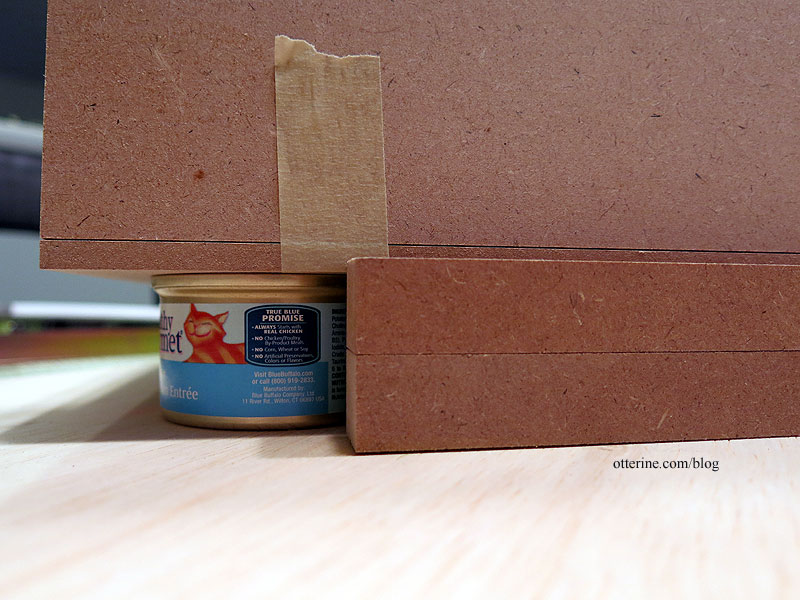
The cat food cans are 1 15/32″ tall. I had some square lengths of mdf from a former Creatin’ Contest kit foundation that measure 1 17/32″ tall when double stacked. I don’t think I can get closer than that.
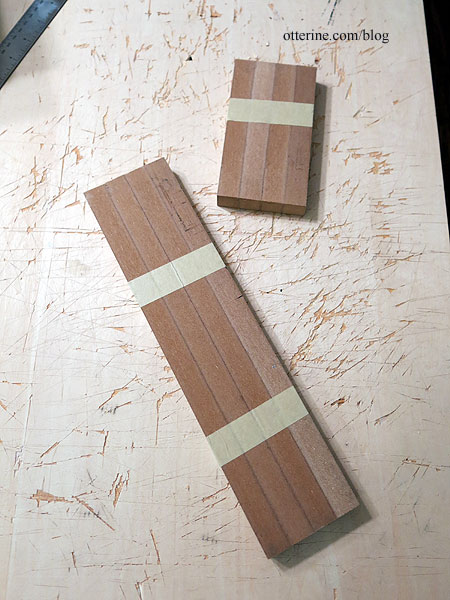
I taped four lengths together to cut at the same time. While the scroll saw is not the best tool for the job, it gives a reasonably straight cut with some patience. There will be a final finish on these, so close is good enough.
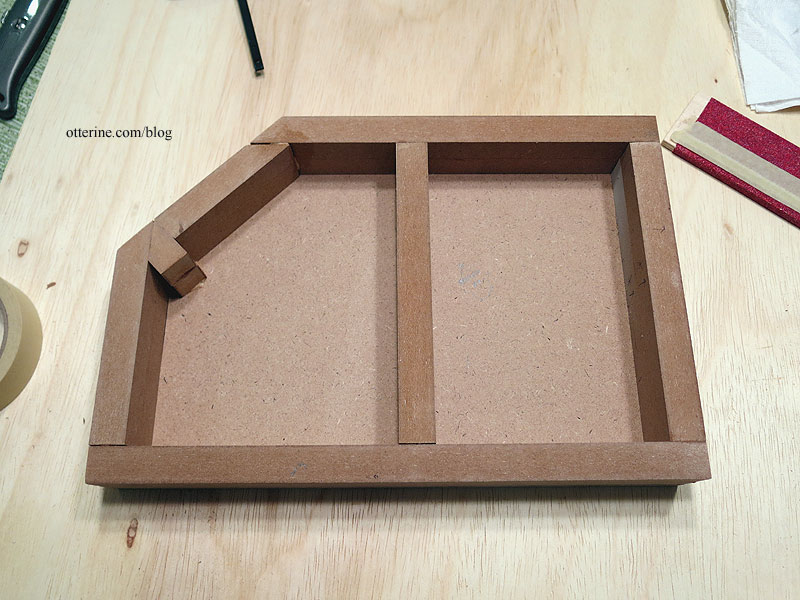
I glued two lengths together…
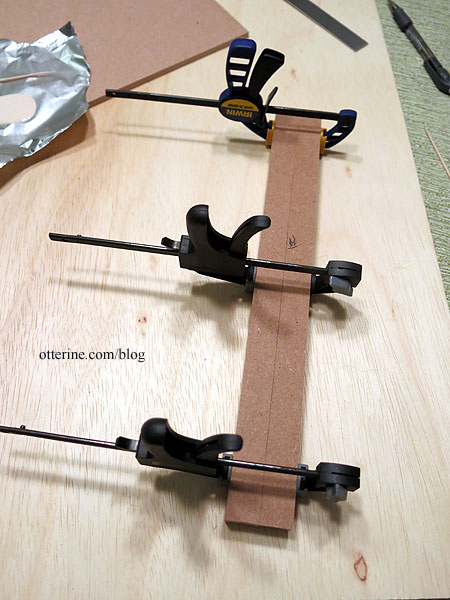
…and then to the floor board.
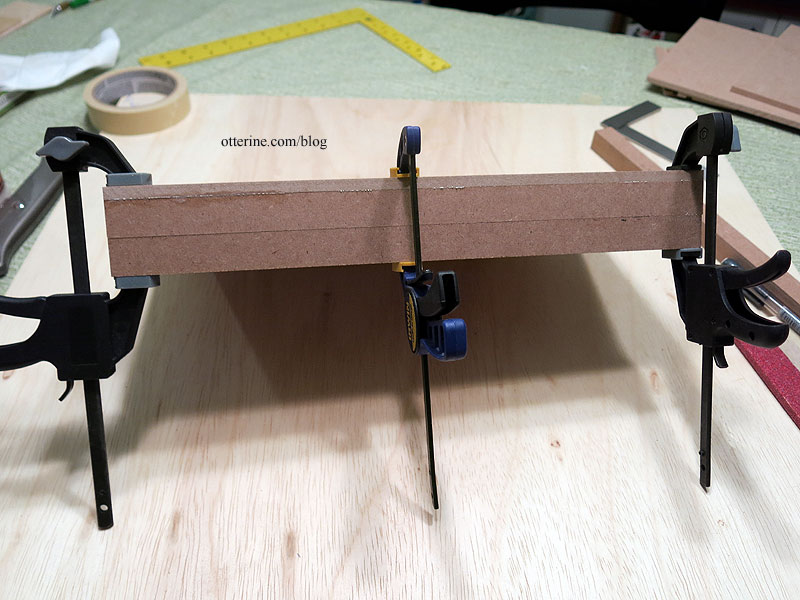
I continued with the rest of the cuts to fit the altered floor board. Since the scraps from the angle cuts fit reasonably well, I decided to use them as is instead of cutting “full” lengths for the space. This portion will be covered by the front step anyway. I also added an inner set of supports for stability.
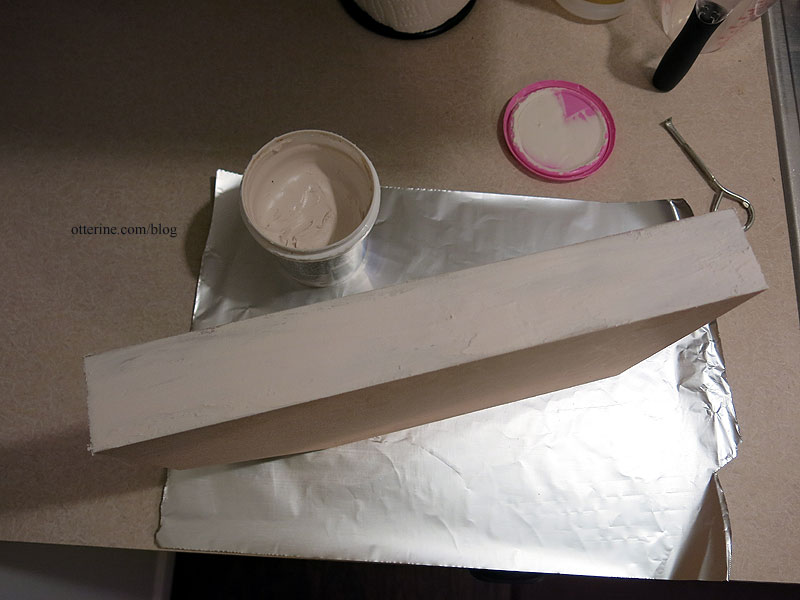
After looking up the history of concrete to make sure it would be appropriate for 1917, I coated the edges with spackling. I put it on thick so I can work with it after it dries.
I sanded the foundation just enough to remove the roughness and excess spackling from the base.
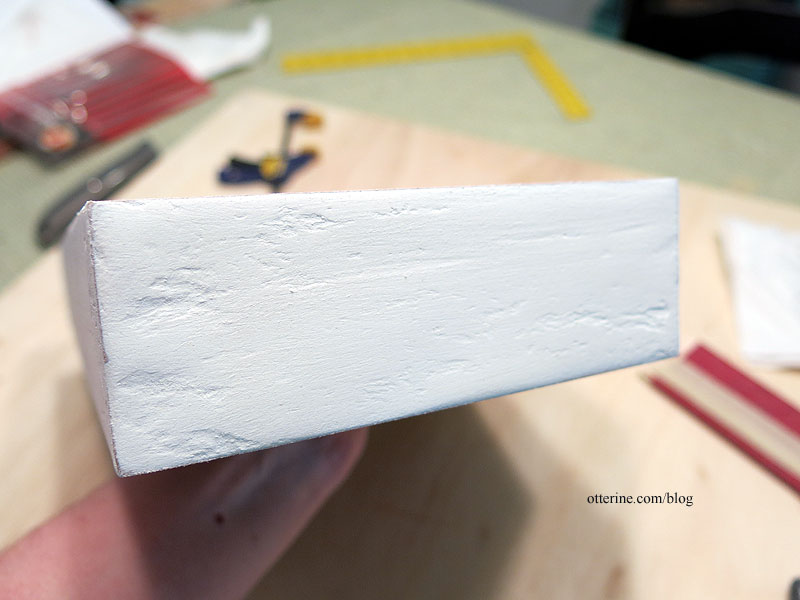
After wiping it down with a damp cloth, I patted on some matte gel medium. This added texture that was more in scale than the original spackling roughness.
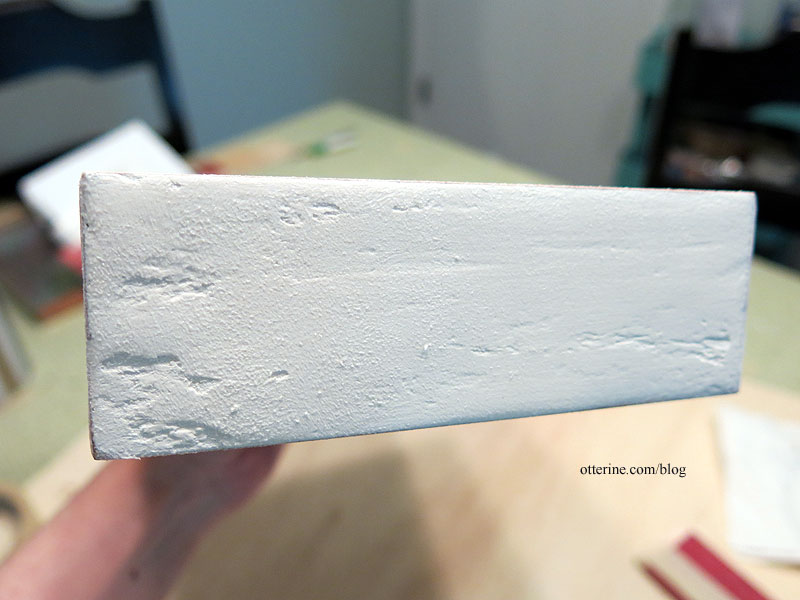
I then painted a base coat of neutral grey. After some washes, the finish is now varied and has more depth. I sprayed the base with Testors Frosted Glass spray to move the acrylic paint sheen. I’ll add dust and dirt during the landscaping phase.
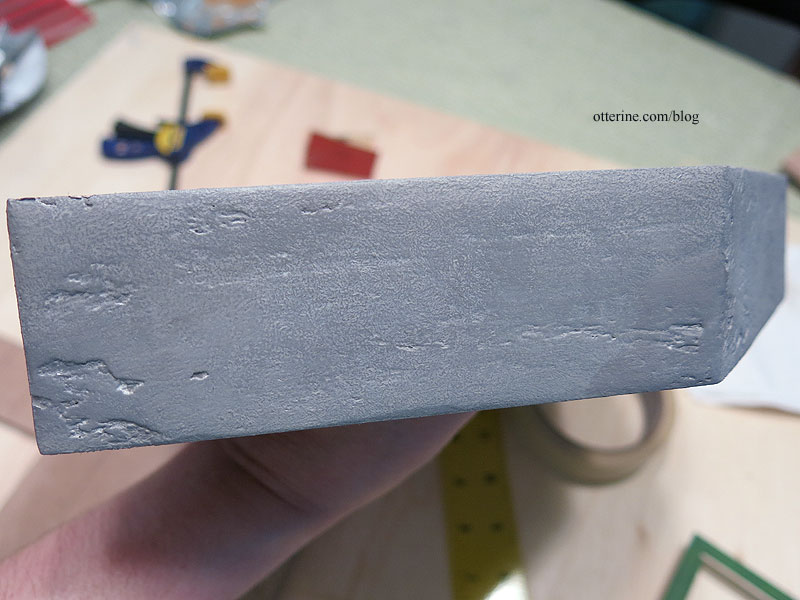
Now it will sit until I put the building on it.


