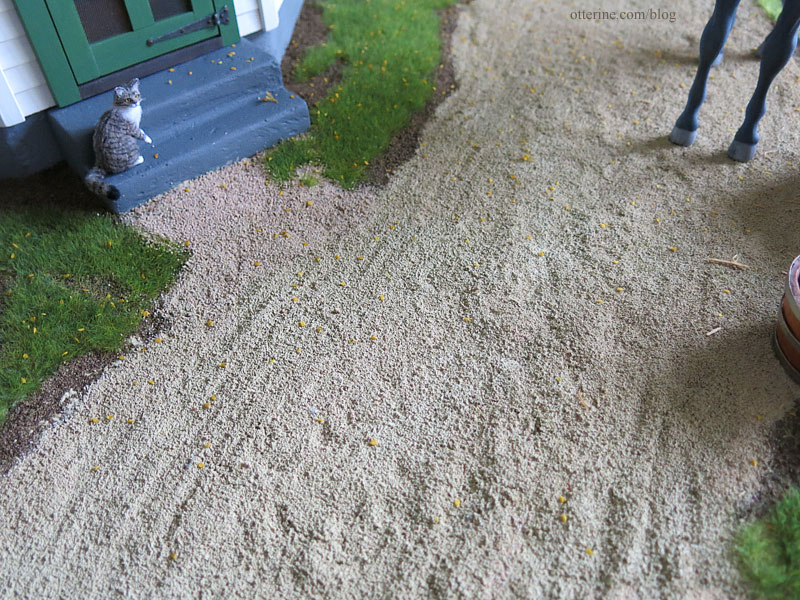
Completing the landscaping. I used Woodland Scenics Fine Dark Brown Ballast to serve as dirt and Fine Ballast Buff as the gravel. I ran the wagon wheels and patted Jebediah’s hooves on the loose gravel before setting it in place with Woodland Scenics Scenic Cement applied with a pipette (thank you, Debora – these pipettes are still among my favorite tools). The buff color is too red for my taste, so I applied tan paint washes over it to change the hue. (I have a post on working with these materials here, though now I usually skip the glued on layer and just use the Scenic Cement.)
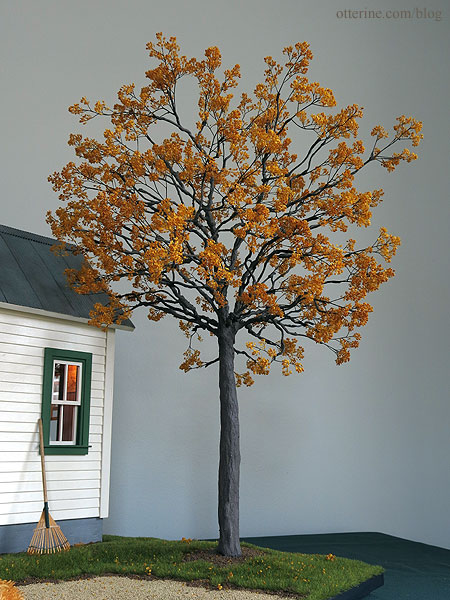
I made an autumn tree this year using the same wire and putty technique I’ve used in the past for the trunk. Having a sparse tree meant it took less time to create, which helped with my tight deadline.
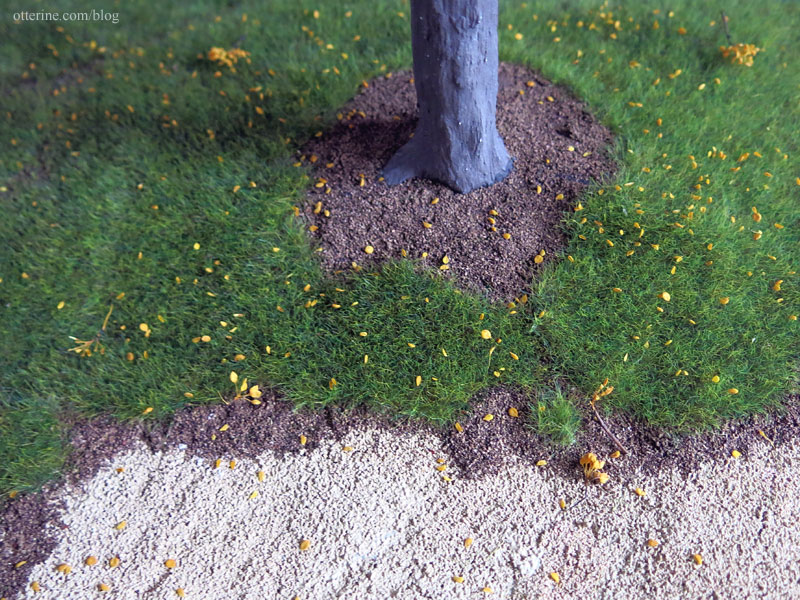
The grass mat is Wild Grass Forest Floor by Heki from Scenic Express (they call it Pasture TurfGrass on their website). These particular grass mats are pricey, but the high grass with variegated coloration is spot on in scale. The sheets are only 6″ wide, though they are 17″ long, so there are places on the landscaping board that always need to be pieced. These are my favorite to work with because of the backing, which is a clear, rubbery substance that makes it more flexible than the paper-backed grass mats. (Here is a post on working with the grass material.) Since I had leftover branches, I stripped the leaves from them and littered the ground.
I was sure to get a couple of little bits caught in the lovely rake by Sir Thomas Thumb.

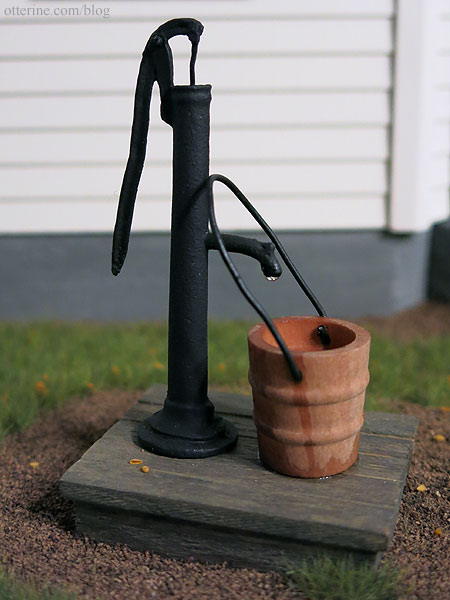
The pump was an unfinished metal mini from the local shows, and I had the bucket in my stash. I built the platform to hold both pieces. When I added the resin (Acrylic Water from Walmart), it leaked through the bucket. I led a path of it over the edge and let it do what it wanted. A happy accident. :] There is also a droplet from the spout.
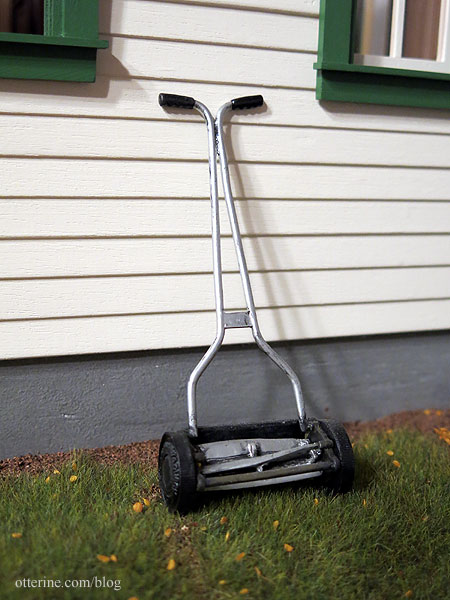
I borrowed the lawn mower from Ye Olde Taxidermist. It was made from a Phoenix Model kit from Jennifer’s of Walsall.
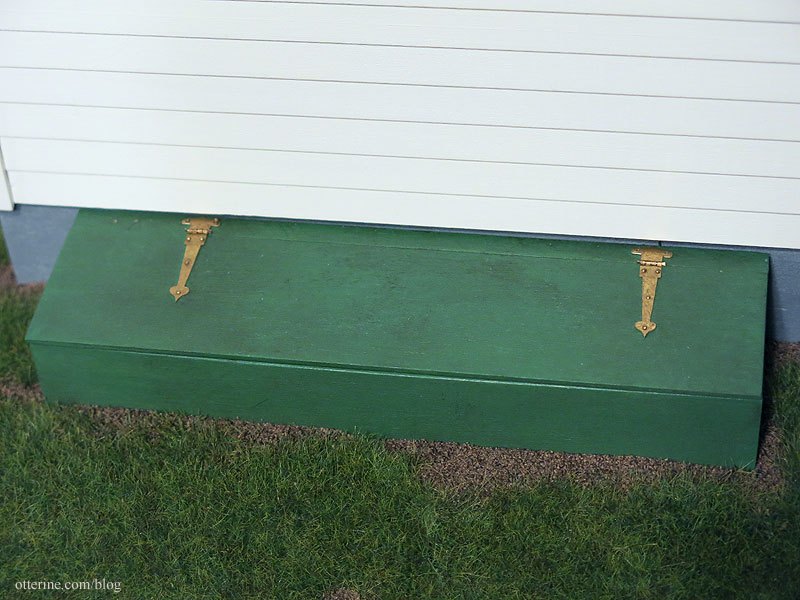
I needed to be able to access the wiring, but there was no room in my tiny post office. I built a shed in the back that will allow me to hide the wiring while looking like a planned part of the build.
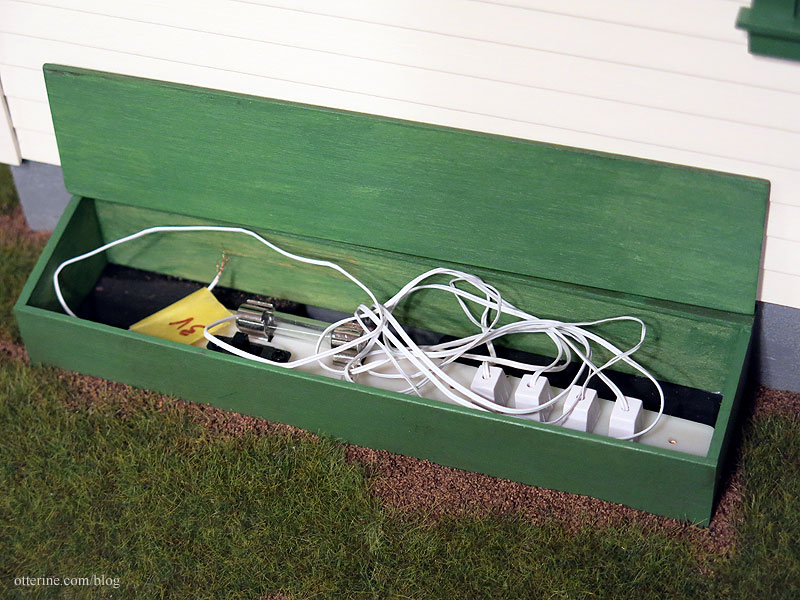
I used some fine brass hinges bought in miniatures lot some time ago, and one of them promptly failed after I glued the shed in place. A little epoxy and new nails, and we’ll be back in business. In the meantime, I just hold the top part of the hinge down when I open it.
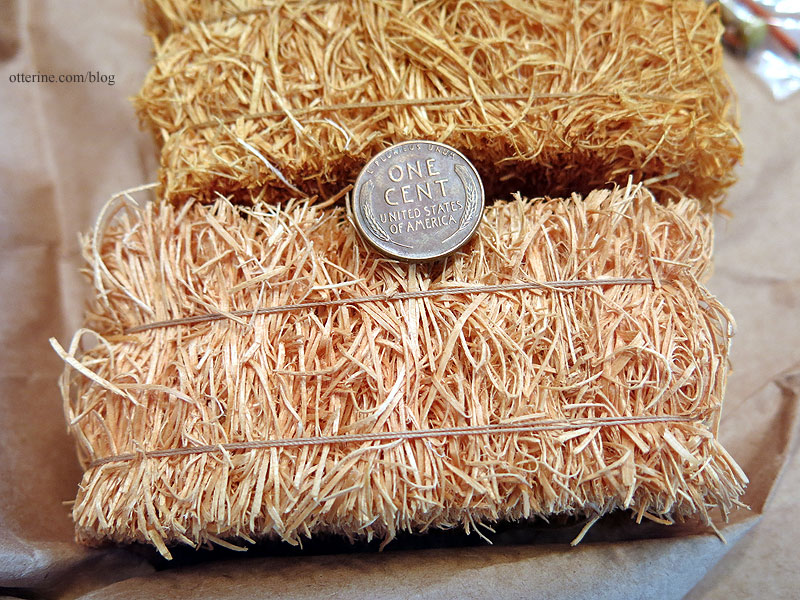
One of the best hay bales I have ever seen in miniature was purchased from Maple Leaf Miniatures.
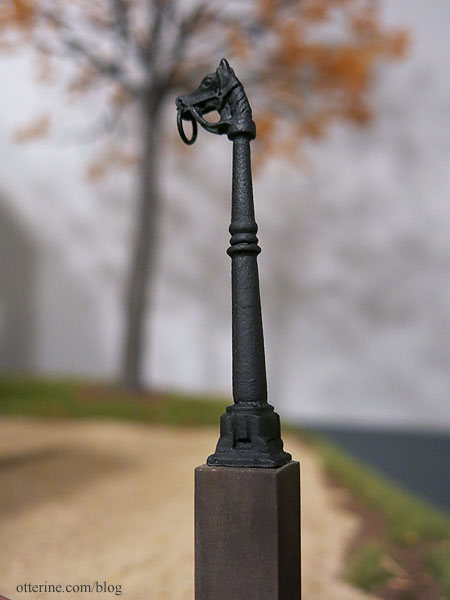
The horse hitching post was an unfinished metal mini from the local shows, and I added a wood base. I swapped the silver ring for a black one to better match the painted finish.
While I was searching for a bucket to add water for Jebediah, I ran across this gem signed March 9, 1964 B.A., numbered 4.
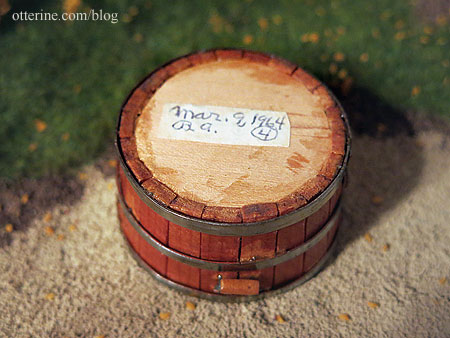
It looked great in the photos, but no one else bid on it but me. When I received it, I loved it even more. There was no way resin water was going to be added to this.
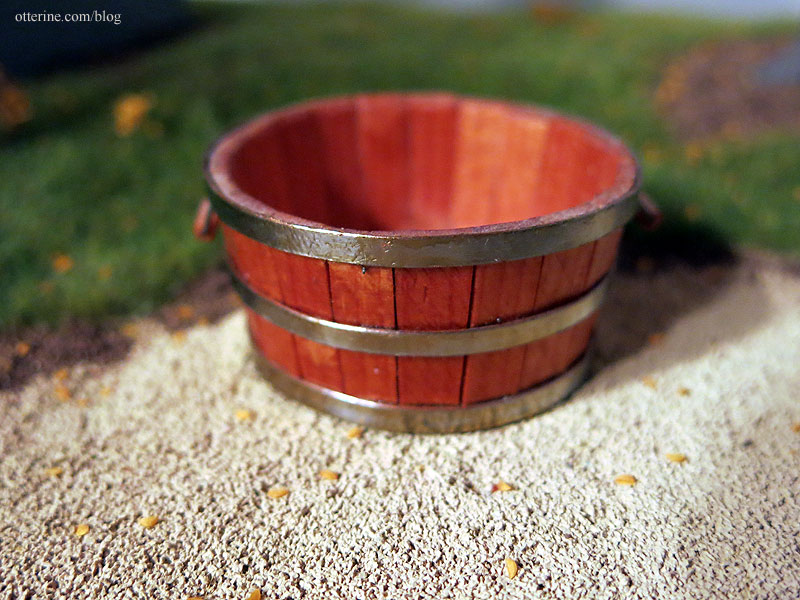
Luckily, I had ordered window pulls from my friend Greg at All About Miniatures, and he included a gift of metal buckets. I was able to add the resin water to one of the metal buckets and set it inside the vintage wood mini. Thank you, Greg!

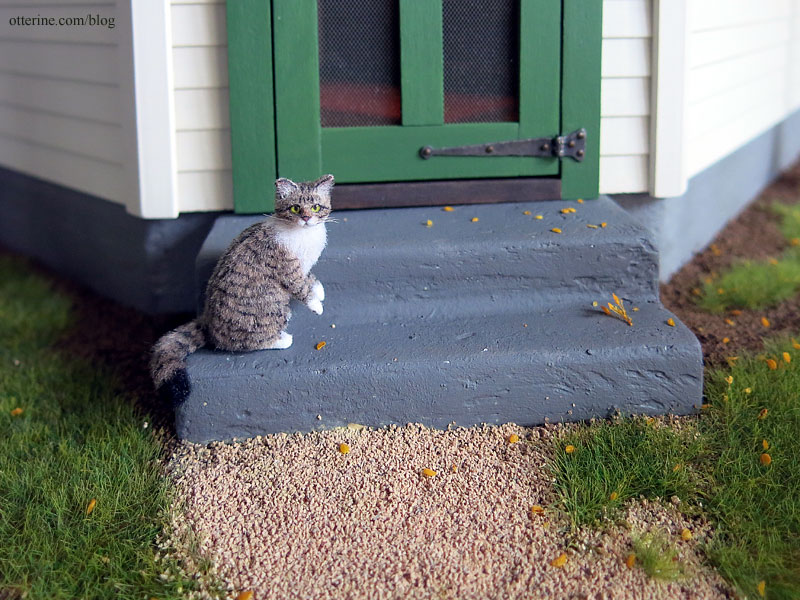
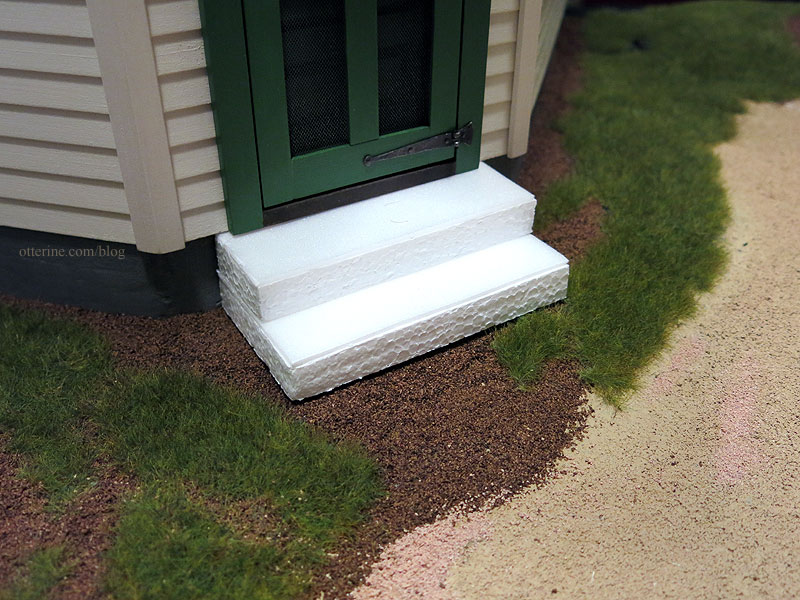
The concrete front steps were made from styrofoam, spackling and paint.
Chester was made by 2014erok. I had so much fun playing in the mini dirt this time around – the landscaping got to be a lot less manicured.