Continuing work on the hexagon clay tiles. Since my first tile grouping had too much bronzer, I figured it was a good choice to test the grout before trying on my finished tiles. I mixed brown and black paint with spackle to make a gentle (non-scouring) grout that was easy to spread. I used my finger to spread it into the grooves around the tiles.
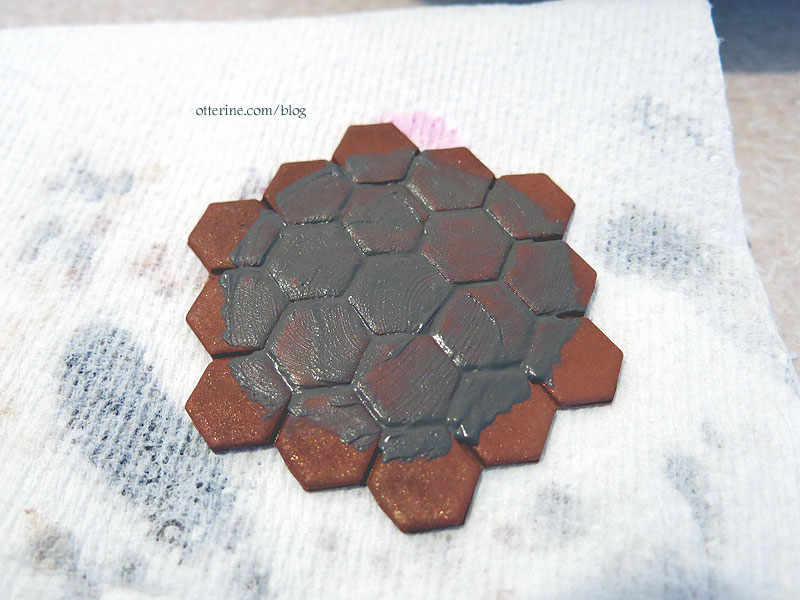
I then wiped away the excess with a wet paper towel. It took a few passes to get it clean. The process lifted some of the tile color I had applied, but the end result was a more even tile so I wasn’t disappointed. If I want more variation, I can always paint after grouting.

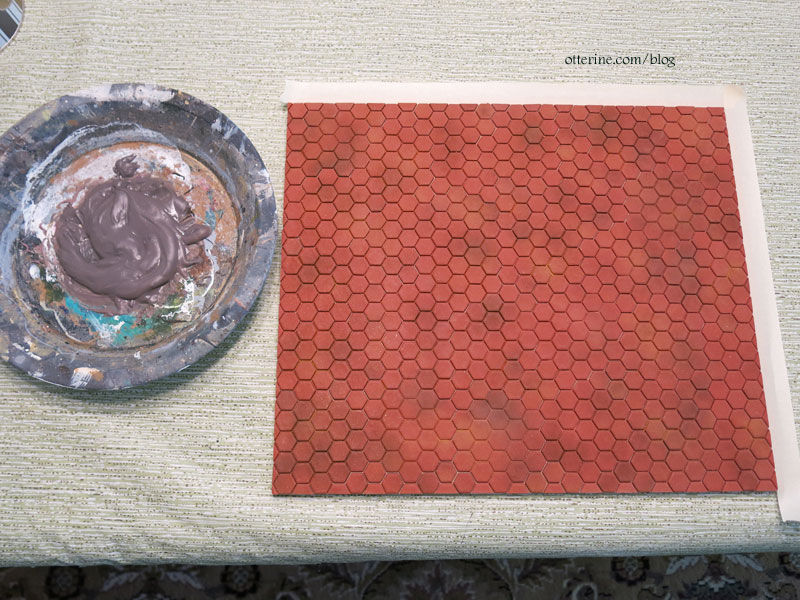
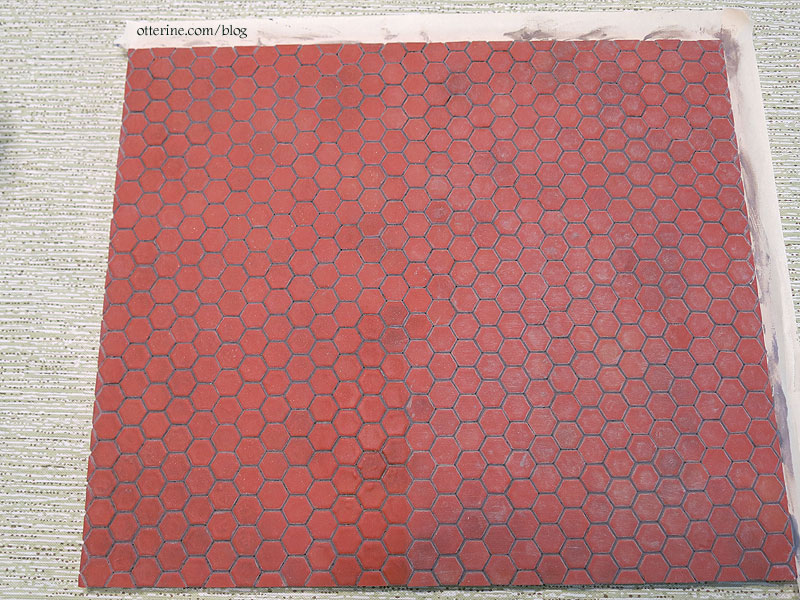
I mixed a larger batch for the final floor and masked the areas around the edges where the walls will be glued to the floor board.
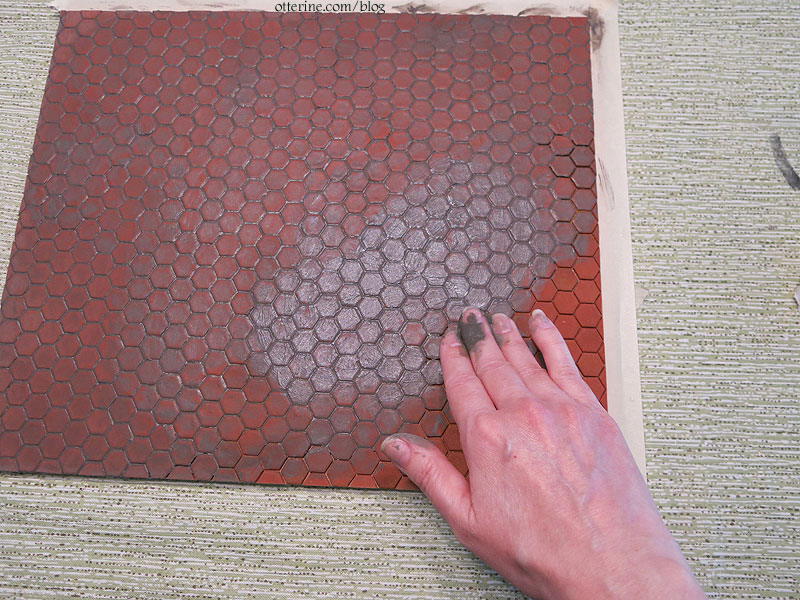
I spread the mixture with my fingers in sections and wiped away some of the excess as I went.
I washed the floor after the grouting was complete with water and paper towel. I saved a bit of the grout mixture just in case I needed to touch up any areas.

The initial wash left streaks, so I used a Q-tip to wash each tile individually.
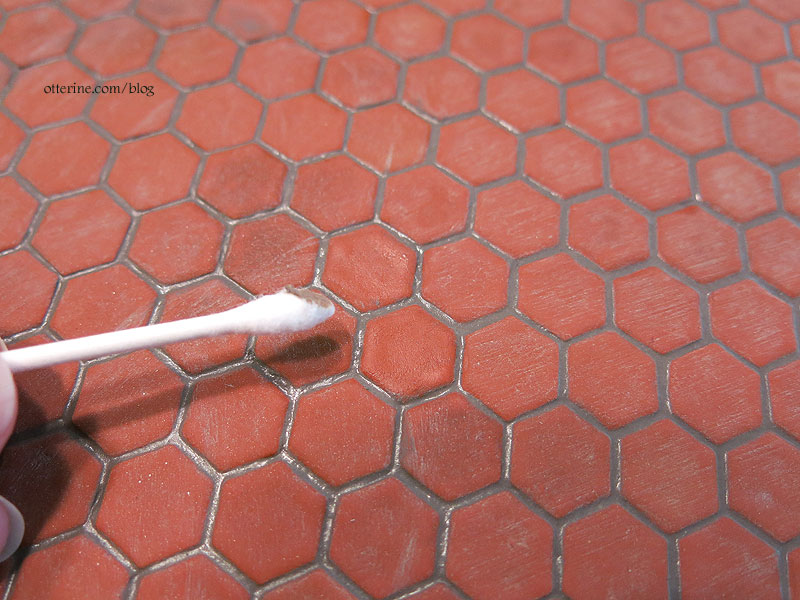
I did small sections and wiped with a dry, clean paper towel.
Once done, I wiped the entire floor with a damp paper towel again.

Then I wiped it dry. Very little color lifted in the last pass, so I called it done.

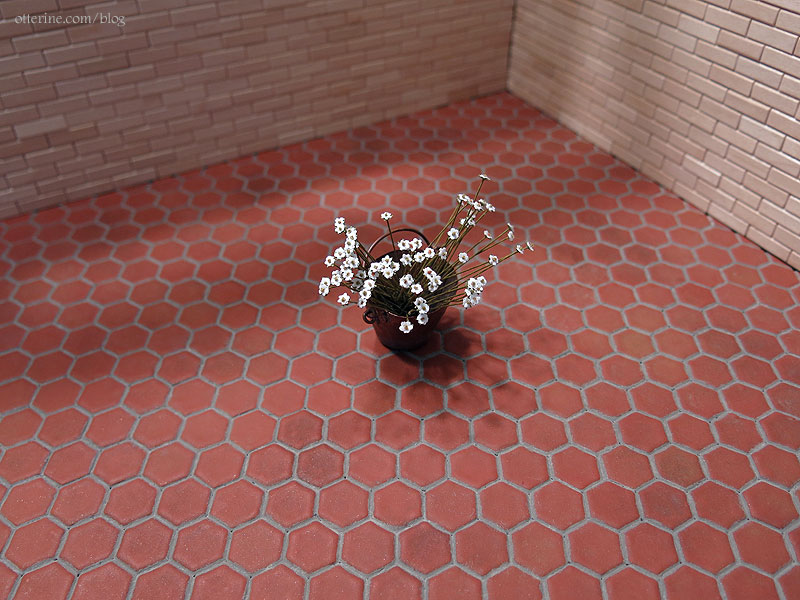
The final result has less color variation than the plain tiles, but I like that better.
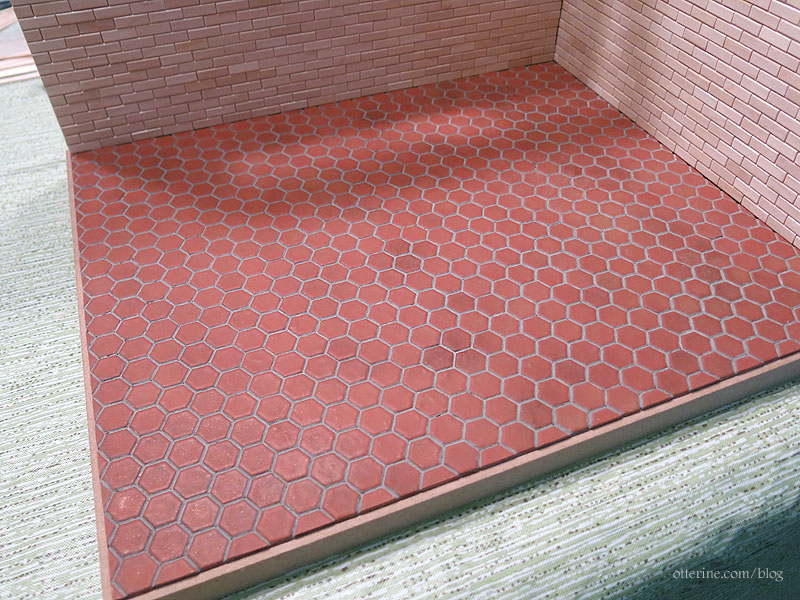
I’m glad I gave it a try. :]