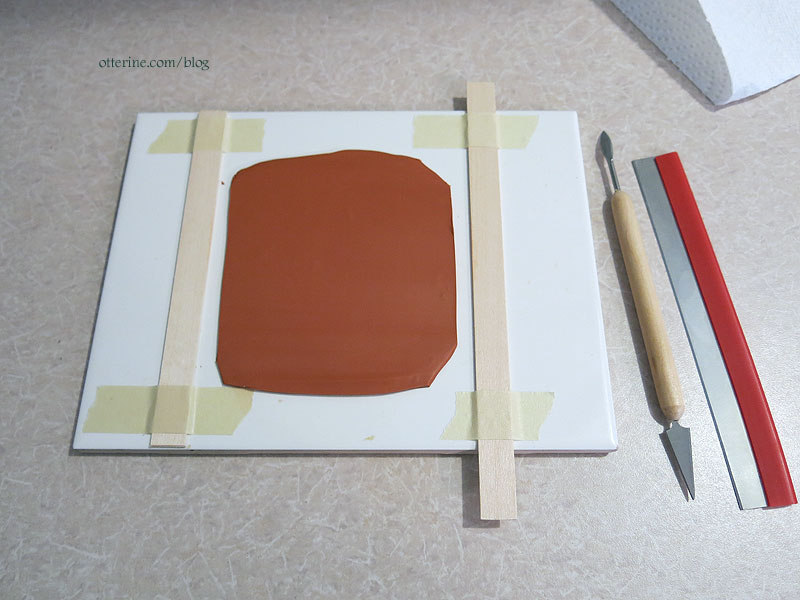
For my project, I envisioned hexagon terracotta tiles. You can buy these already made, but that can add up quickly. I also wanted to see if I could do it myself since I’ve worked with clay before. I bought Original Sculpey in terracotta. I have a ceramic tile working base, roller and cutter I found on eBay. More on the cutter in a moment.

I taped 1/16″ thick basswood strips to the ceramic tile and rolled out the clay. It’s soft and easy to work with. I had to cut away the edges a few times as the clay spread out.
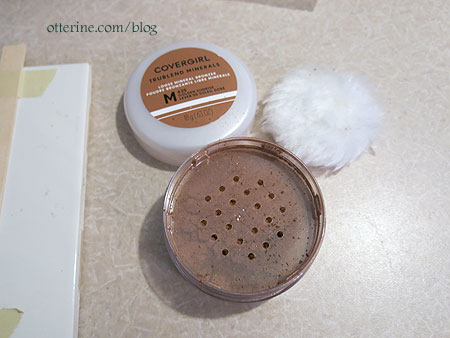
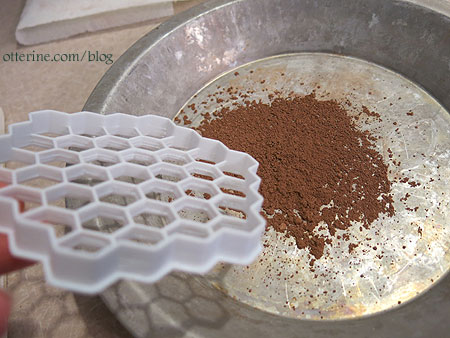
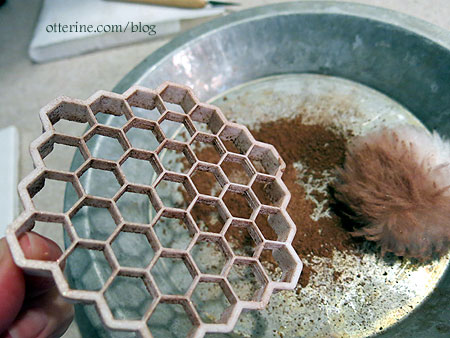
I’m using bronzer (make-up powder) to dust the cutter since I didn’t want white powder contrasting with the color of the tiles. It has some shimmer to it, which is a nice surprise. Very upscale tile made with gold dust. I did get too much bronzer on the first batch, but I was able to tone it down on the subsequent batches. The first batch will be my test sample for grouting and finishing.
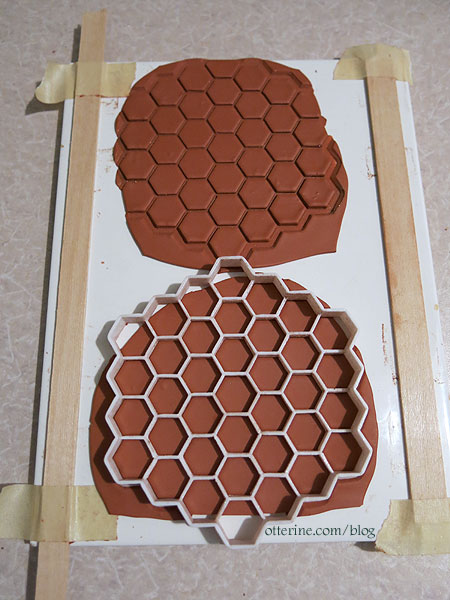
The cutter is designed to cut cookies/biscuits and leave a honeycomb design in the middle, so it has a deeper outer edge than the center pattern.
But, the other side is very uniform, so I just used it upside down.
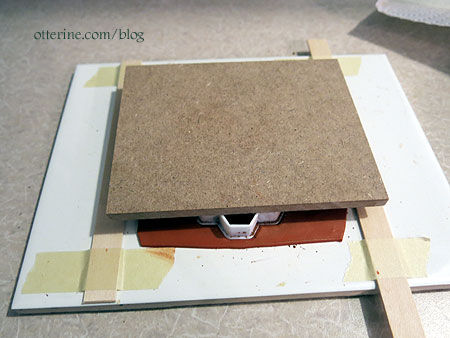
I pressed the cutter into the clay with a board.
I patted the clay with a dry brush to remove some sheen and provide slight texture.
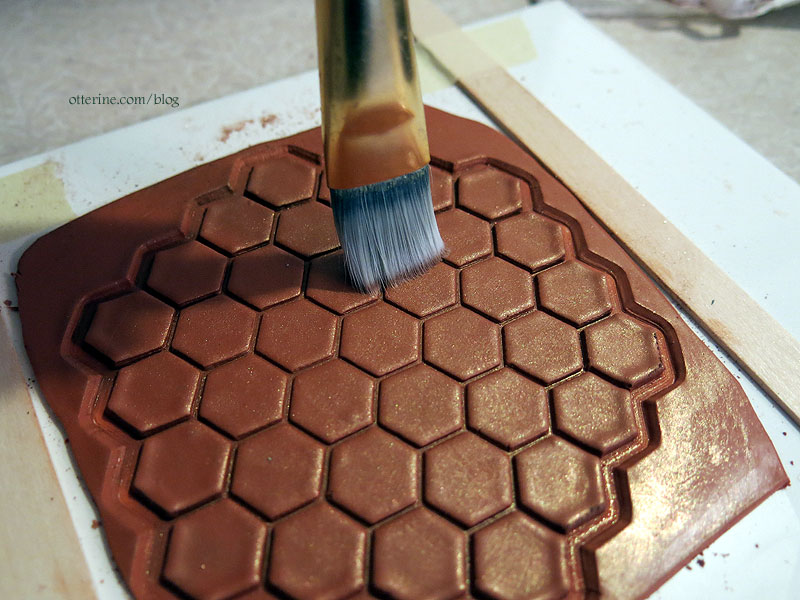
I shaved some pastels into a palette and dry brushed the tiles to vary the coloration. The chalk texture tones down the sheen, too. I used more on the later batches, and it looked better.

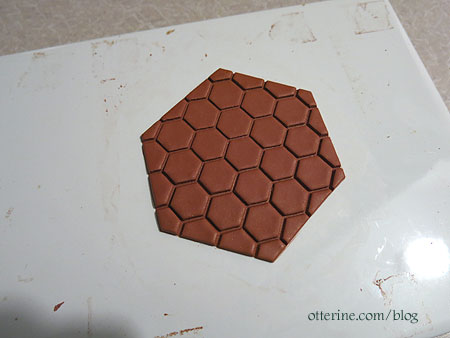
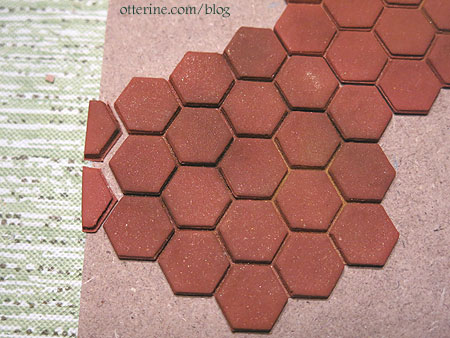
The cutter did not go all the way through, which was fine. The tiles around the edges aren’t usable because of the way the cutter is being used, but the middle ones turned out quite nice. I did cut away a lot of the scrap to reuse, but I baked the remaining shape intact otherwise. I’d rather cut the tiles apart after they bake instead of risking ruining them by cutting them before.
Choosing the baking time is always difficult for small, thin pieces of polymer clay, because you don’t want to burn the clay or end up with brittle pieces. I saw a video where 2mm strips (roughly 1/16 inch – the thickness I am making) were baked for 10 minutes and 60 minutes. The instructions on the clay package indicate baking 15 minutes per 1/4 inch. The video’s 10-minute sample snapped when bent and the 60-minute one was bendy and durable. I am going with 35 minutes to speed things along. After the first batch, I tested the clay after it cooled. It did eventually split when bent, but it took some force. For tiles that will be glued to a board, I called that a success.
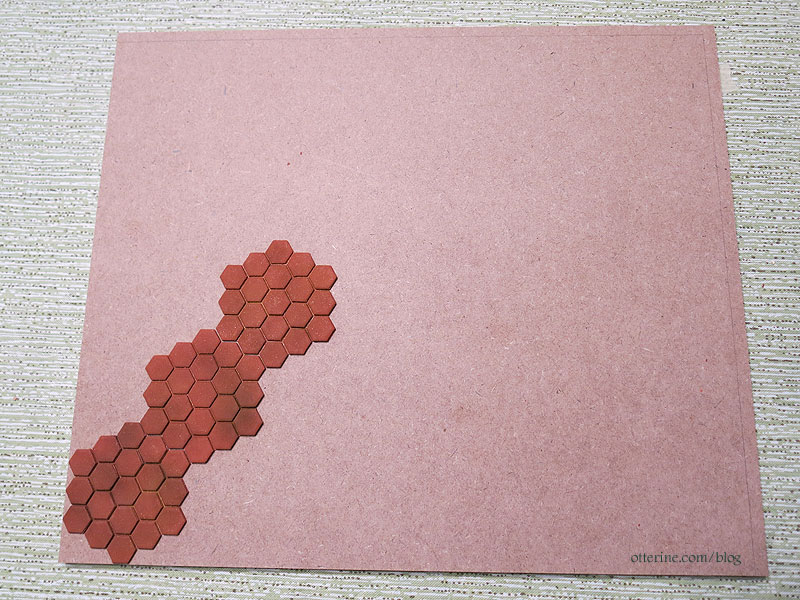
I cut away the outer bits and left the main shape intact. I wanted to get a few batches done to see if I could lay them out in these large sections and then piece between them instead of laying tiles out one at a time.

I saved the leftovers since I will have to piece around the edges.
I have a lot to make! :O
So, I started doing two at a time.