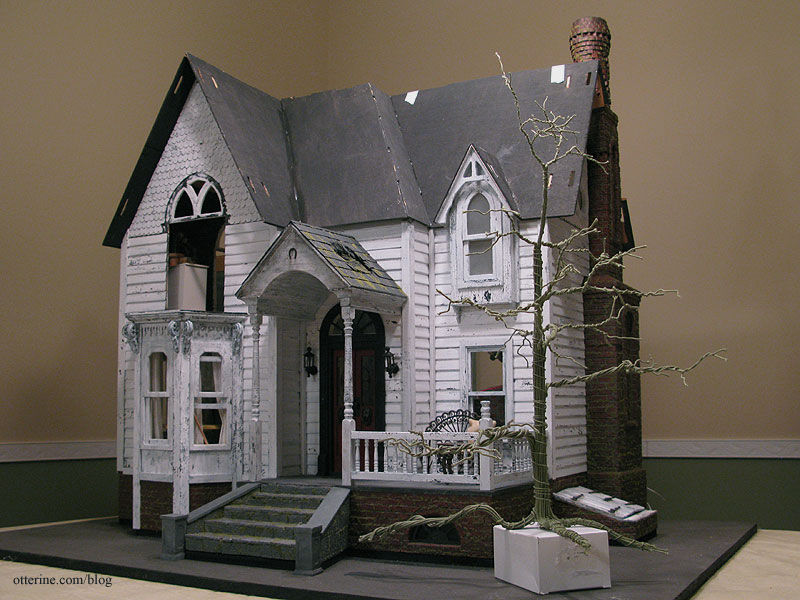
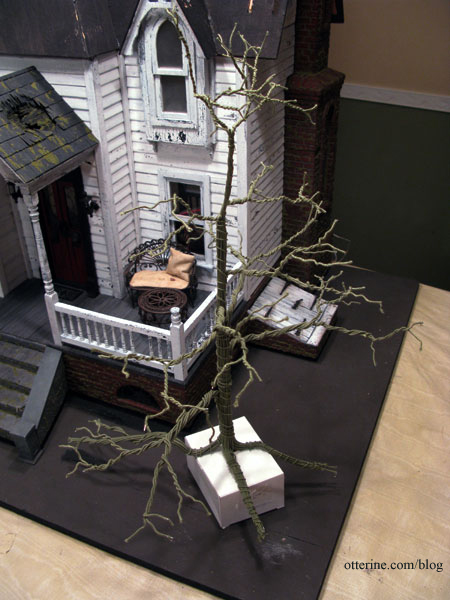
What’s a haunted farmhouse without a big ol’ creepy tree in the yard? :O
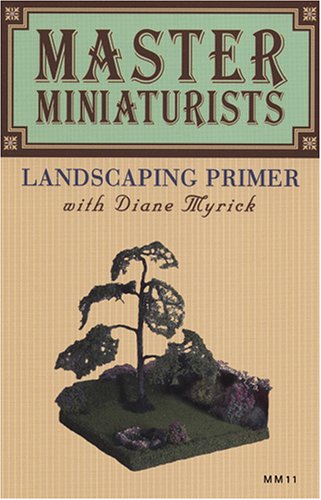
To build my tree, I used the tutorial from the DVD Master Miniaturists: Landscaping Primer with Diane Myrick. This whole series is just awesome!
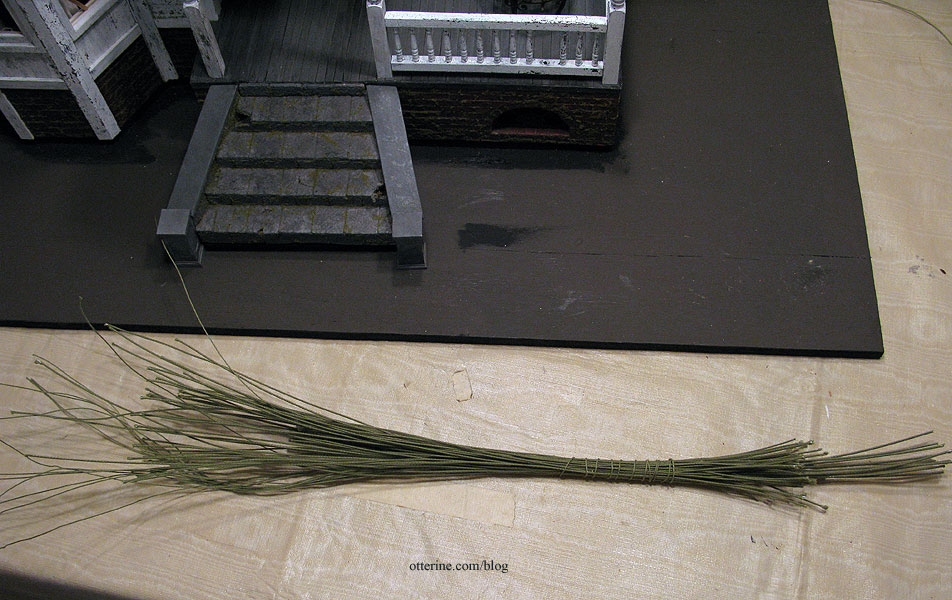
Diane made her tree from 40 pieces of floral wire, but I used 66 pieces: a mixture of 18″ pre-cut floral wire in 18 and 22 gauge. I supplemented the height with 14 pieces of 32 gauge floral wire purchased on a spool that I cut into 20″ lengths.
I wanted roots on mine, so I staggered the wires so that the thinnest wires were loose at the top and the thickest wires stuck out at the bottom. I wanted one long root, so I made sure I had a bundle for that as well.
Diane’s tutorial shows a tree with foliage. Since the Heritage is set in the autumn, my tree will be mostly bare (I think). Ha ha. To that end, I spent a lot of time shaping the branches. I also left the house side minus a branch, which might have hit the portico at some point. ;]
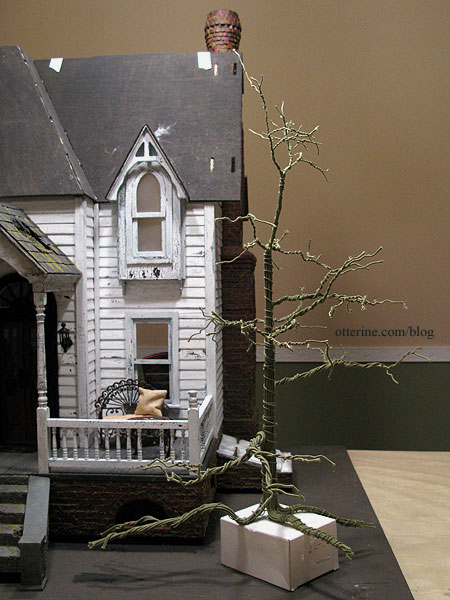
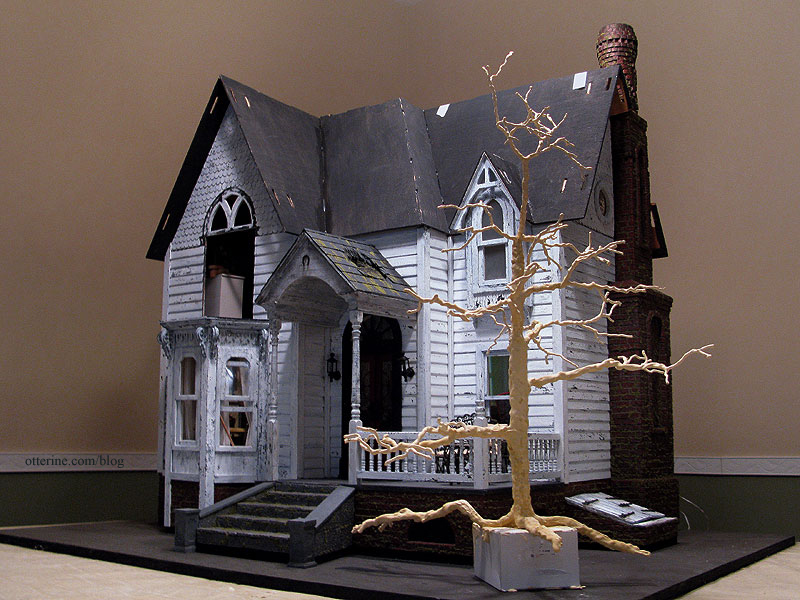
Here’s a nice aerial view of the tree, which stands 18″ tall. The tree has a spindle on the bottom that’s inserted into a box for right now. I will be adding a foam base when I get to the yard portion of landscaping for the tree to sit on, and the root tips will disappear into the ground.
In the tutorial, Diane used Durham’s Water Putty. I ended up with a 4-pound container of it from Home Depot. Did I need four pounds of water putty powder? Uh, no, but it was what was available locally (no shipping) and I had a Home Depot giftcard with enough on it to cover the modest $7.98 price tag. :D
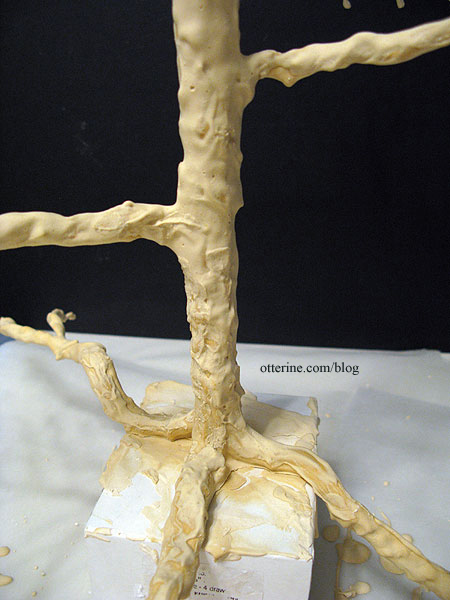
Here it is just after the application.
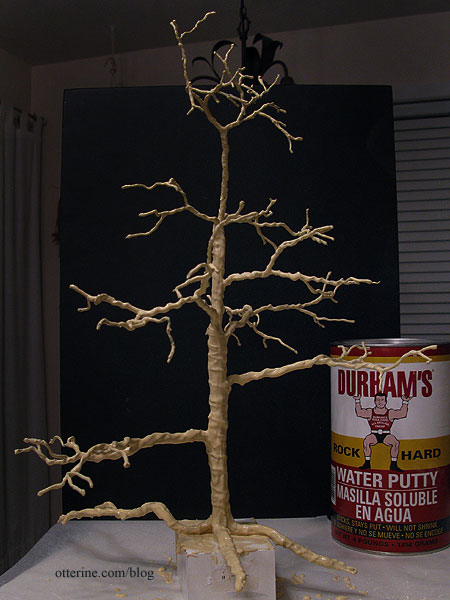
This was the first time I had worked with the putty and I found it to be a great material. The binding wires around the tree still show under the putty more than I think I want them to, so I might add another thin layer once this one sets. I do like the texture overall, though.
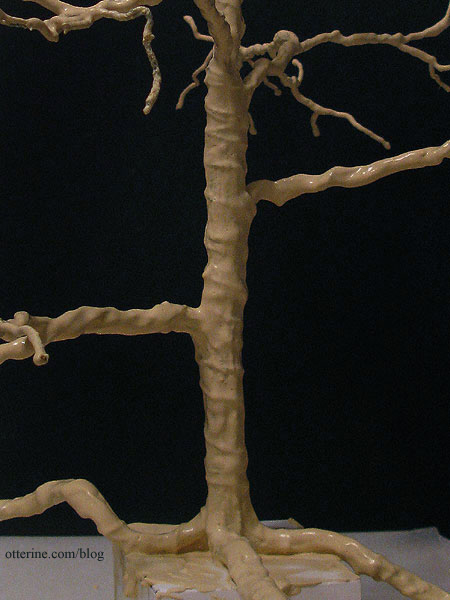
I scraped the excess putty from around the roots to keep them rounded and separate as the putty dried.
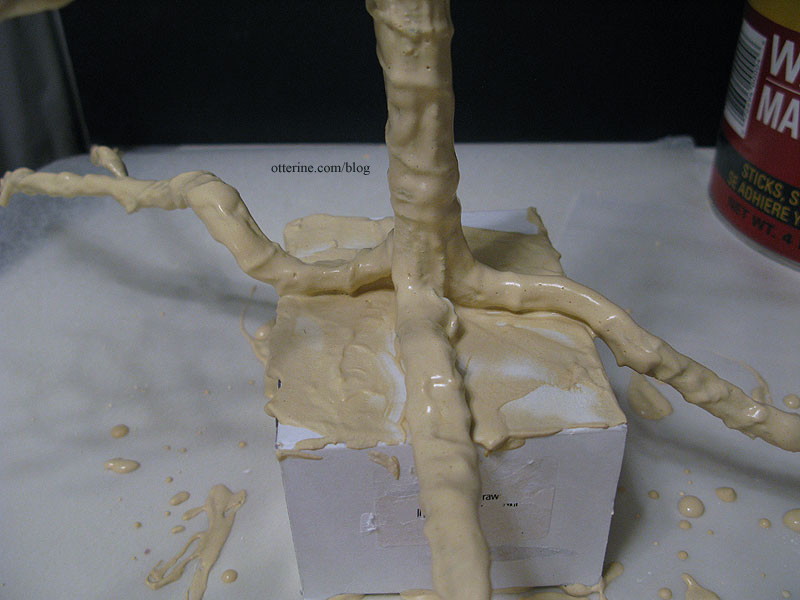
I left it overnight, and it dried hard and treelike! :D Some of the binding wires had softened in appearance but others still looked unnatural. I added another layer of putty over the areas that needed blending.
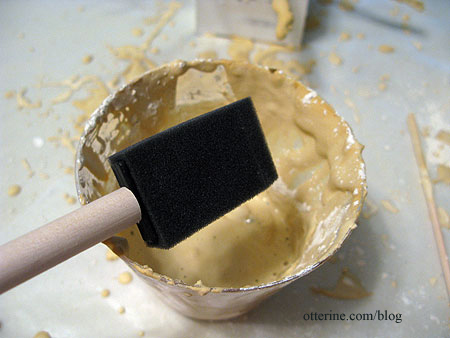
I had kept the cup from the night before, so I just mixed more putty in there. I used a fresh foam brush, though, because the other had hardened. You can’t put this stuff down the drain, so the cups and brushes you use must be thrown away in the trash.
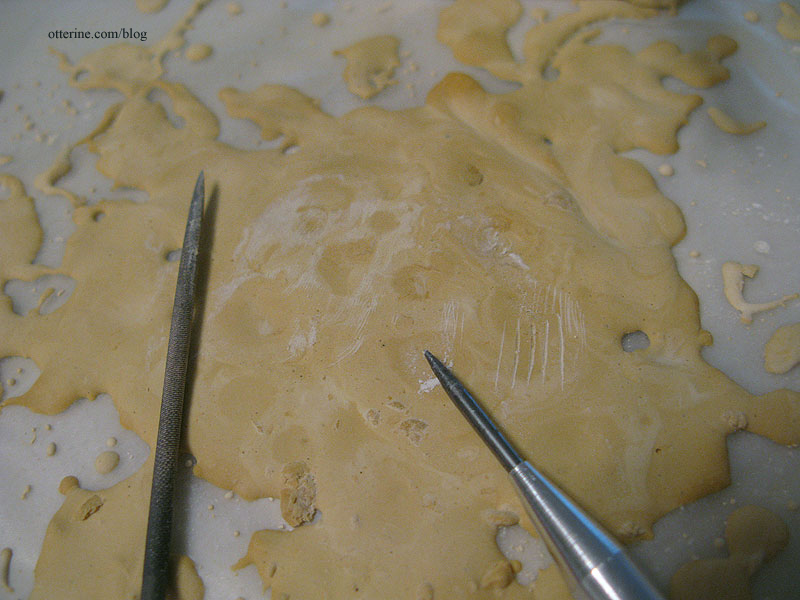
Mike had recently used this material for making river rocks, so I asked him about the properties of it, namely whether you could carve it. He sent me to the Durham’s Water Putty site, and apparently you can do all sorts of things with it.
I used an awl and a file on the dried puddle from last night to see what it was like. It took the carved texturing very easily.
Even with the yellow coloration, it already looks like a real tree.
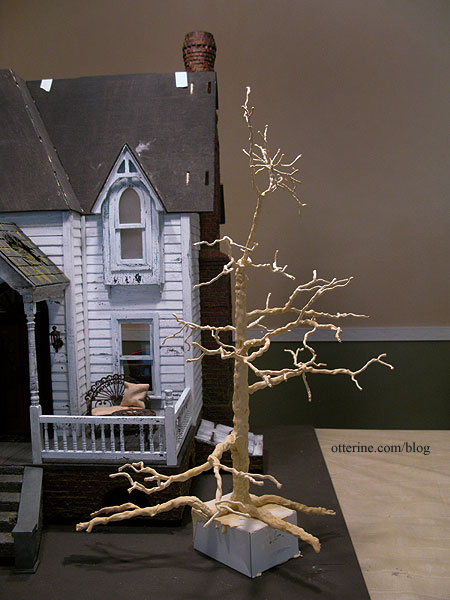
Next up will be painting once the second layer of putty dries.
Part 2 here.


