
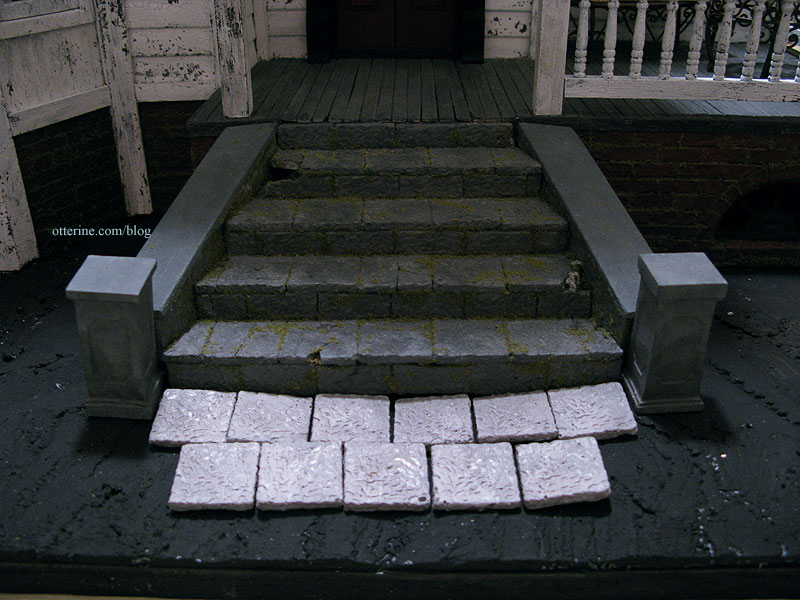
To plan for the walkway at the bottom of the stone steps, I placed loose pavers in a rough layout to see what would look best.
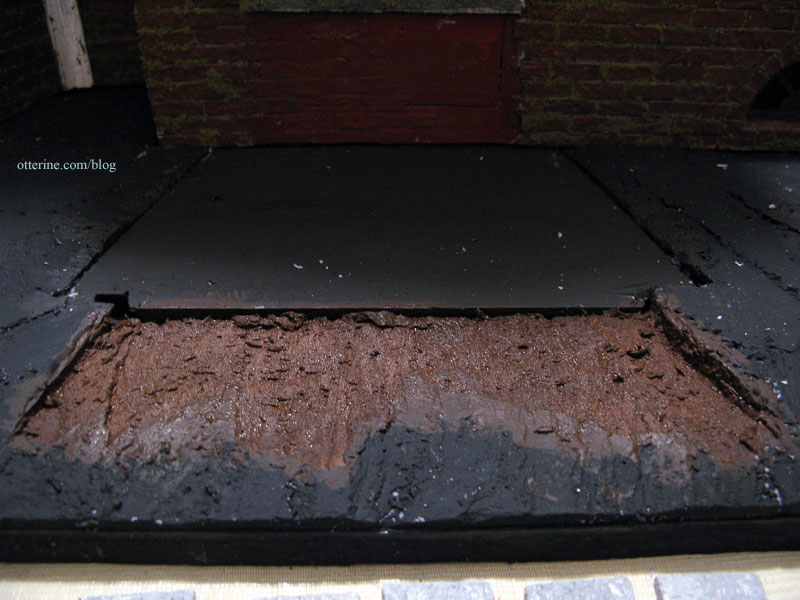
When I cut the foam base for the walkway, it ended up being a little more breakneck than I wanted. :D I used a knife to even out the ground and replaced the stones. Much better.
I primed the newly cut area and the wood base for the stairs.
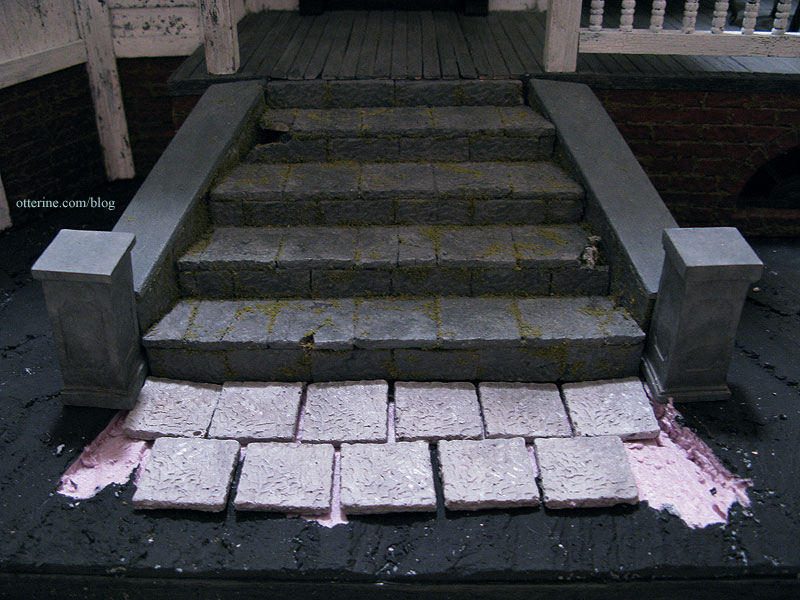
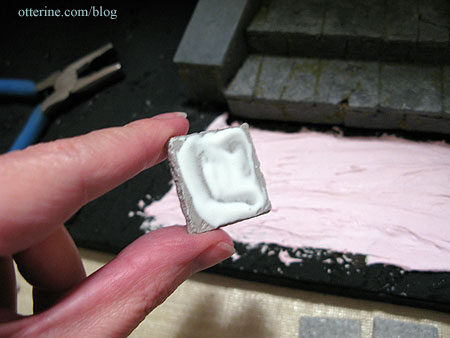
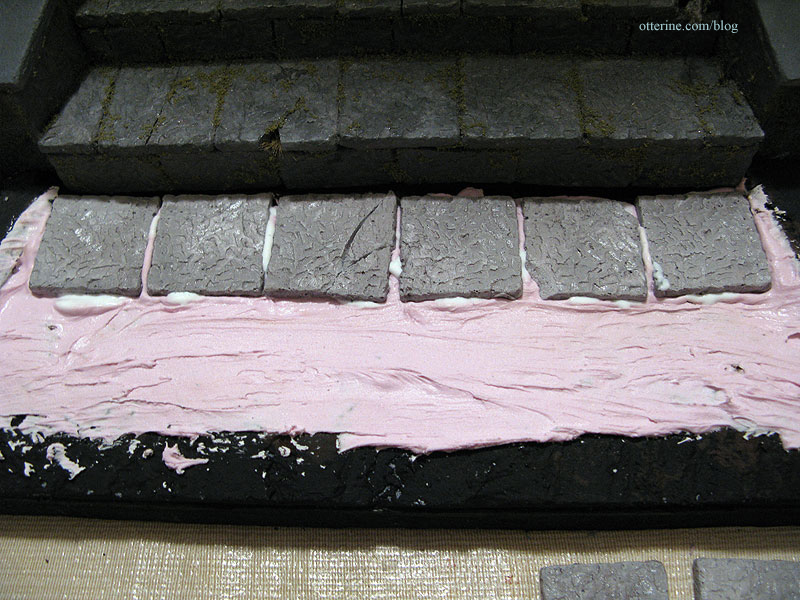
I added some spackling compound to further even out the ground. To save time in grouting, I decided to add the pavers while the spackling was still wet. I added glue to the bottom of each stone and then pressed it into the spackling.
I consulted with Lyssa earlier today, and she agreed my spackle-plus-glue technique should work. We’ll see if we’re both full of beans! :O Of course, if they do pop out, I can just glue them back in place.
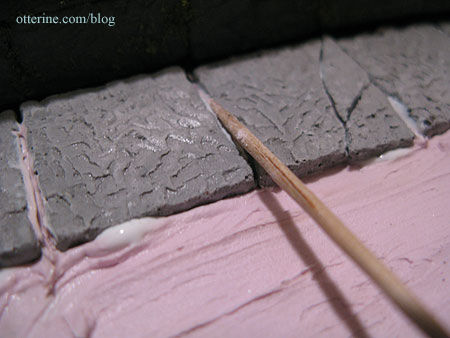
I used a toothpick to smooth the excess spackling and glue into the grooves between the pavers.
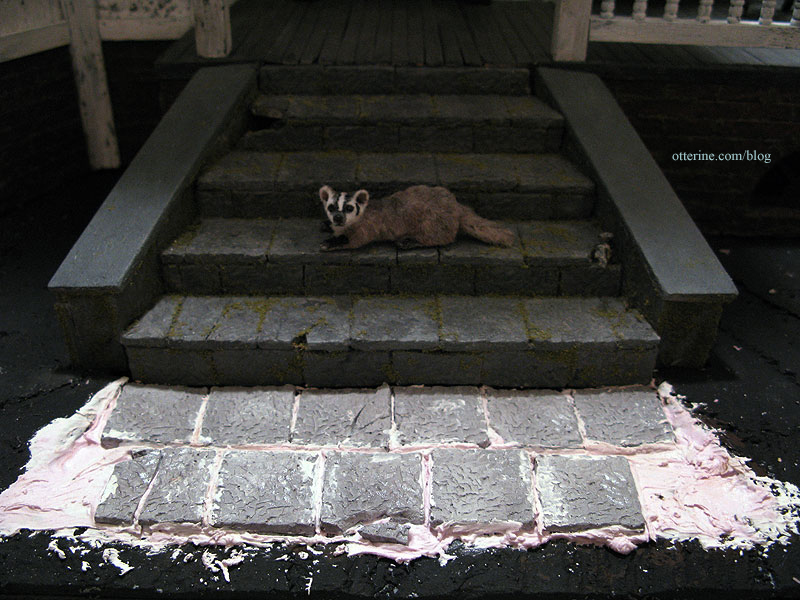
Grahame has come to inspect.
As you can see, I broke a few pavers to match the steps.


