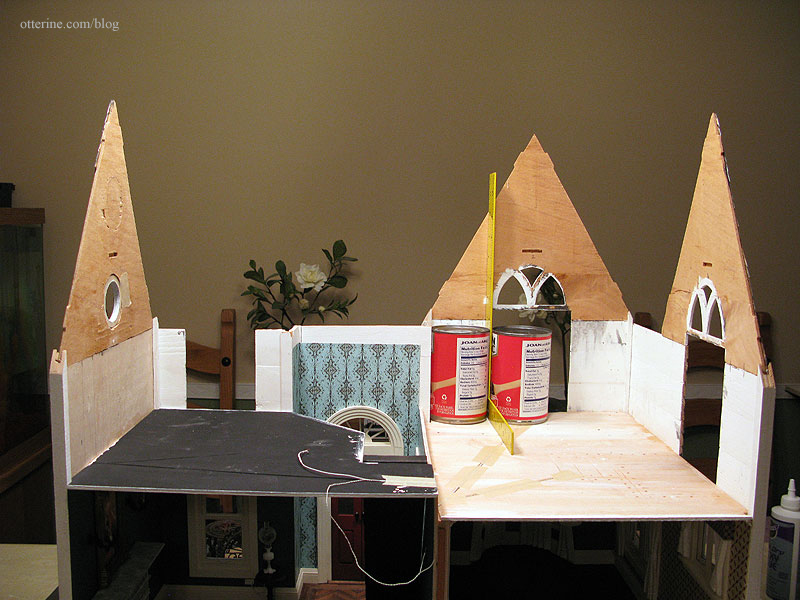
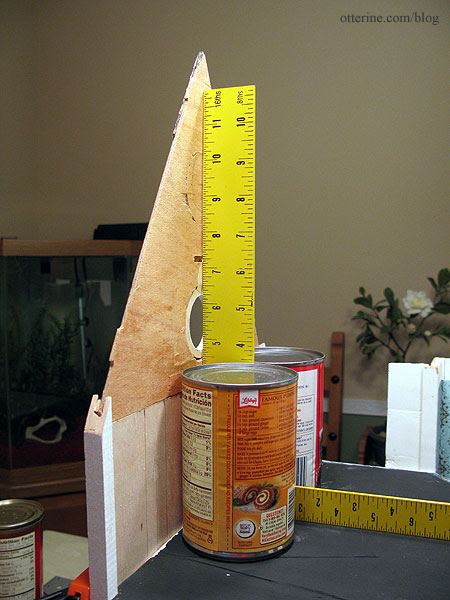
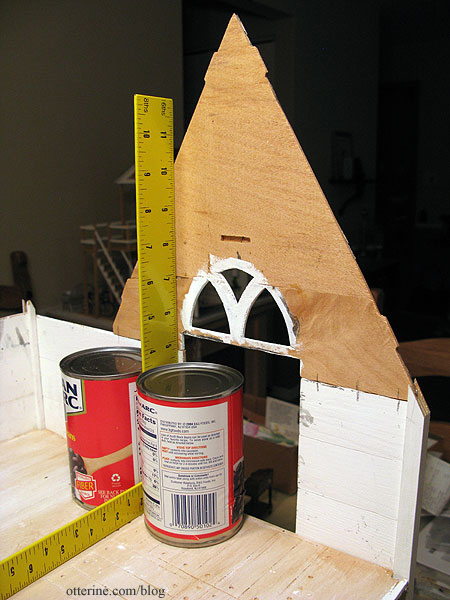
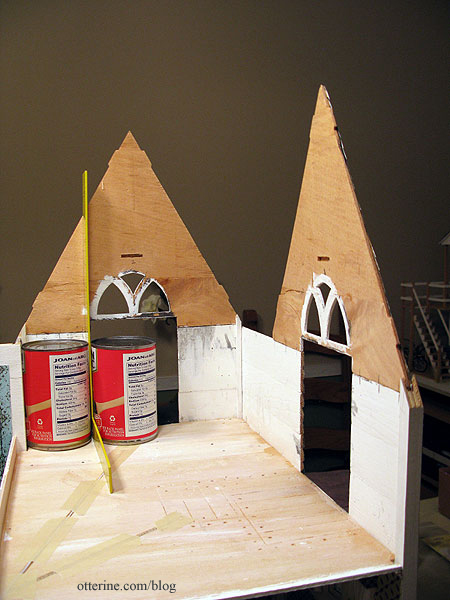
With the parlor ceiling installed, I glued in the first gable; this is the bathroom side wall. I used a carpenter’s square held up with canned goods to keep the wall straight.
Since the gables are loose in the connector channels, I added small shims of wood to hold the wall flush on the inside.
Added trim on the exterior will help hold the gable in place. Right now, the trim is just held in place with mini hold wax.
This trim piece will be cut to fit next to the chimney, then painted and aged later in the build.

The bathroom side gable was easy to install since I had replaced the side wall with plywood that had a nice smooth, even surface for gluing the pieces together. The two gables in the bedroom were another matter. Both were fitted above the Dura-Craft siding pieces, which have a lip exposed at the top. One gable also has only one side connector with the other side free until the main front roof piece is put in place. To top it all off, both of these gables were cut from probably the worst piece of wood possible. They have a long strip of knotted, whirled wood along the bottom creating a severe warp in both pieces.
To adjust the warp, I ran them under the faucet – yes, water logged the hell out of them – then pressed them flat for two weeks. I ended up with relatively flat boards. However, I figured glue and wallpaper paste moisture would put me right back up Warped Creek.
To achieve more stability for the gables, I first scraped off the extra lip from the tops of the siding pieces. I then drew connecting lines on the wall and gable pieces.
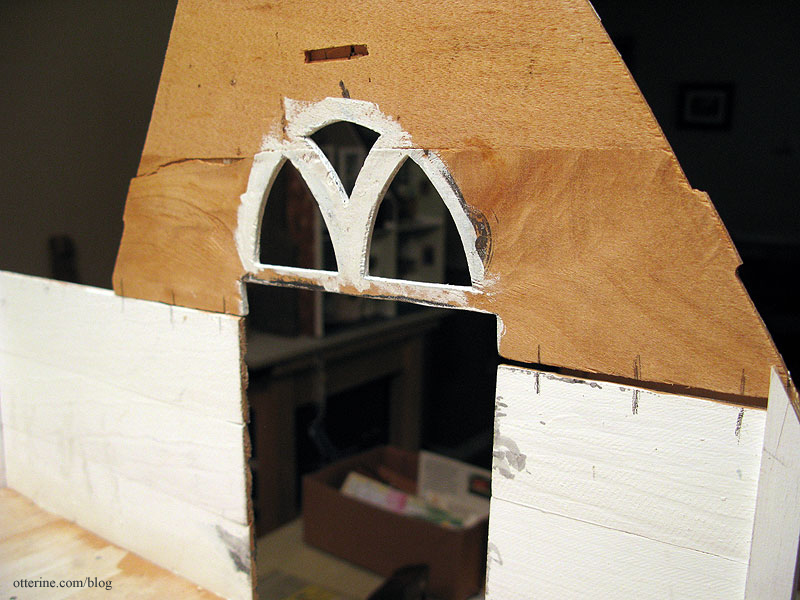
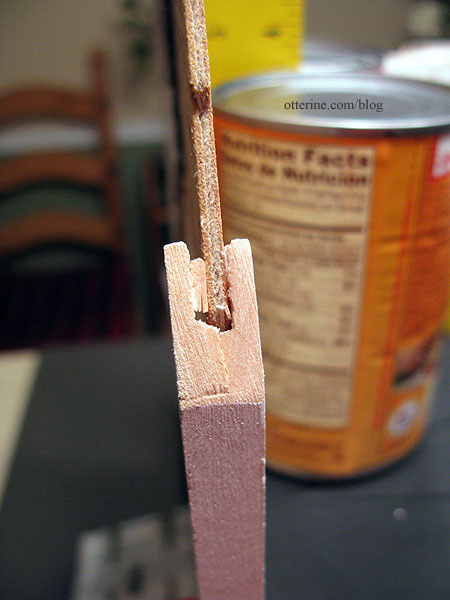
I drilled holes for headless pins in the base wall.

I added three headless pins on either side of the gable window opening on the base wall.
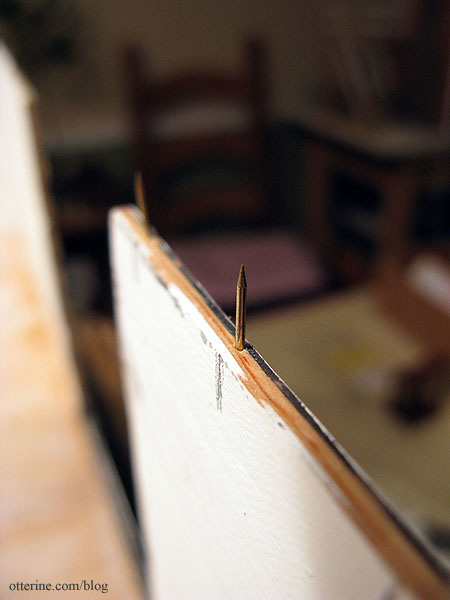
I drilled holes in the gables to line up, applied glue along the bottom edge and then pressed the gable onto the base wall over the headless pins.
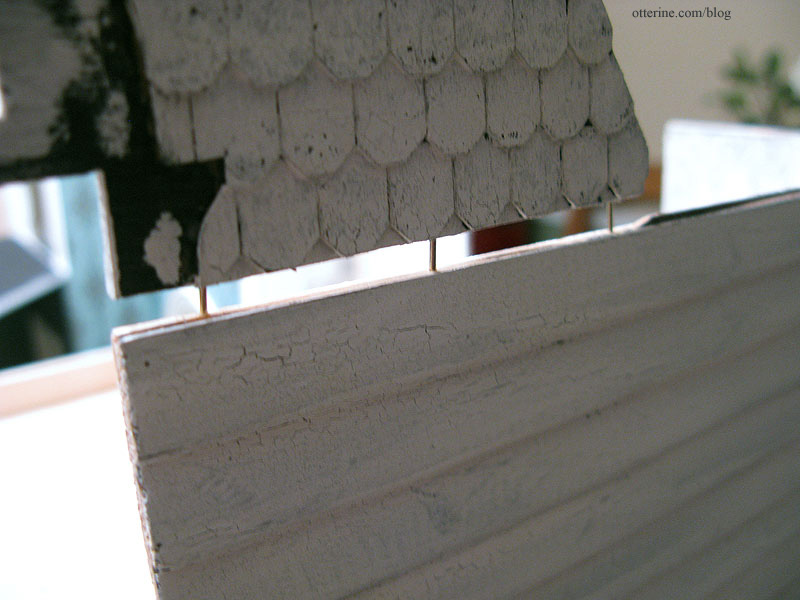
I lined up the carpenter’s square to check it, but the pins were doing their job perfectly. :D
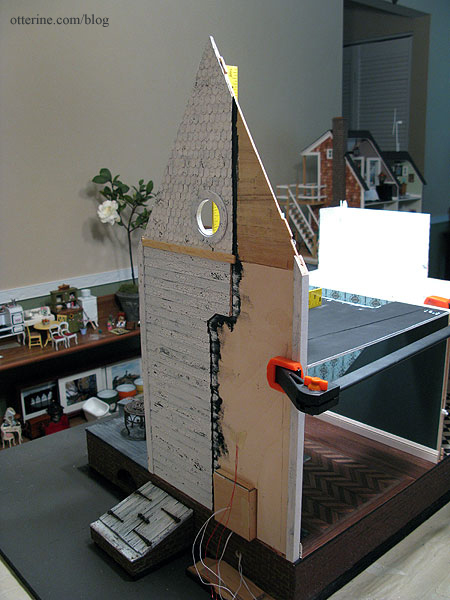
I repeated the process for the front gable even though it has two side connectors.
All of the gables are now installed. Since the roof pieces make up part of the second floor walls, those will be next for fitting and finishing.