
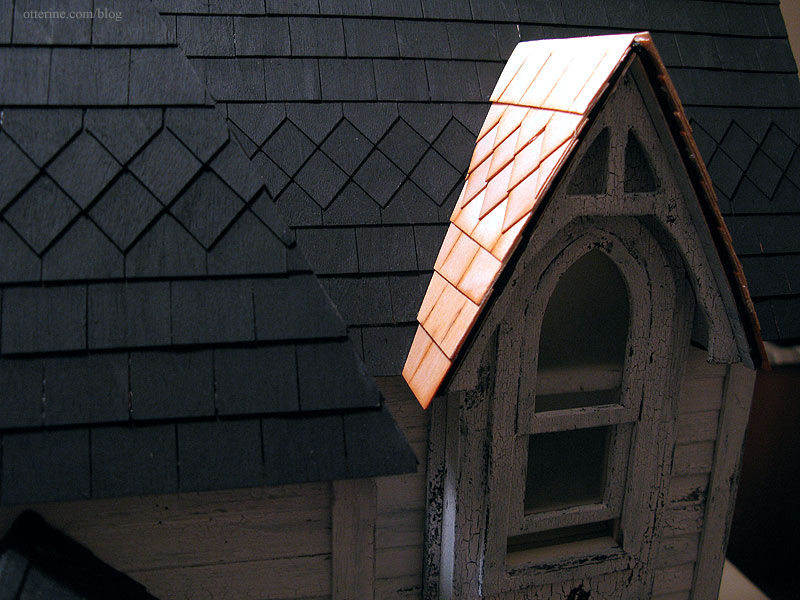
Continuing work on the roof. I cut and adjusted my templates for the two sides of the dormer window roof. The shingles for this portion were quick and easy to cut. The front roof is now completely covered.
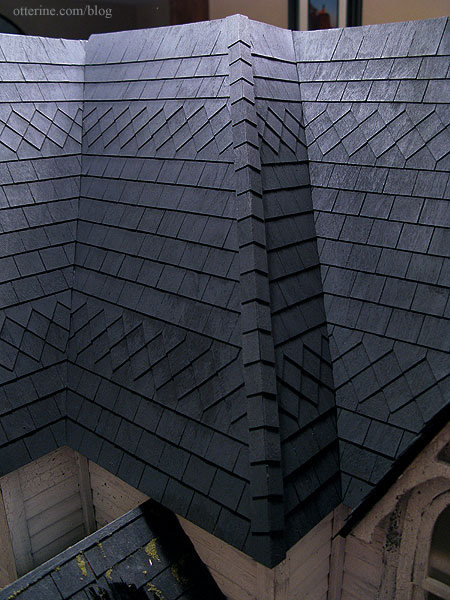
I decided against any added strip wood to the gap on the left main roof since no gaps formed on the right main roof. The dormer roof will need to dry a few days to see if gaps occur there. I’ll just pile on the moss for the left side gap.
I shingled over the outer edge of the middle front section, using shingles cut in half lengthwise, with 5/8″ lines marked for consistency. I did this after the initial paint wash on the roof shingles in case those shifted or shrank from the paint treatments.
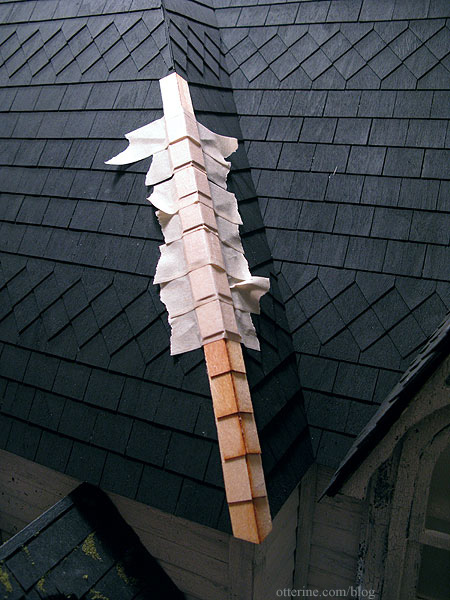
It finished off the edge very nicely.
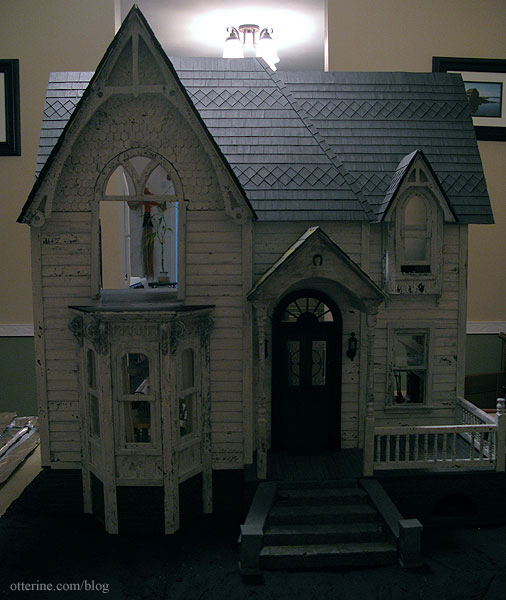
I painted the roof with a grey and black mixed glaze to match the main roof to the portico roof. I brushed on the glaze and wiped it away in a downward with a paper towel. I then used sandpaper to lift some of the color before adding another paint wash. Then I did a final sanding. I find doing multiple rounds of paint, washes, glazes and sanding creates a good depth of tone and a more realistic worn appearance.
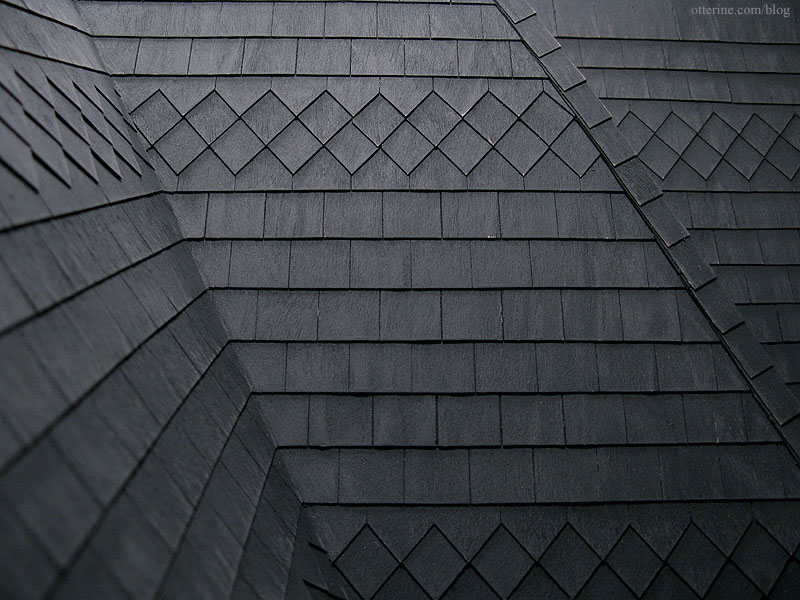
I love the way it’s turning out!
I probably won’t do the roof ridges on the gable and dormer until I get the back roof on. I’ll need to finish off the top flat portion, too. For now, I’ll add some moss to the roof and concentrate on the landscaping. Halloween is fast approaching, and I want some Heritage Halloween photos this year!


