
Continuing work on the roof. I will be using the same Greenleaf speed shingles as I did for the portico, though the roof will be remarkably intact. Either that, or grandma has had enough sense not to let the main roof go without repairs.
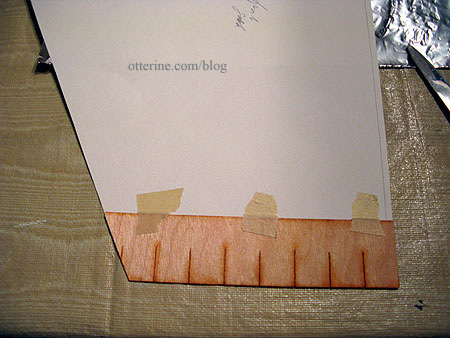
Back before I assembled the roof pieces, I had traced each piece onto drawing paper. These templates will now come in handy to measure out the speed shingle strips.
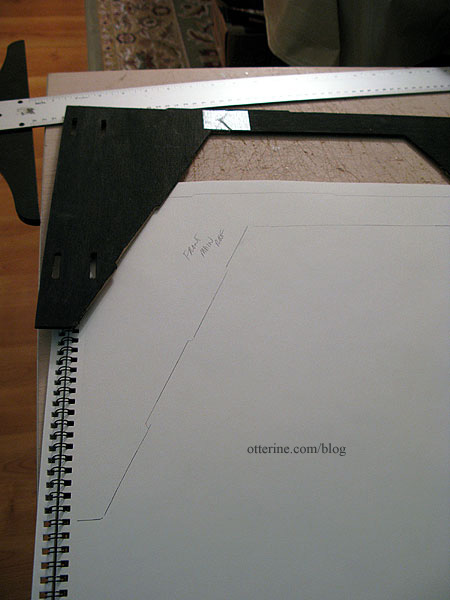
I cut the front gable template to fit.
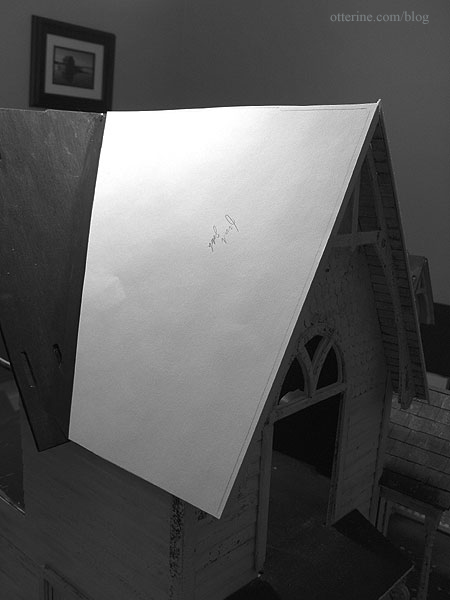
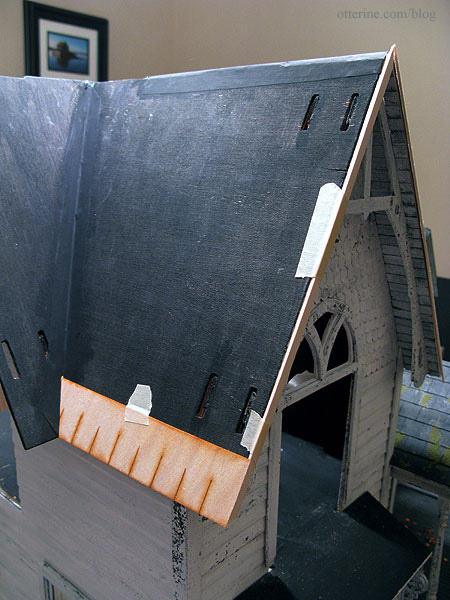
Starting at the bottom, I cut the first shingle strip to fit the template.
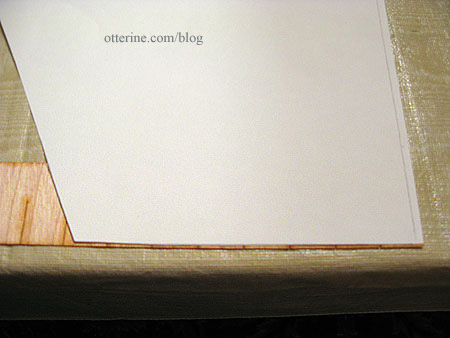
I tested it out on the house to make sure I was off to a good start.
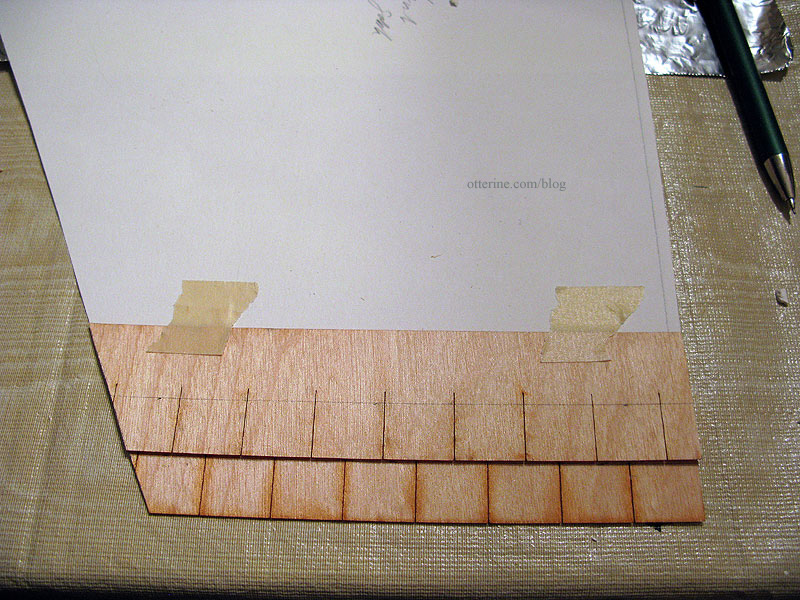
I won’t be gluing the shingles to the template but rather to the house directly, but I will cut the shingles using the template first.
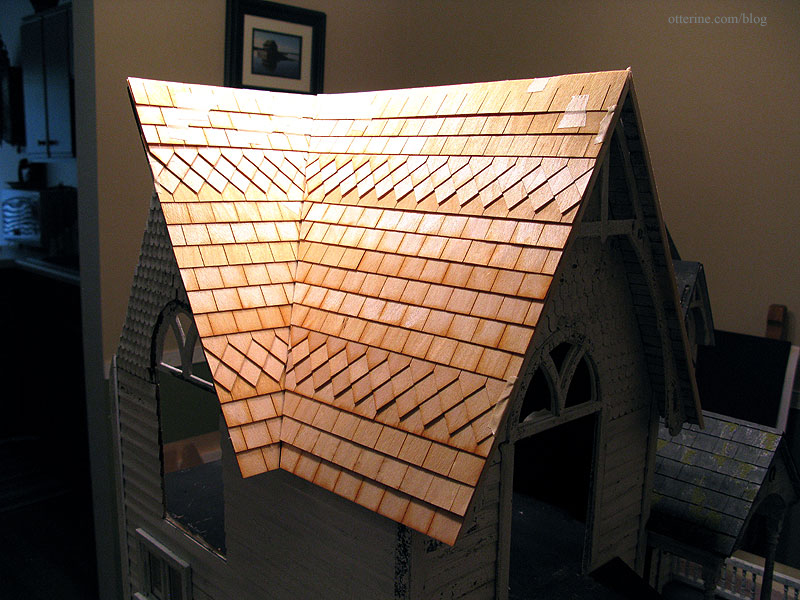
Instead of following the tops of the laser cut lines, I am leaving a little less of each shingle exposed – 5/8″ to be precise. This is what I had done for the portico since it seemed to scale down the singles to a more realistic proportion for this particular house.
To add some visual interest, I inserted a few rows of diamond shaped shingles between the rectangular ones.
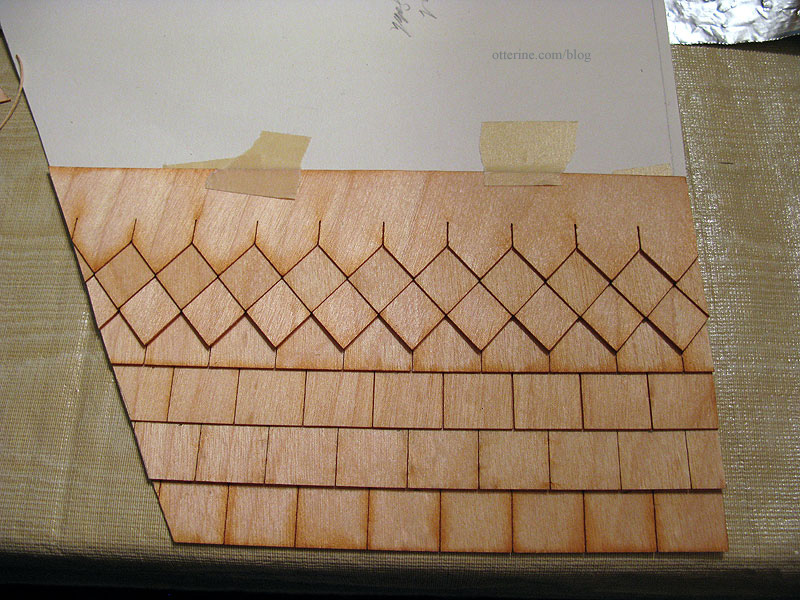
I added the second set of diamond shingles near the top, and I think it creates a lovely balance.

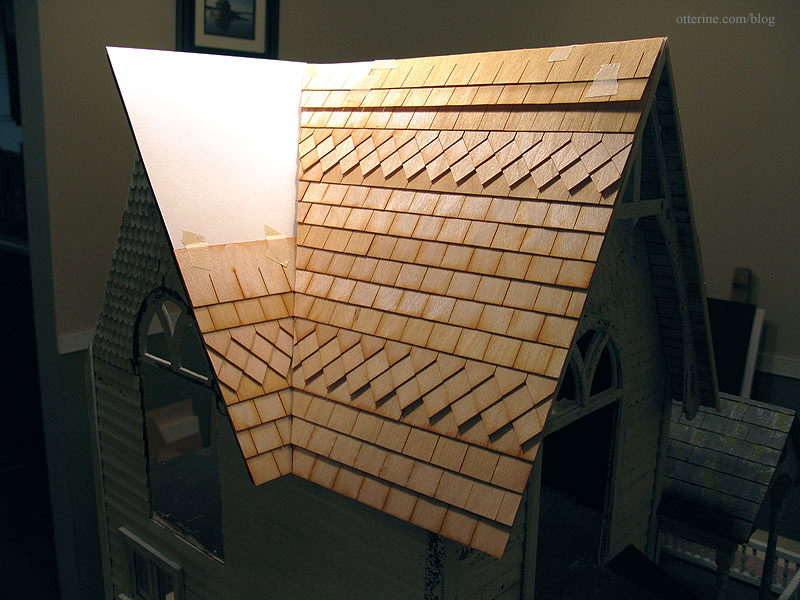
Next up was the left side of the front main roof. I cut my template and adjusted the fit behind the front gable template. All shingles will remain taped in place until I get the proper layouts completed, at least for adjacent panels. Once I get this side panel done, I can start gluing these two sections to the roof.
I took into consideration the front trim that will be added to the side gable and began applying shingles to the left front template.
I think I’m on roll now!
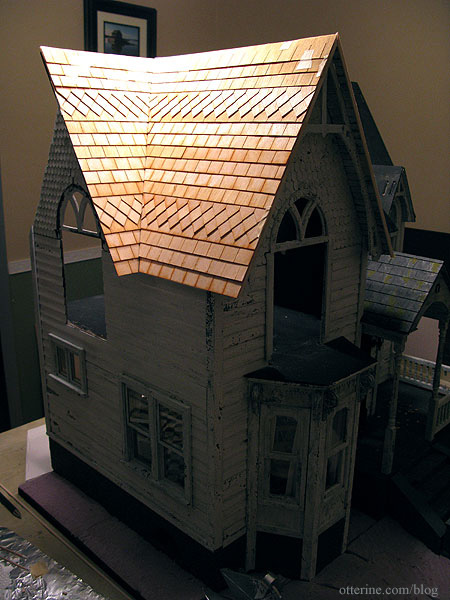
It looks a little unbalanced without the back portion of the side gable in place, not to mention the bright tones of the natural wood against the worn appearance of the house itself. I think it’s going to be marvelous and a little spooky once the dark colors are on.
I need a break from shingling for a bit. :D Good thing there is plenty to do.


