
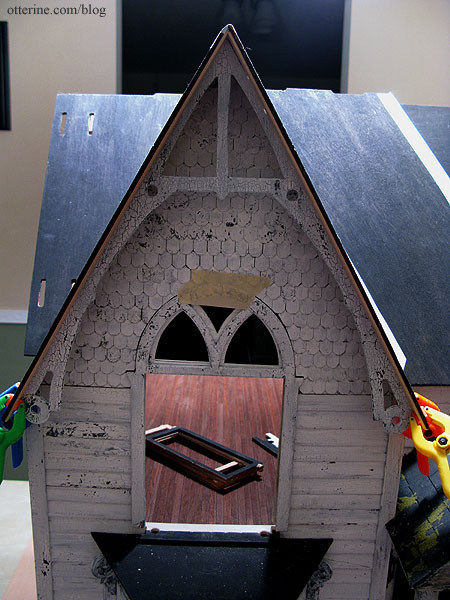
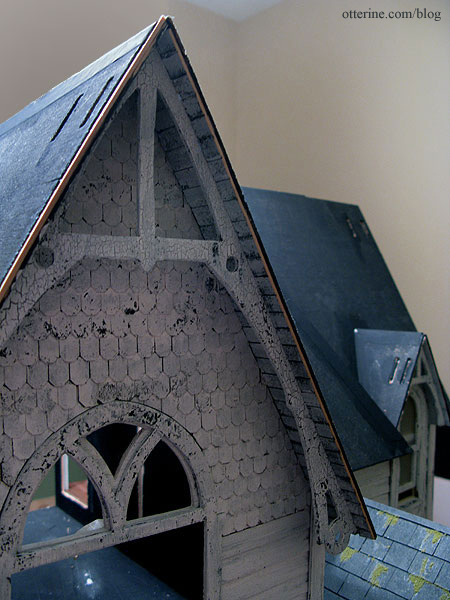
Continuing work on the roof. I have had the roof pieces glued in place for some time, except for the back piece which will need to remain removable until the interior has been completed. I also have to add the topmost piece, but that I will need to cut from plywood since the kit piece doesn’t fit at all. Luckily, the front can be shingled and mostly finished without worrying about the top and back just yet.
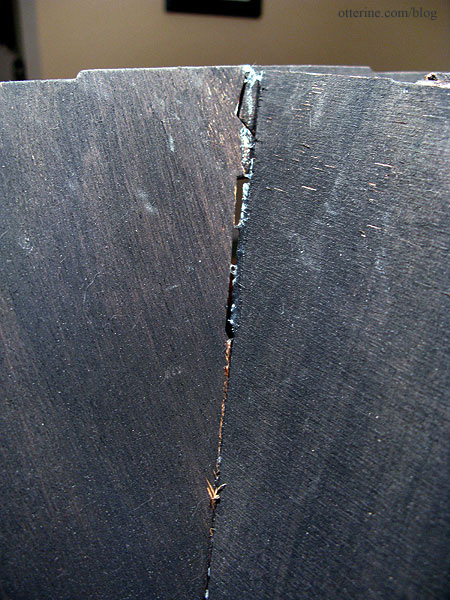
There were gaps between the roof pieces when I assembled that part of the kit. It was either operator error or old kit pieces, or a combination.
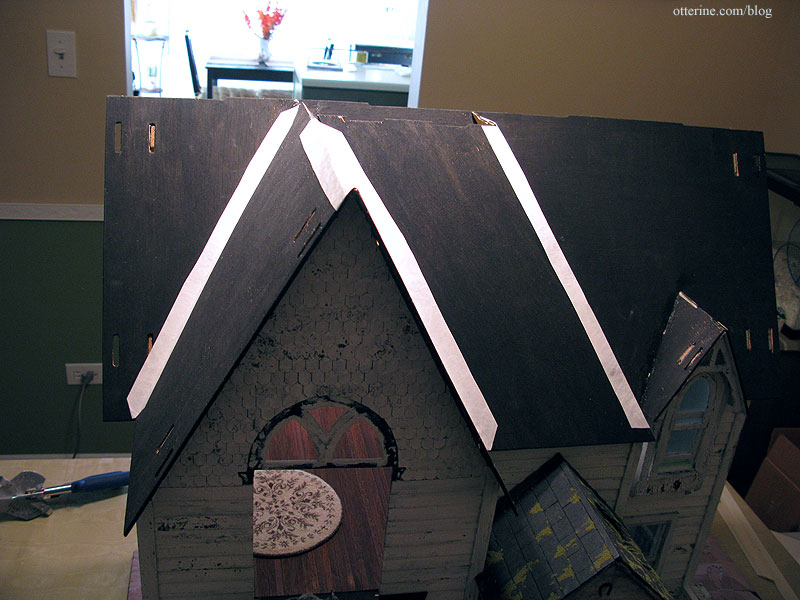
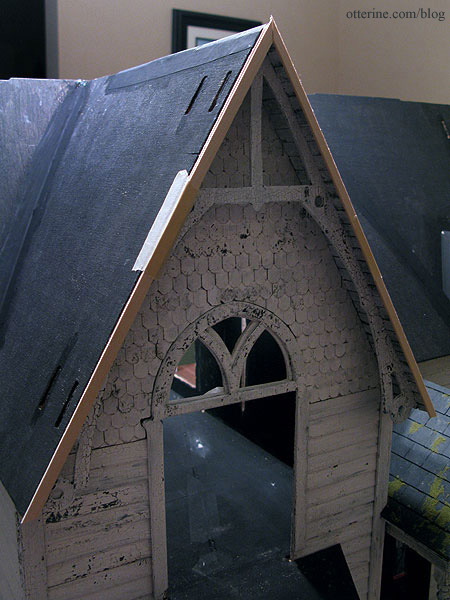
To reinforce the joins, I glued strips of Tyvek across the seams. Tyvek is the durable fiber paper that is used in FedEx envelopes, for instance. It’s thin enough to not interfere with the shingles and strong enough to add stability to the roof joins.
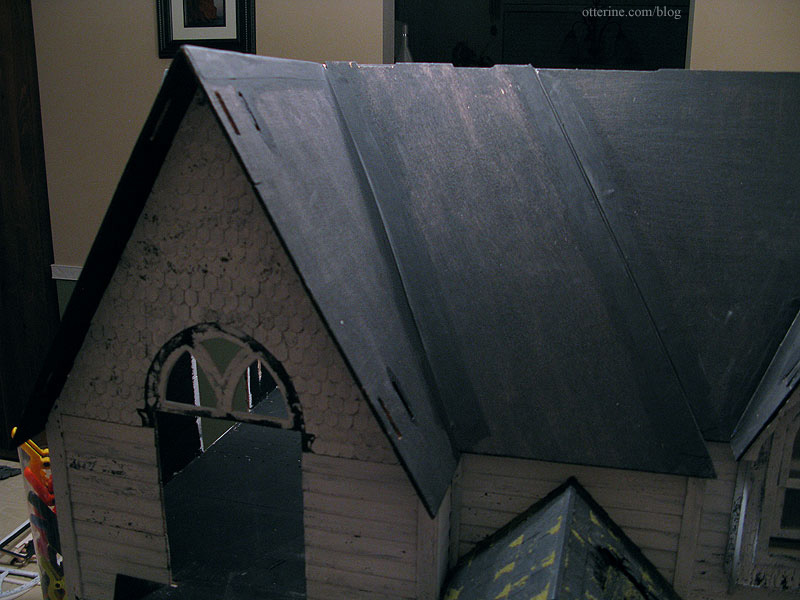
I painted over the reinforced seams in preparation for shingling. It already looks better!
As I had done for the dormer window, I finished the eaves of the large front gable with trim wood scored to look like individual boards. I started with the space between the large gable trim and the house.
Apologies for the harsh lighting, but the house is turned on my work table in such a way that the light is in an awkward spot. I’ve masked out the light’s more severe glare as much as possible.

I then attached the gable trim before finishing the front portion of the eave.
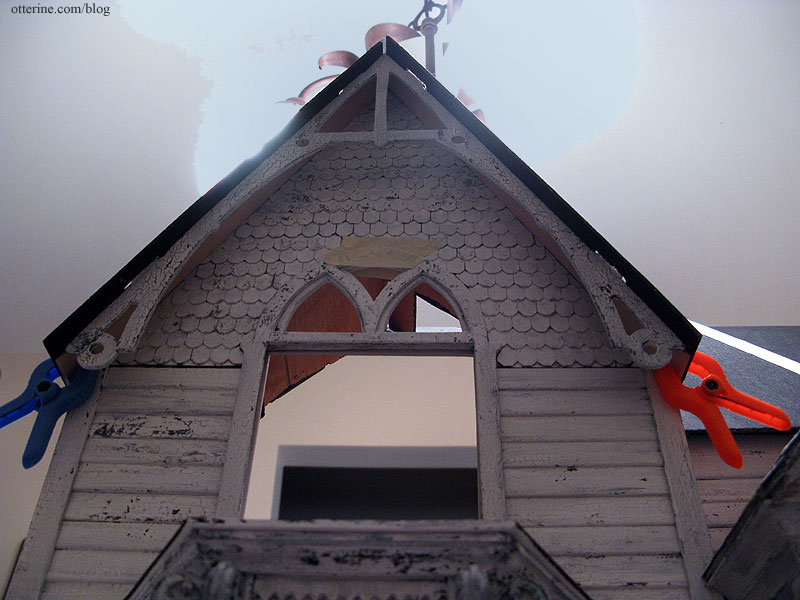
This will hide the various gaps and imperfections from the construction problems I ran into while putting on the roof.
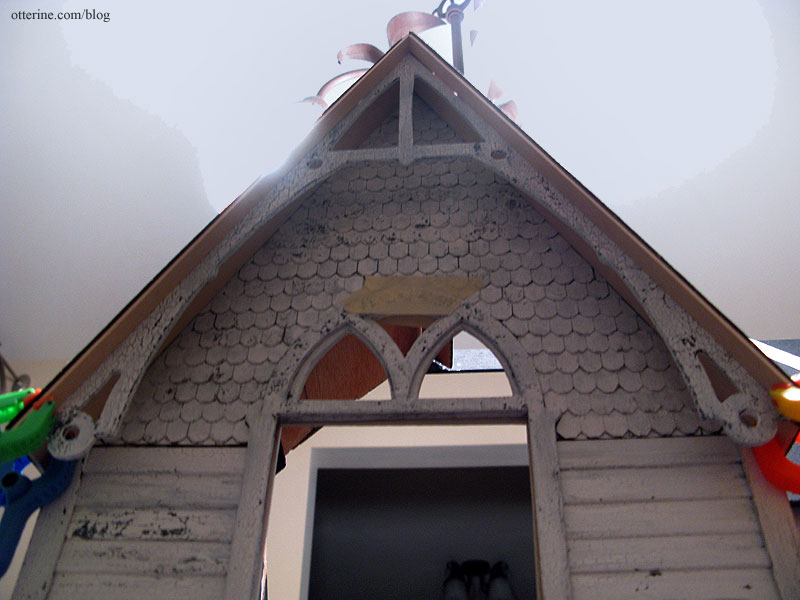
The side eaves can’t be finished until the interior is done, but this finished gable brings a lot of life to the front of the house.
For the dormer eave panels, the scored detailing was lost after painting. To solve that problem for the front eave, I used the awl to score the previous lines again after painting. It helped bring back the board detail. I love the way it looks!
I shaved the right front to even out the eave panel with the roof panel. On the left side, I had to add wood to make the two sides even. I then shaved the excess from the added wood to make a smooth edge.
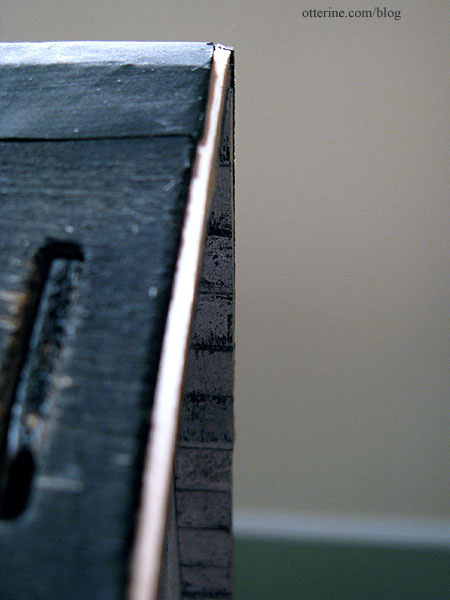
I cut trim from 1/4″ x 1/16″ strip wood to finish the front edges of the eave. These will be finished and glued in place after the roof is complete.
I’m ready to start shingling! :D


