
A number of pieces in the Heritage kit need splicing together, including the two main roof pieces. I didn’t use the splicing method for the various floor boards since nothing ruins the illusion of is it real or miniature faster than big hunks of wood holding pieces together. For the roof, though, I opted to keep them in for two reasons.
First, there isn’t anything else that will hold the pieces together besides shingles. I didn’t want to take the chance that this would be unstable. And, second, it’s an attic and uneven textures can be more easily disguised.
Instead of using the 1/8″ thick plywood splices included in the kit, I used thin wood veneer held in place with wood glue. I have some plans for the attic that will make this just the first level of stability – something to mainly hold the pieces together until I get to that part.
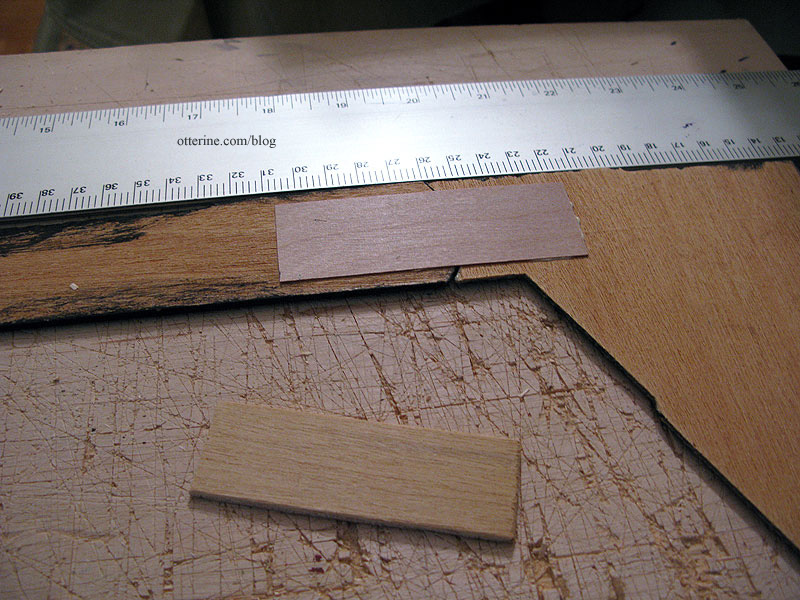
Since the diecut pieces did not fit all that well side by side, I used a T-square to make sure the roof pieces were properly aligned as the glue dried.
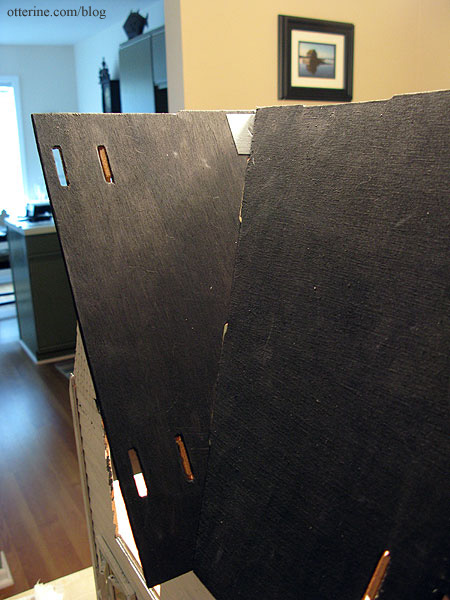
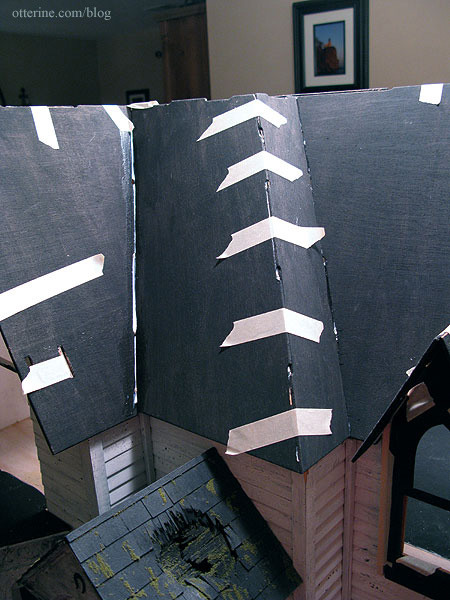
On the outside, as a temporary measure to reduce the strain on the thin wood splice on the interior, I added a piece of duct tape across the join. One more odd thing about this kit is that the splice is right where you are supposed to join the front gable roof to the main front roof. Seems like it would make more sense to have a solid support there instead of the splice. I have some ideas on how to reinforce the area and I’ll share those when I get to that part.
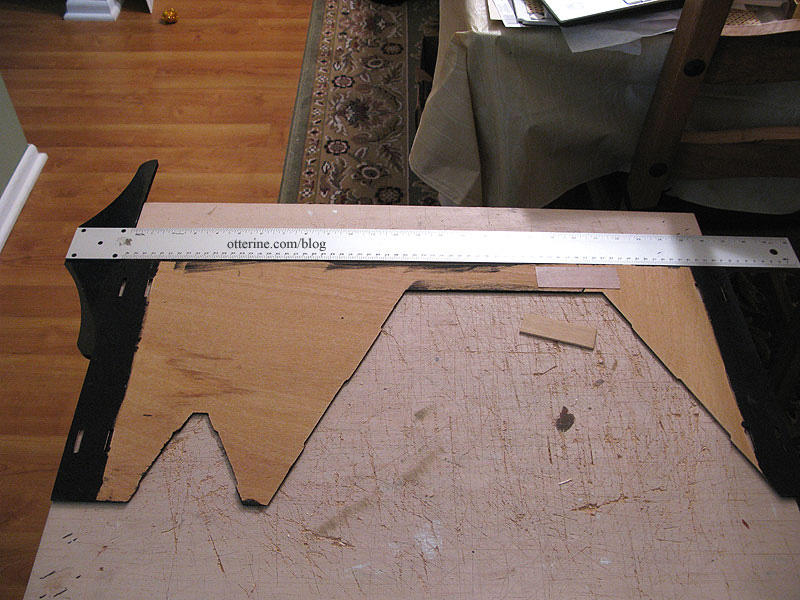
I decided to not add the shingle guidelines at this point, because I doubt they would be helpful due to the ill-fitting pieces. I plan to use Greenleaf speed shingles, which are strips of thin laser cut wood shingles. I traced all of the roof pieces onto drawing paper that I’ll later use to refine my final templates.
I glued the main front roof board to the gables. I’ll have to do some work on the attic floor before I can glue on the back roof piece. It then occurred to me that I hadn’t looked at the kit instructions for awhile, so took a look just to make sure I hadn’t missed something. :D

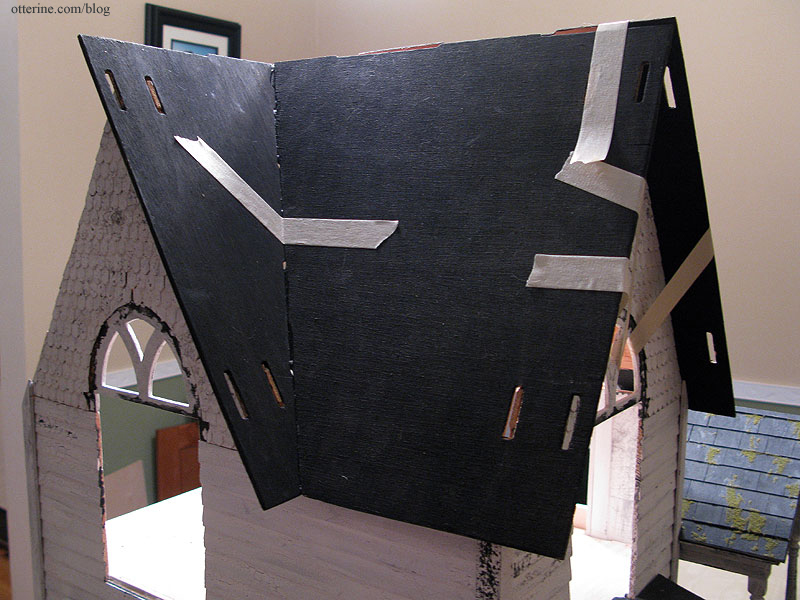
The front gable roof pieces were a bear to say the least. These two pieces did not want to fit at all. I tried to get them to match up as best as possible and just accepted the imperfections. Figuring it would be easier to mask gaps and uneven lines on the interior with wall and ceiling treatments as well as furnishings, I tried to make the roof look as best as possible on the outside.
For example, I made sure the roof pieces matched up at the bottom edge, were relatively level, and were consistent with the siding lines.
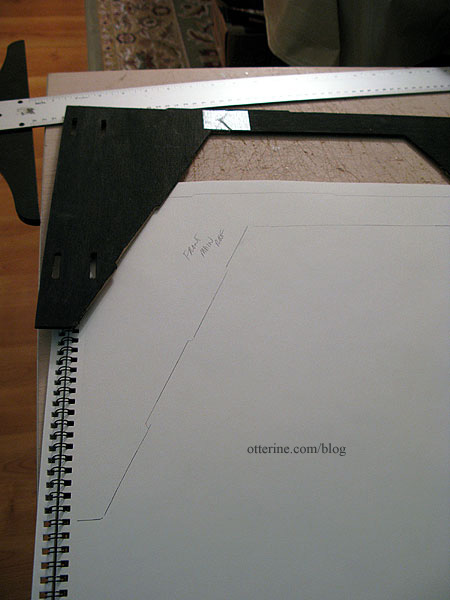
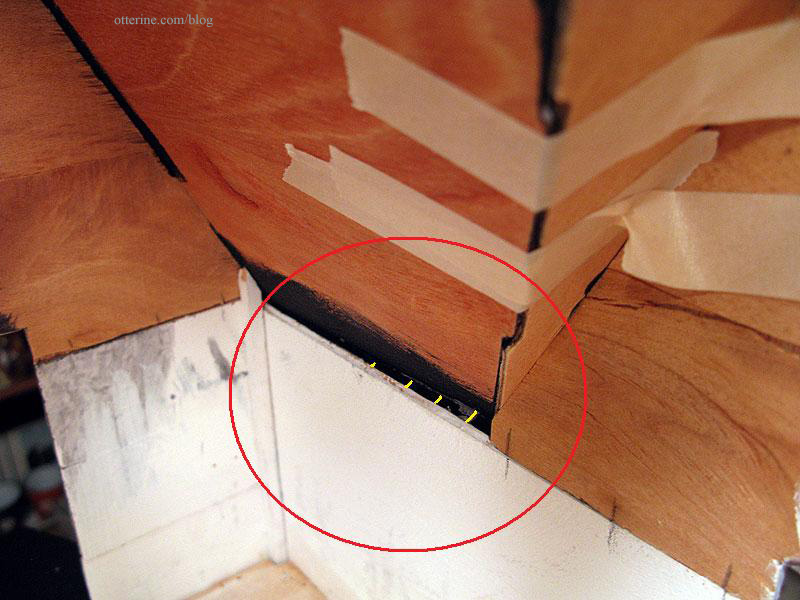
But, on the inside, the gable roof piece doesn’t meet up with the wall and there’s a large gap (shown with the yellow lines).
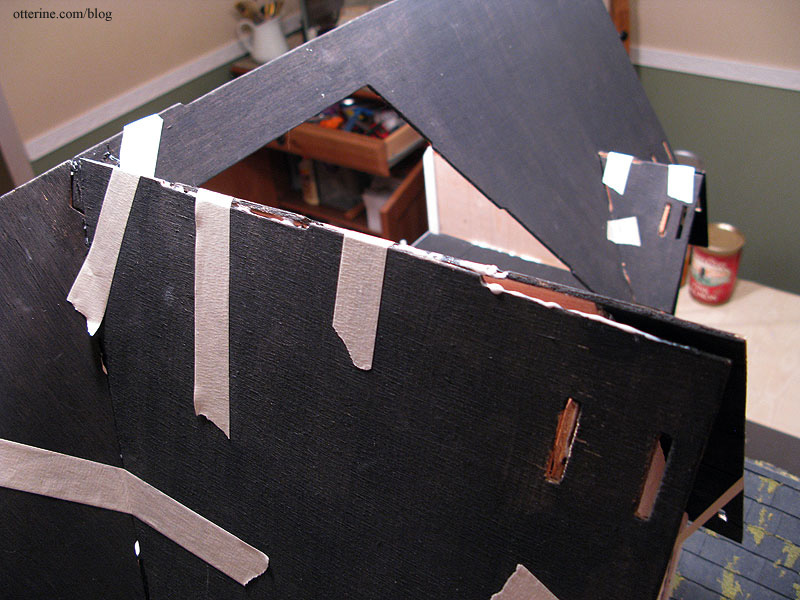
The gable roof peak is really off. No amount of pulling or taping was going to make the seam uniform. If I pulled too tight, then the front gable itself was pulled out of whack. It didn’t really work in dry fit, either, so I wasn’t surprised to find that these pieces were so far off in the final assembly. I taped the gable peak as close as possible and glued where the pieces would meet. I’ll reinforce the gaps later on as I work on the interior, but the roof is still structurally solid even with all the gaps.
Of course, once one part is off, the rest are sure to follow. I couldn’t even figure out where the problems came from. It just seemed a general problem of ill-fitting pieces from the ground up. From the other blogs and photo sites I’ve found regarding the Heritage, no one else has mentioned the roof being such a problem. It could be just a reflection of the age and wood condition in this particular kit.
There is a sizable gap in the roof over the portico, and this seems due to a piece that is larger than it should be. Since these fit together with tab and slot construction, it’s clear the instructions didn’t intend for the parts to be altered to fit.
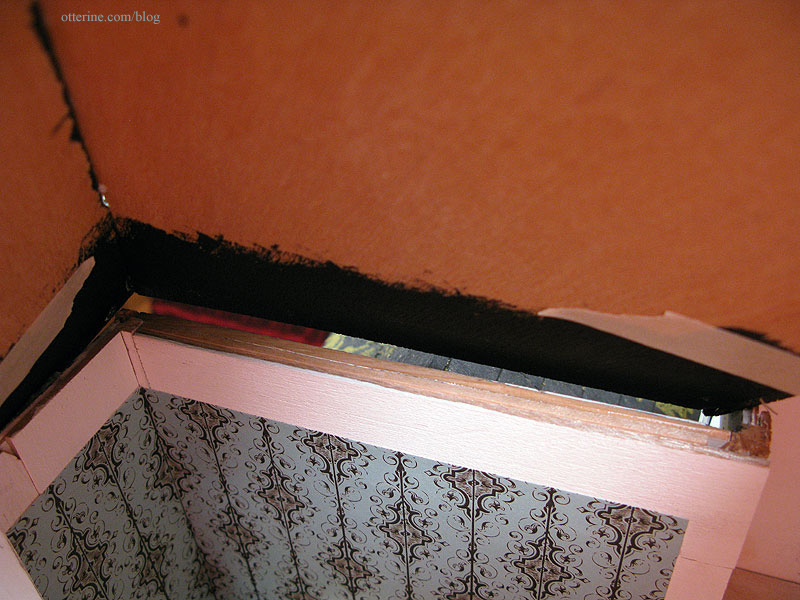
From the outside, however, it’s not even noticeable and the roof line seems generally solid. So, I just shrugged. (Note from the future in 2024 – now that I have more experience, I would cut new parts or alter the ones to fit better.)
The Haunted Heritage wants (and will benefit from) an old, rickety, crooked roof. :D And, I have to address the imperfections and gaps already – dealing with a large gap is just the same as dealing with a small one. I have to tell you, though, I am glad I didn’t waste my time drawing those shingle guidelines! My templates might even be unusable, but that took only five minutes to do. ;]
—–
Continued in part 2.


