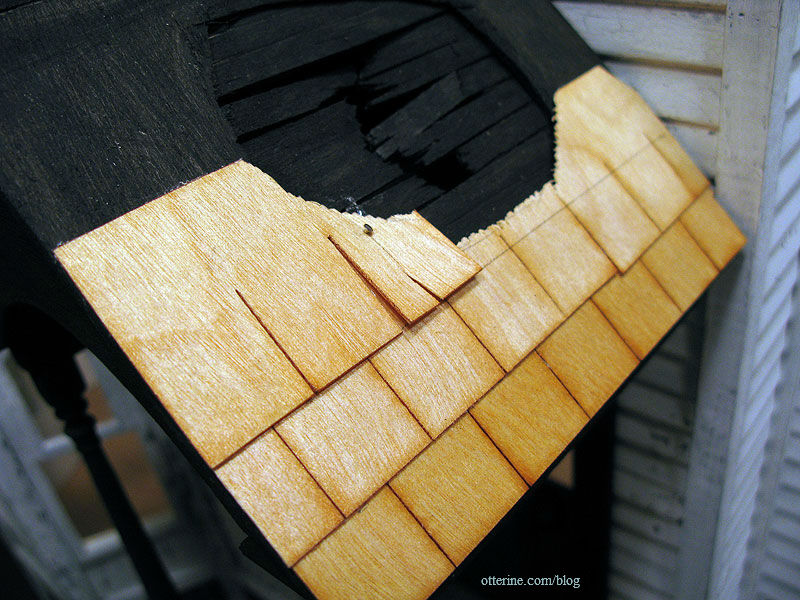
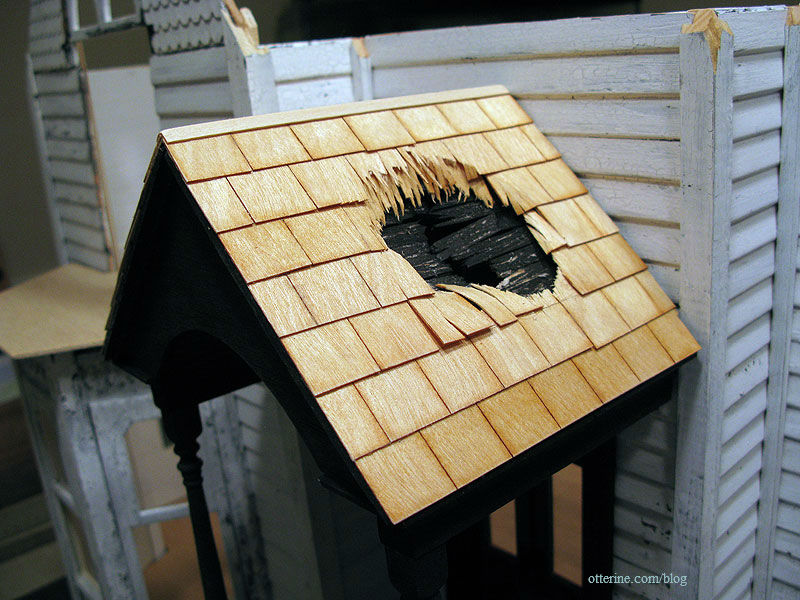
Completing work on the portico. I used Greenleaf speed shingles on the portico roof, this time in full scale. They are easily cut with scissors and bend with a bit of coaxing. I opted for Quick Grip glue since it worked so well on the half scale speed shingles on the gables.
To hold some of the shape, I stuck dressmaker’s pins through the shingles and into the soft balsa. I’ll make sure to hide any of these extra supports with the shingles in the row above them.
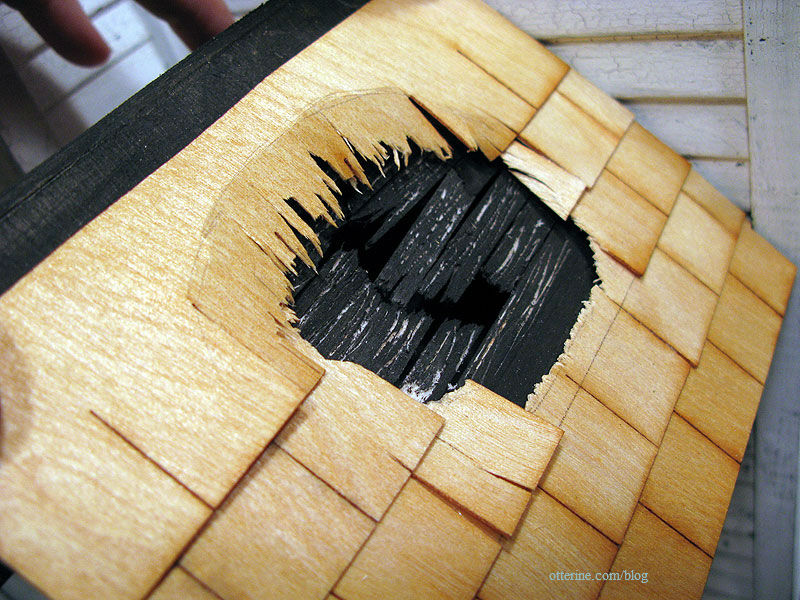
Around the hole, I shredded the edges with scissors and then broke excess pieces off with my fingers. I glued a few loose pieces around the bottom of the hole.
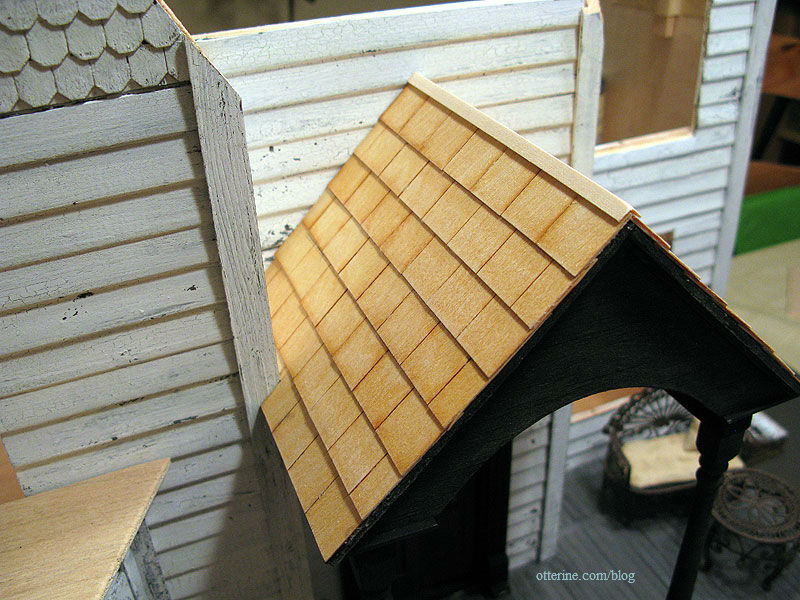
The house side is rather plain at the moment. The ridge cap is corner trim.
That must have been a rather large tree branch!
I painted the shingles black to start, stippled on with a stencil brush for just a bit of texture.
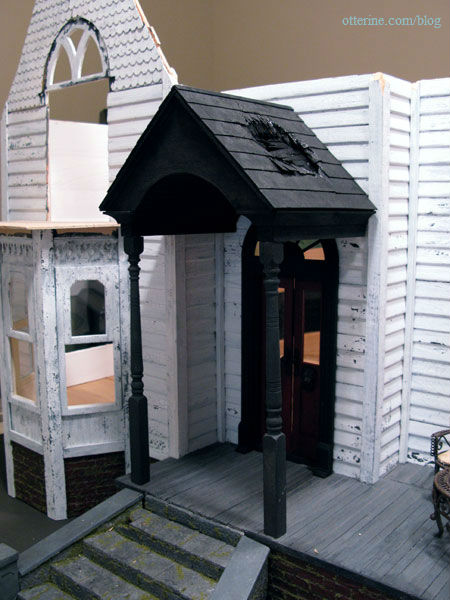
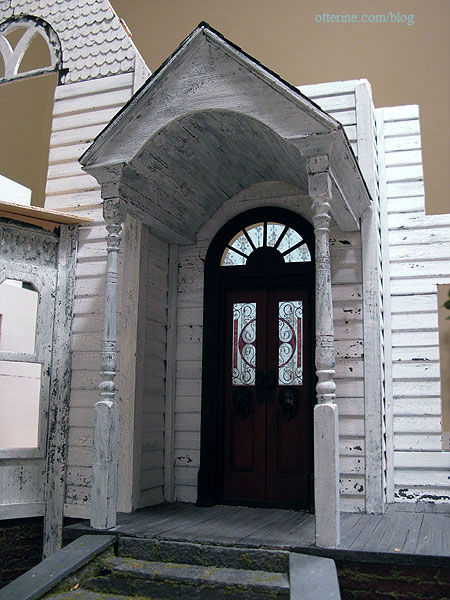
After this dried, I added the crackle medium to the main portico structure followed by white paint. It brightened up the entryway and put the focus back on the front door.
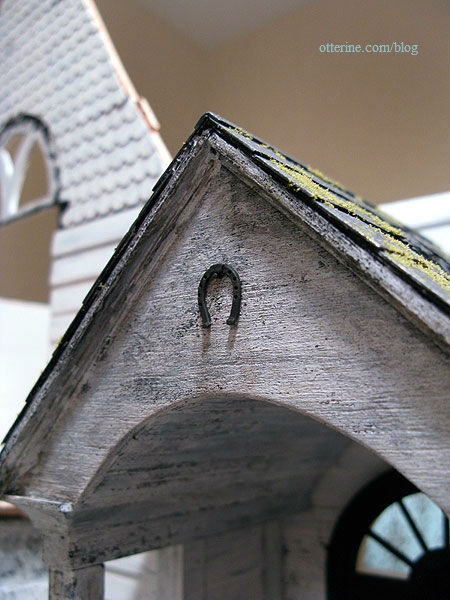
I aged the portico roof with various washes and then added some moss.
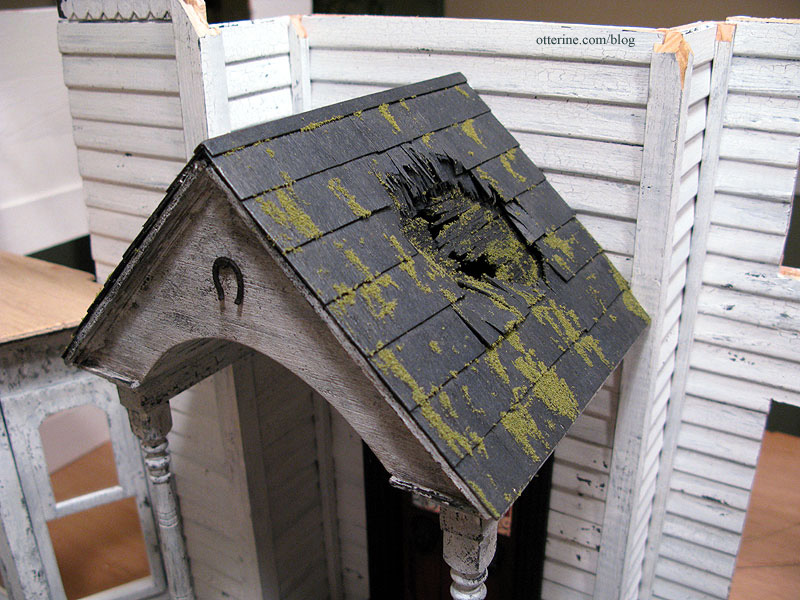
In a nod to my childhood farmhouse, I hung an aged horseshoe on a nail on the portico facade. Do you think it will bring you good luck? ;]
Just to clarify since a couple of people mentioned the upside down horseshoe was letting all the luck run out, I believe the horseshoe has an unlimited supply of good luck and it is hung upside down to shower you with this good luck as you pass under it. Chalk it up to my generally optimistic outlook. :D
Once the entire portico assembly was dry, it was finally time to attach it to the house.
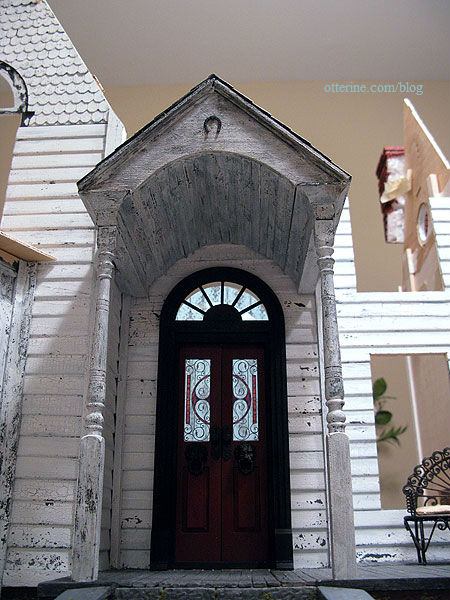
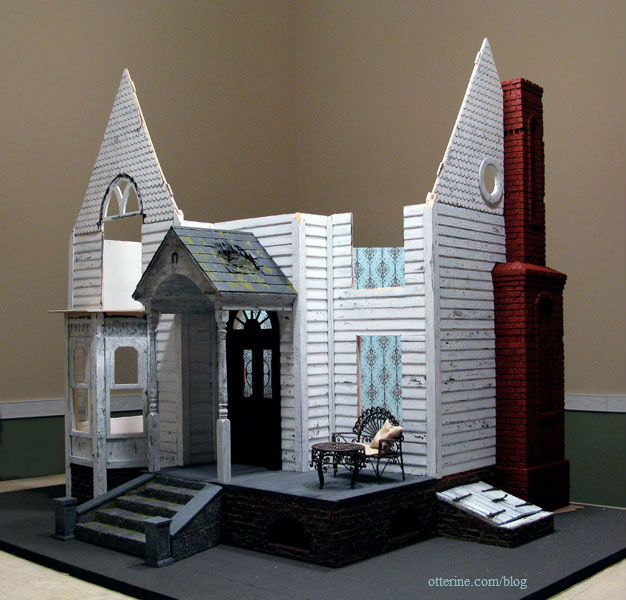
The portico tips forward, suggesting whatever caused the damage might eventually lead to its falling off the house completely.
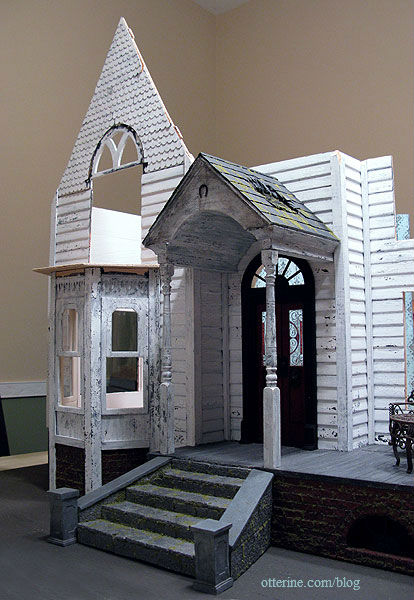
Raccoon peeking out or not, I love the way the portico turned out.