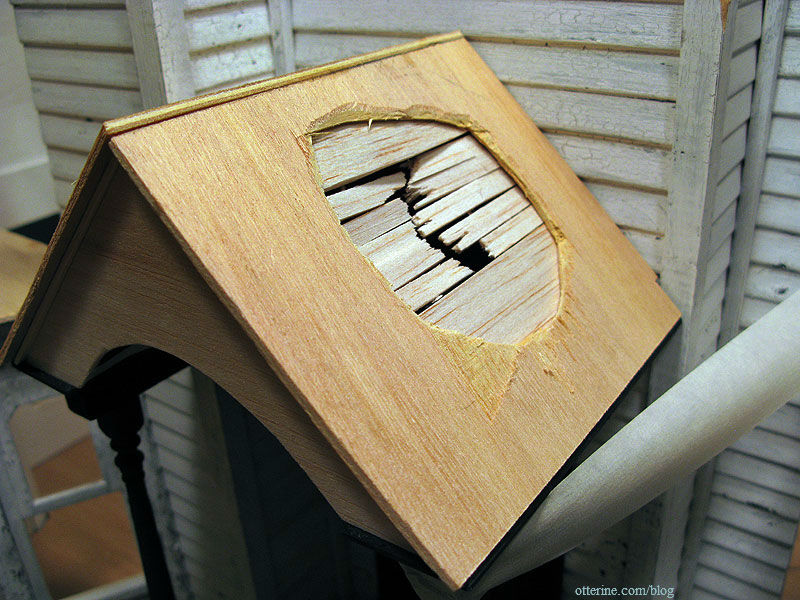
Continuing work on the portico. For the roof pieces, I used the now unnecessary porch roof piece from the original kit. It’s 1/8″ plywood that is old and brittle enough to be flexible.

I cut a rough hole to show the rafters I added. I could never have done this with new plywood given the limited tools I have.
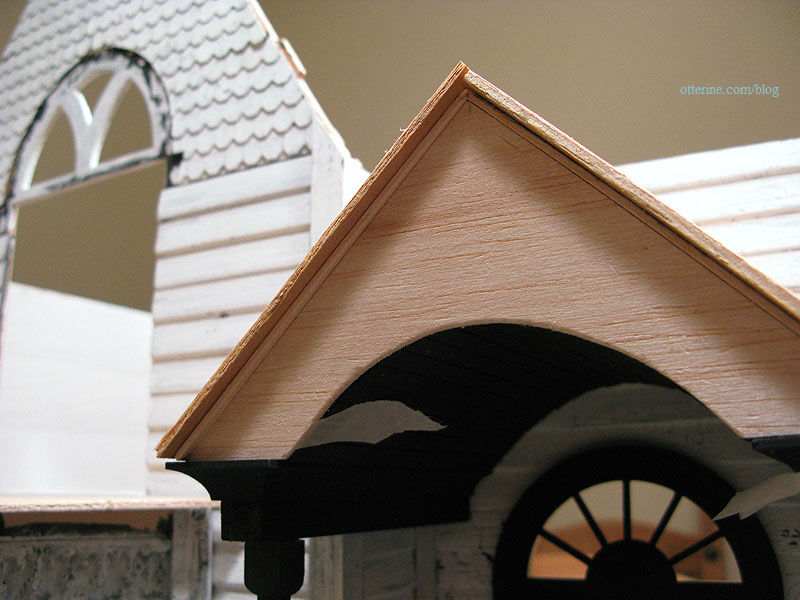
I then used wood glue to join the outer roof pieces to the portico structure. I cut the pieces with just a bit of overhang past the trim I had added earlier.
I painted the bare wood black. Again, this is all just the dark under layer. The portico and posts will be white, with dark shingles on the roof.
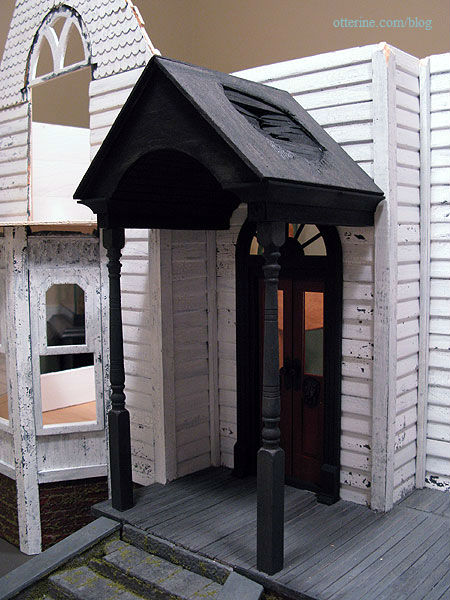
Since I wasn’t sure if the solid portions above and below the broken rafters would show during the shingling process, I added lines with a stylus to mimic the pattern of intact rafters.
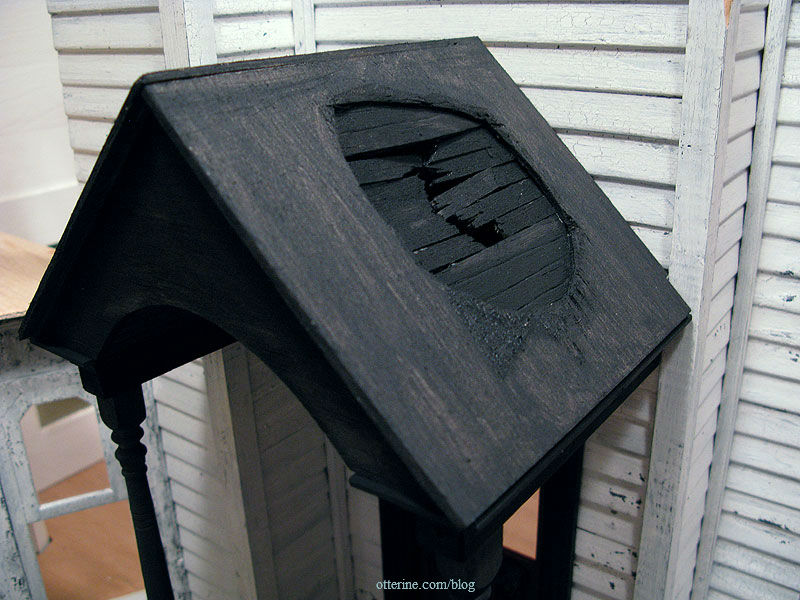
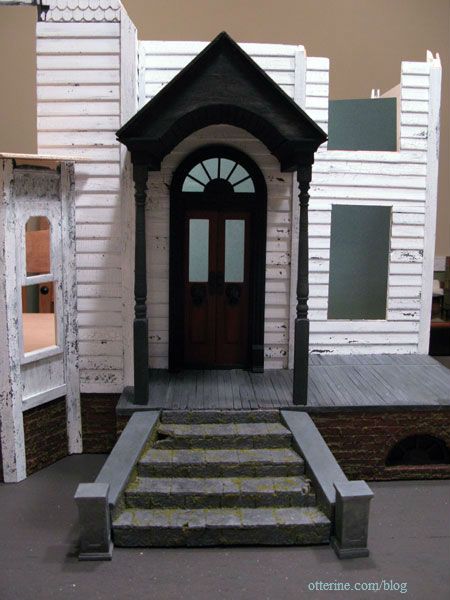
I love the line from the end of the steps to the point of the portico roof. It’s so much better than the original flat porch.