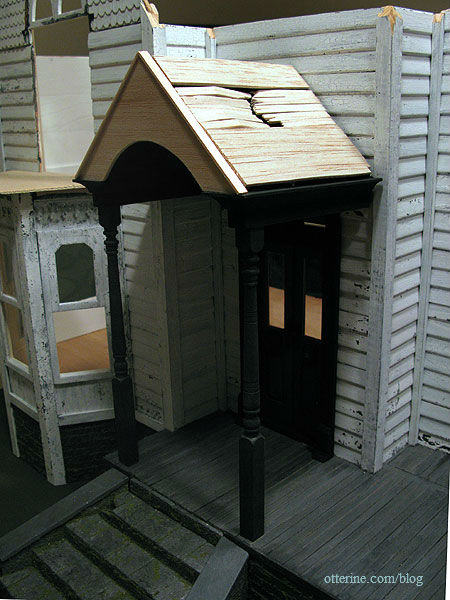
Continuing work on the portico. First, after raising the roof structure, I had to cut new front posts. Much better.
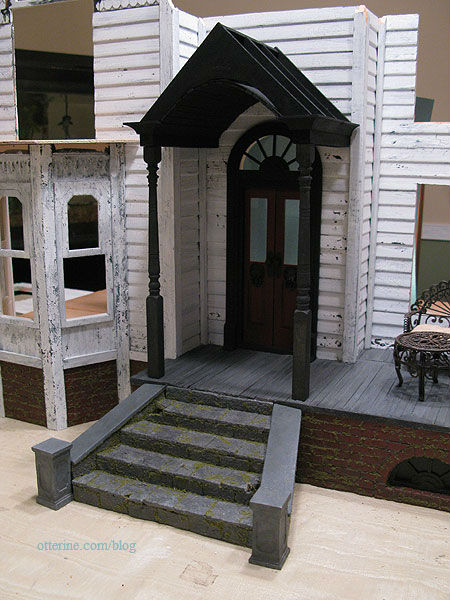
I then painted the structure black. Sinister, no? ;] It won’t stay this color. The black is merely the base layer.
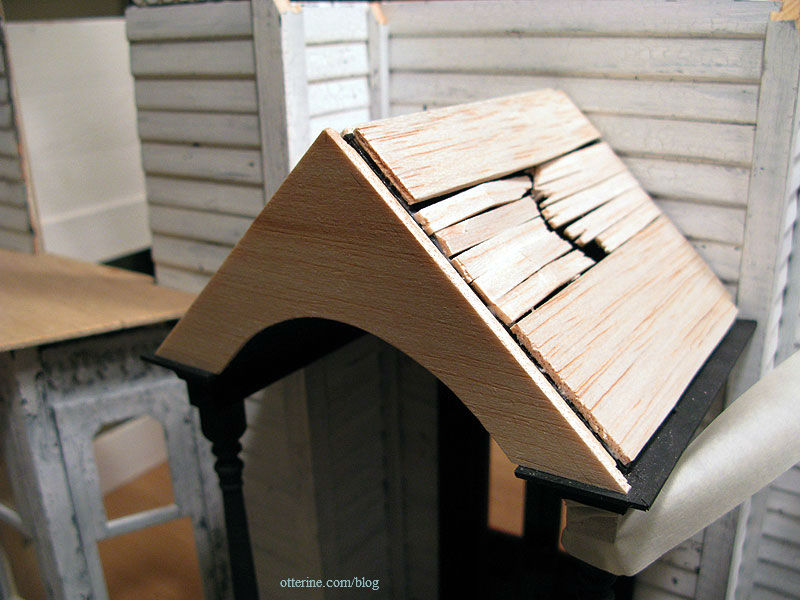
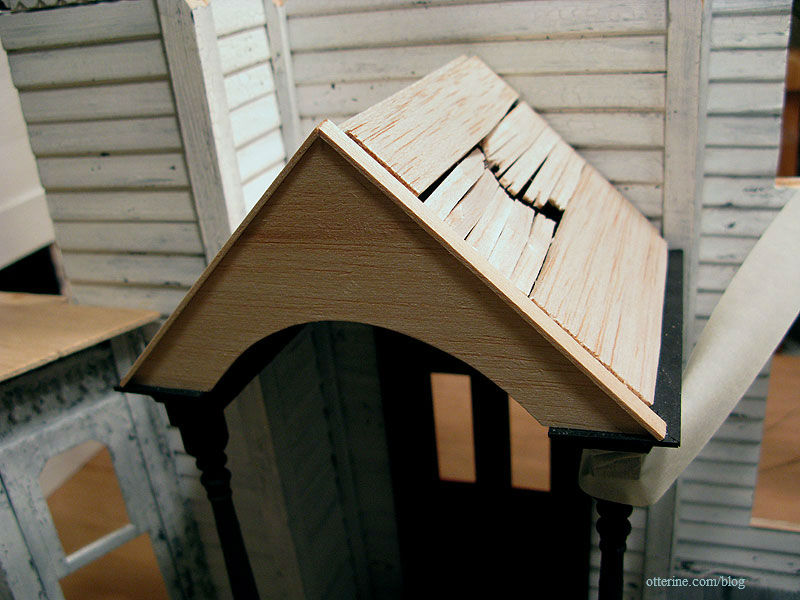
I wanted the roof of the portico to look worn and in need of some repair. I began by cutting pieces of 1/8″ thick balsa to build up the roof, one piece for each side. On the outer side of the portico, I added a section of rafters.
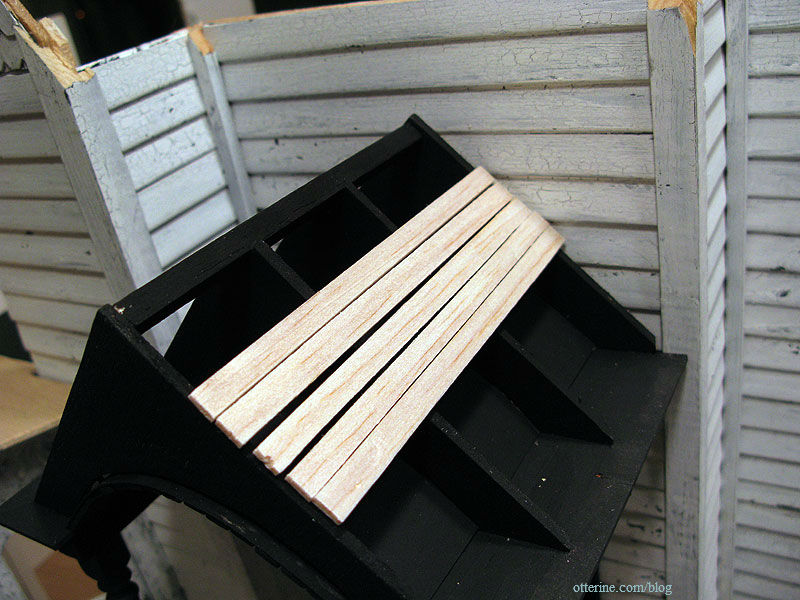
To get a deeper sag in the roof, I cut down the triangular roof supports. The second one broke as I was cutting but it snapped back in place.
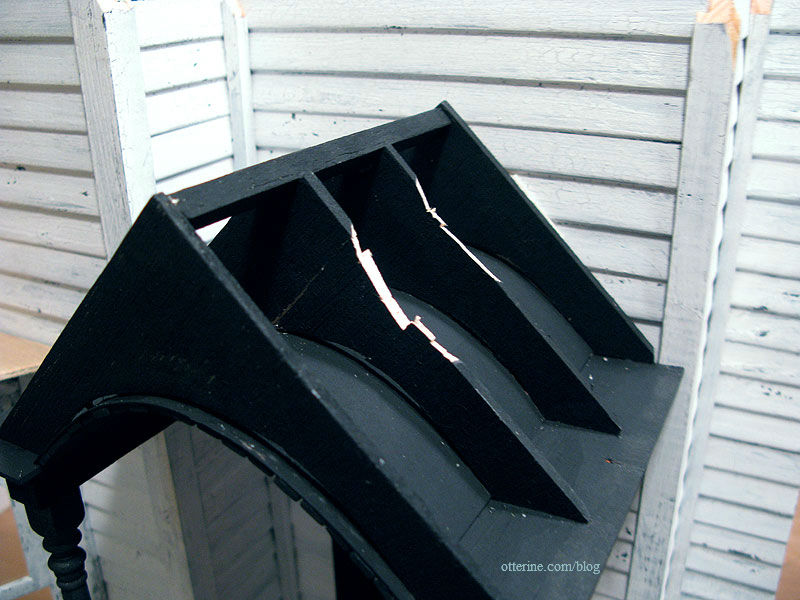
I then broke the rafter pieces near the middle, splintering them and cutting them short on the ends to leave a gap. I left a little bit of breathing room between the rafters as well. Lyssa better get those raccoons ready!
For the side near the house, I left the first layer of wood untouched.
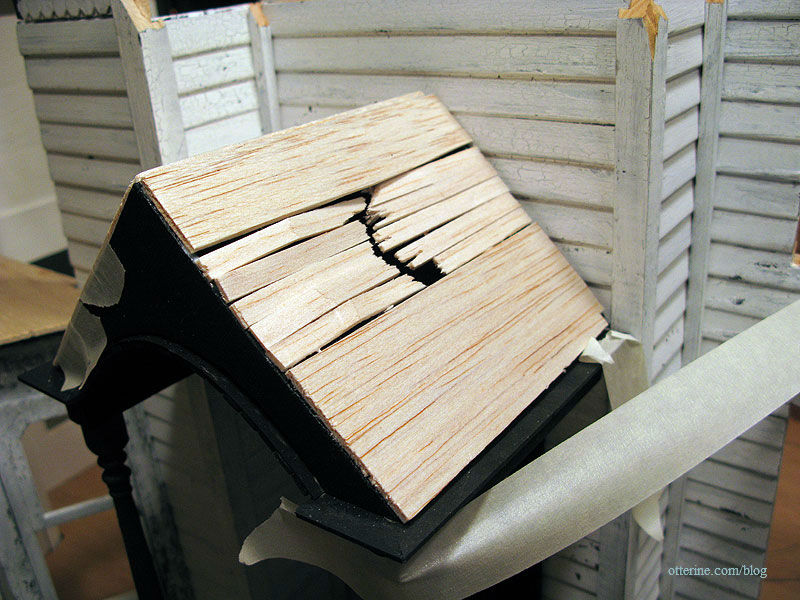
I added 1/8″ x 1/8″ strip wood to the frame to push the facade forward, matching the depth I had made with the ceiling boards.
I then cut the facade piece for the front of the portico. I had planned to use bass wood but opted for 1/8″ thick balsa instead. It’s just easier for me to cut with hand tools and end up with a good curve. I was able to sand it smooth, and it’s only slightly off from the front curve of the ceiling boards.
On top of the facade, I added 1/16″ x 1/4″ strip wood to trim between the facade and the yet to be cut roof pieces.
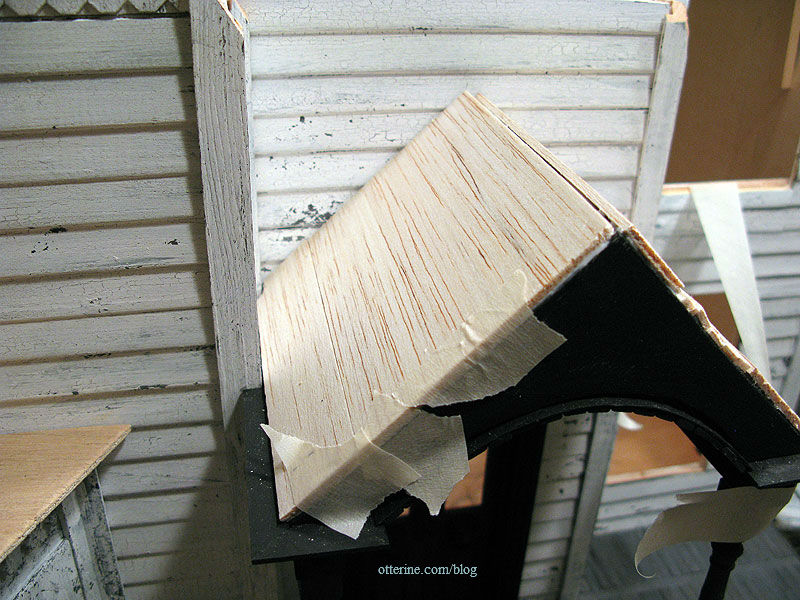
If this all seems a bit random, it’s because it is. I really made things up as I went along. If something didn’t fit, I added or cut down. A lot of trial and error went into this portico.
For instance, once the upper trim was in place, there was a discrepancy between the level of the trim and that of the roof on the side of the house. To fix it, I added a bit of extra wood, but only at the bottom. This will cover the discrepancy on the outer edge while allowing for a sagging roof toward the top and back. I knew I wanted a sagging roof all along, but I had to figure out how to get there.

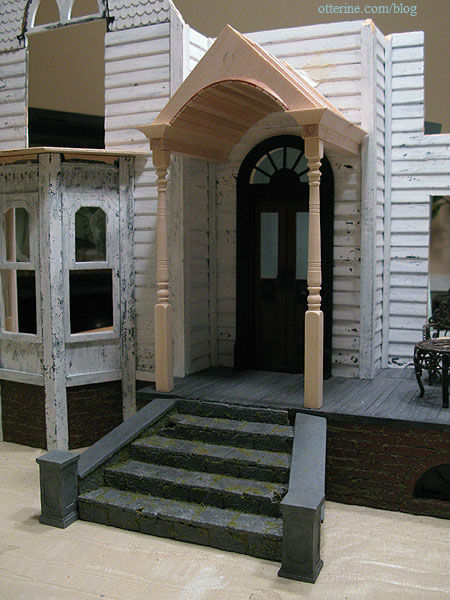
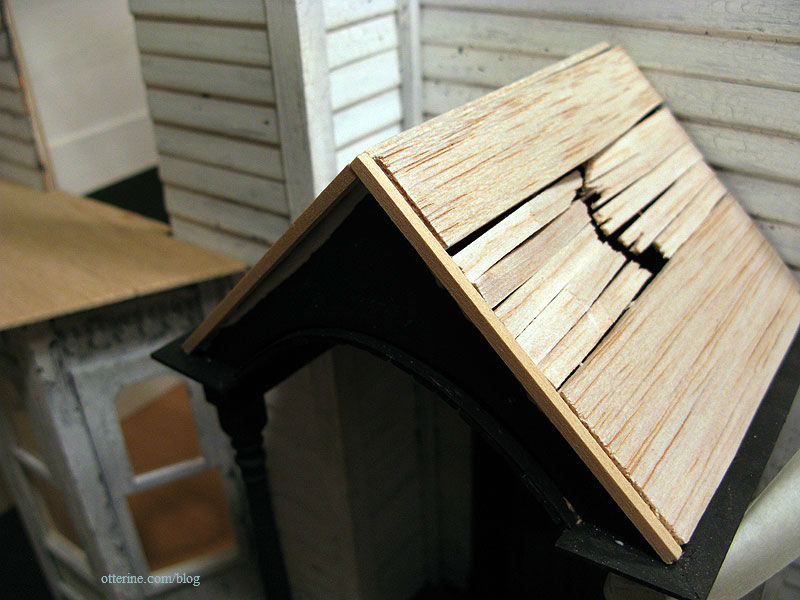
I think it’s turning out well so far. Upping the creep factor, just a smidgen.