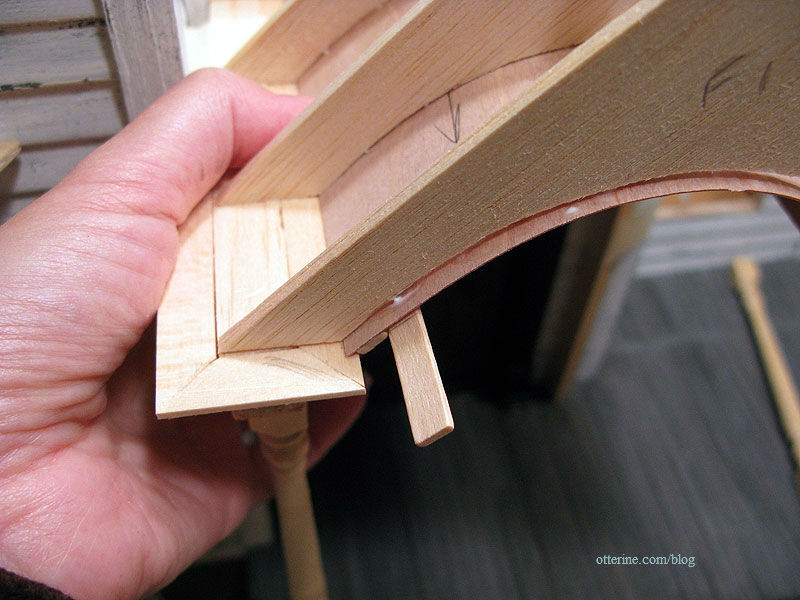
Continuing work on the portico. Once the glued had dried on my arch supports, I lined the arch with 1/64″ veneer. This evened out the arch and gave me a good base for gluing the ceiling boards.
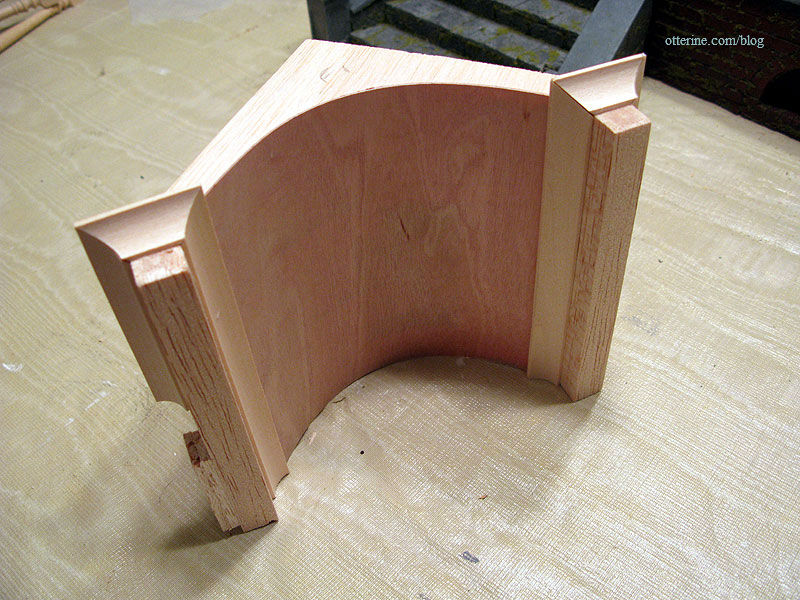
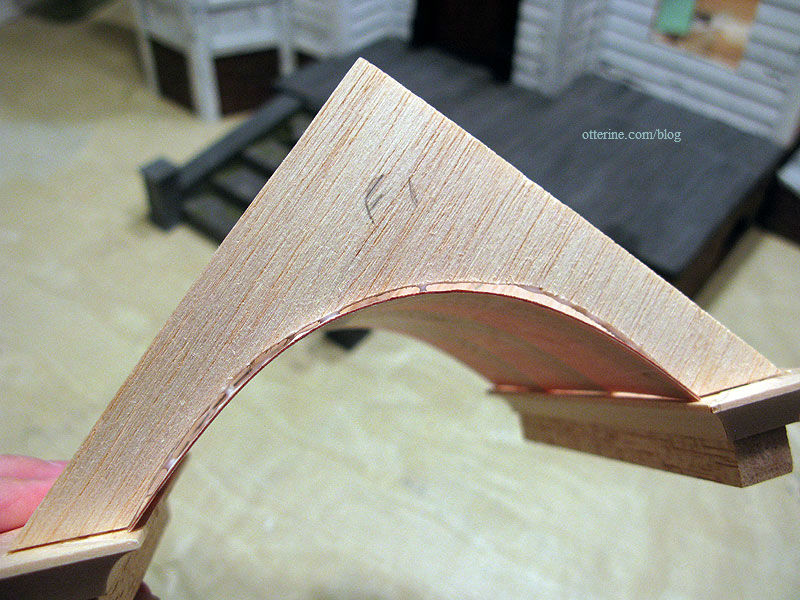
I did glue the veneer in place but let the natural arch that developed from bending the wood serve as the final shape. As my arch supports were not cut evenly, this actually improved matters. (This was prior to purchasing a scroll saw.)
I tried to remove the sticker, but it was on firm…so I just turned it to the inside. Probably wouldn’t have shown under the boards anyway but I didn’t want to take the chance.
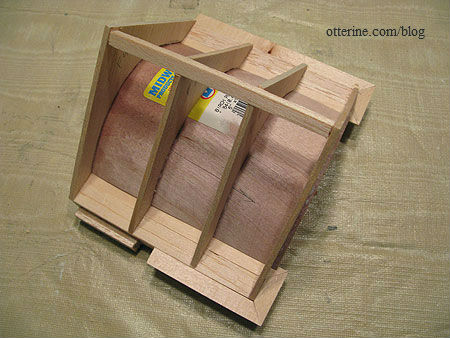
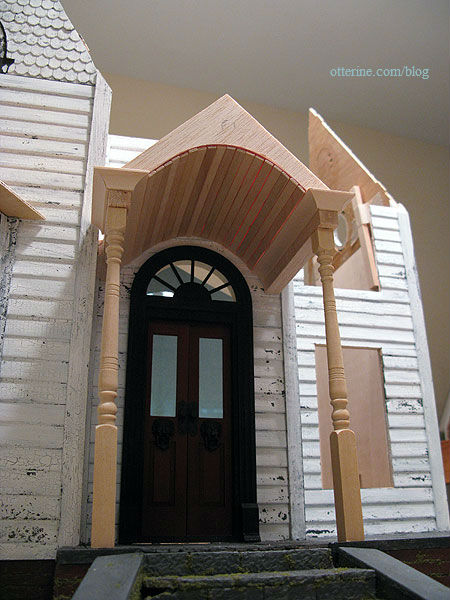
The ceiling boards are skinny craft sticks, just like the porch floor boards. This time, I did weed out any warped or heavily damaged ones. As it turned out, an even number of whole sticks fit perfectly in the arch. I didn’t need to cut any lengthwise.
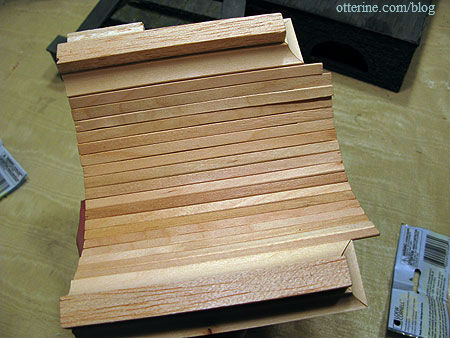
I taped the support structure to the house and measured each board in order, one at a time. I knew they fit in this particular order, so that’s what I followed. I had to measure one at a time since there was a variation in depth needed due to the house siding.
Since I was working in place with the boards upside down, I used Aleene’s Fast Grab tacky glue.
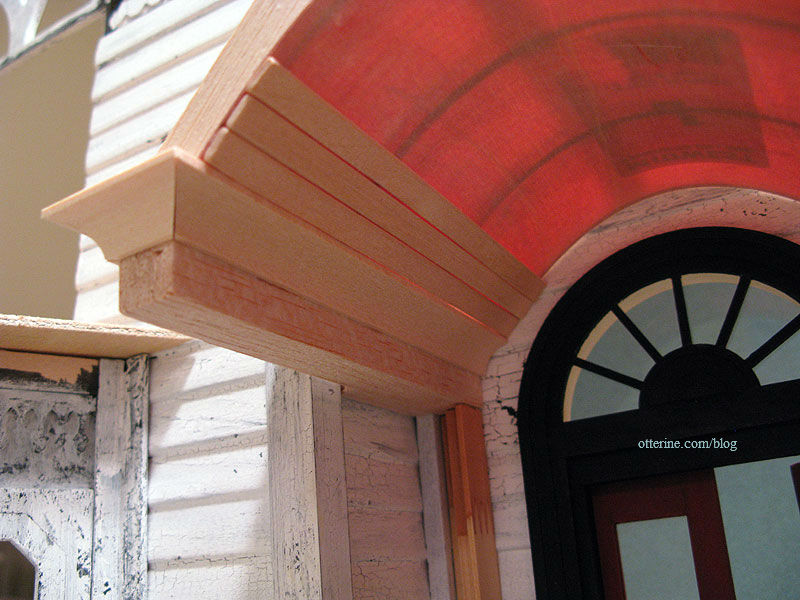
Some light shows through, but that will all disappear once the rooftop is on.
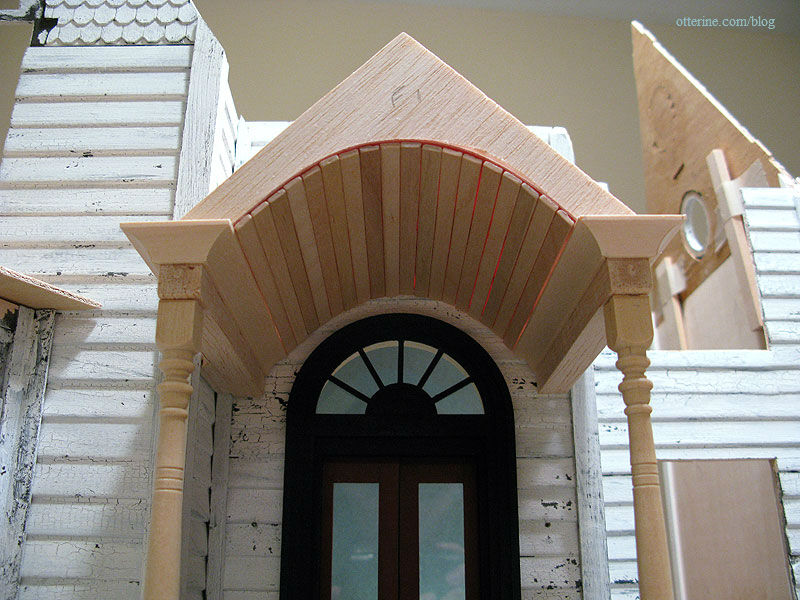
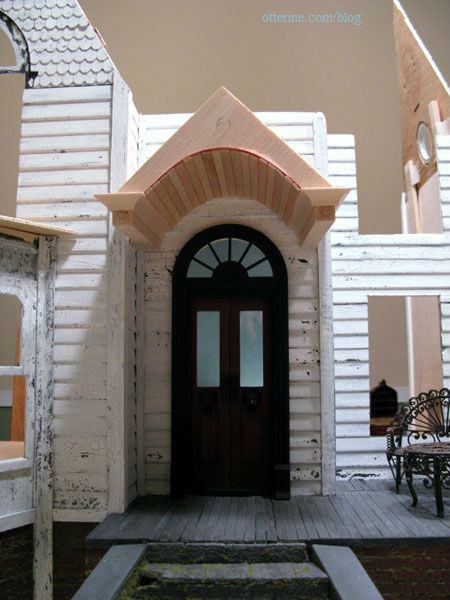
The arch is a little flat on one side especially and doesn’t exactly mimic the door arch, but that’s most likely the result of some poor measuring on my part. Ah, well, I still like it and think I did a pretty good job for this being my first portico.
With the sun porch railing in place, it’s finally starting to look like something!
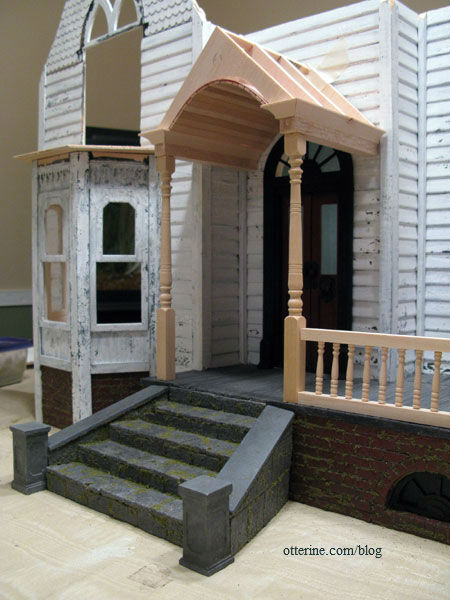
Update: I raised the whole thing to make the imperfections in the arch less obvious, and it looks like that helps. It was definitely crowding the door. I just need to cut new support posts.