Continuing planting The Tree. I apologize for the few blurry pictures. :\ I was trying to work quickly and still take photos.
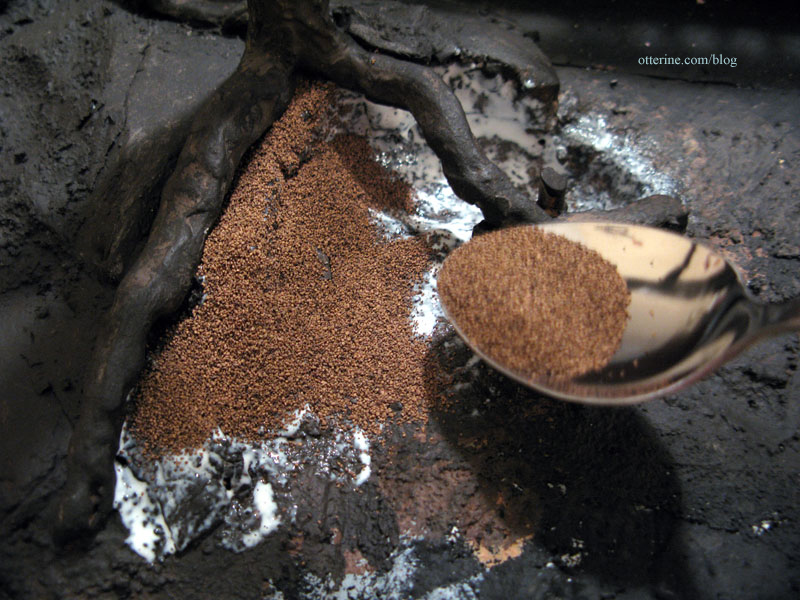
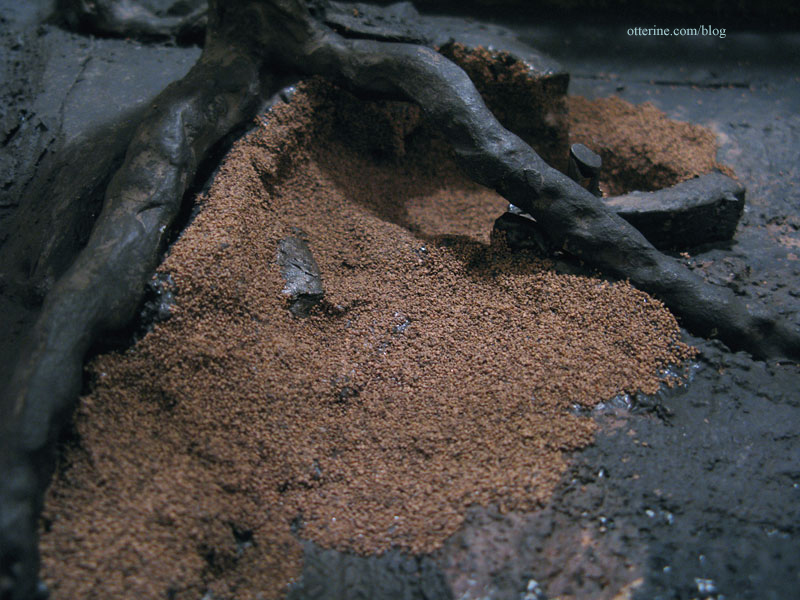
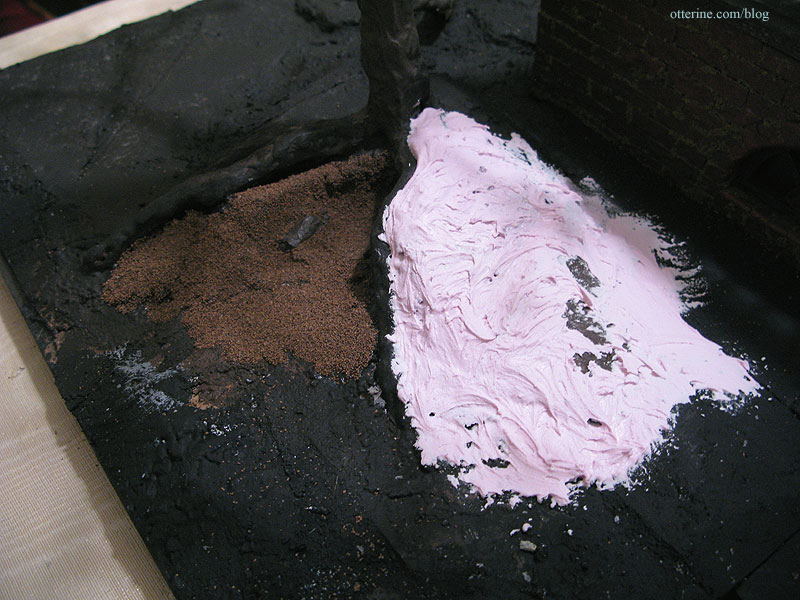
I used Ballast Fine Dark Brown by Woodland Scenics for the earth portion of the landscaping. I’ll add more later in other areas, but I mainly needed to finish the interior of the burrow. I probably should have used a finer material for good scale approximation, but it was important that the landscaping materials not be “dirty” or have the ability to rub off easily for the simple fact that I would be placing Grahame inside the burrow and didn’t want anything to stain or mar his fur. I was afraid anything with a powdery texture would do just that. During the painting and finishing portion, I had him far away from the mess.
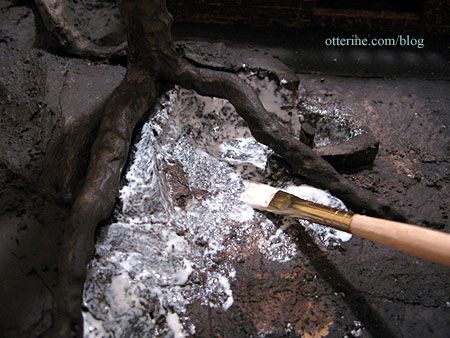
I started with Aleene’s Quick Dry glue put on with a brush.
Using a spoon, I added the ballast to the glue.
And, it didn’t work at all! Hahahahaha. Quick Draw McGraw glue is right! Hardly any ballast stuck and I was left with shiny dirt. Well, I guess I now know how to create slippery waterfront rock.
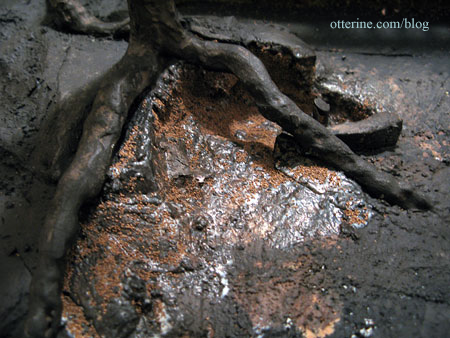
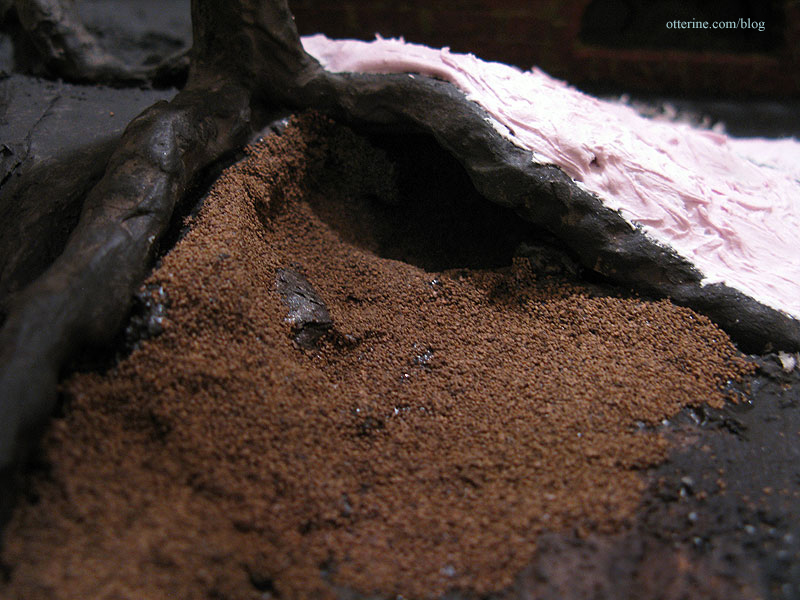
I applied Weldbond this time, and in smaller sections, and spooned more ballast over the areas. After letting it set while I had a snack, I brushed away the excess and vacuumed what the brush couldn’t remove. Success!!! I had left one ledge of foam bare, because I thought it looked like a rock. (Note from 2024: I would now use Scenic Cement for projects such as these but didn’t know about it in 2012.)
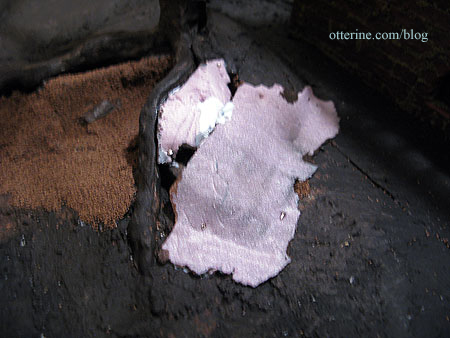
Prior to gluing them in place, I had painted the mesh and some foam pieces to be used to complete the upper portion of the burrow. I don’t think the interior of the burrow will be readily seen, but this will keep any silver metal or purple foam from showing on the off chance you can see inside once it’s complete. I painted more foam than I needed since I wasn’t sure of the configuration I would need.
I glued the piece of foam that contoured to the tree root first and then added a very thin piece of foam to enclose the back. The painted sides are facing down over the burrow.
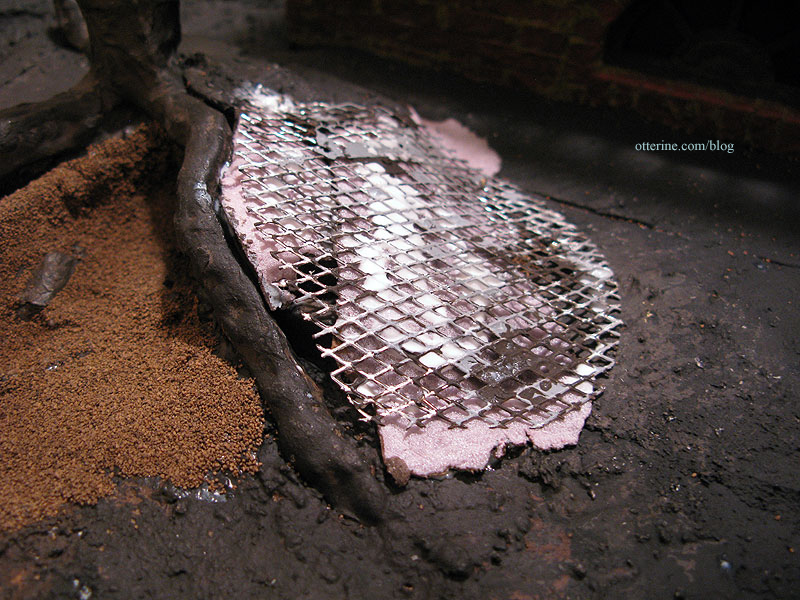
I adjusted the shape of the mesh and glued it in place, again painted side down. I used straight pins throughout this whole process.
I glued the remaining foam on top of the mesh then stuck my finger into the burrow to make sure there was nothing sharp or intrusive sticking out. :]
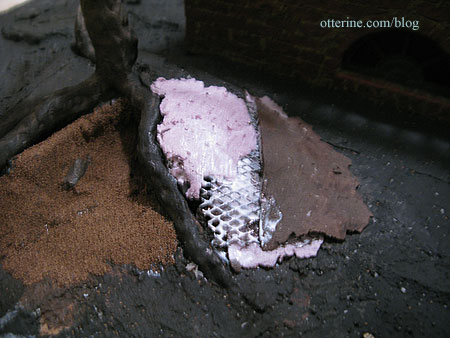
There was no more stucco left, so I spread spackling compound to even out the edges and gaps for this final portion of the landscaping.
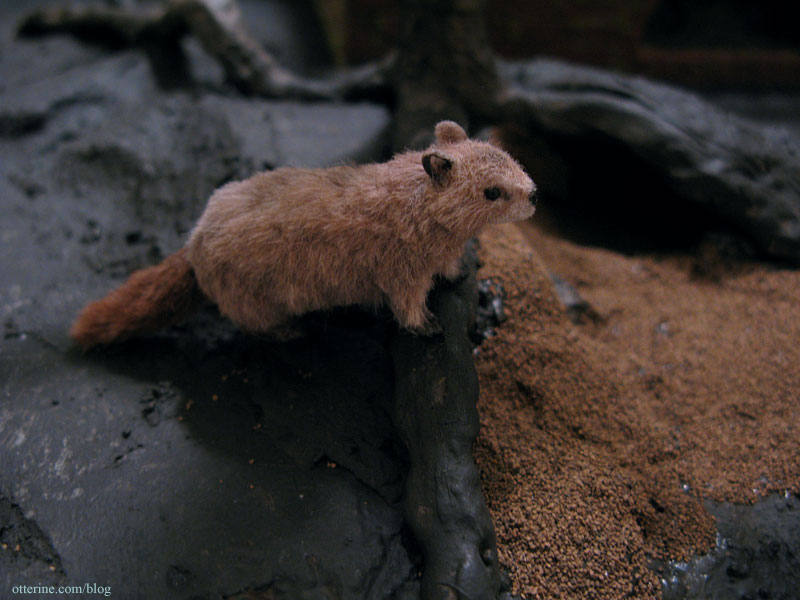
I am really resisting the urge to put Grahame in that burrow!!! But, I don’t want to risk getting any wet glue or stucco on him.
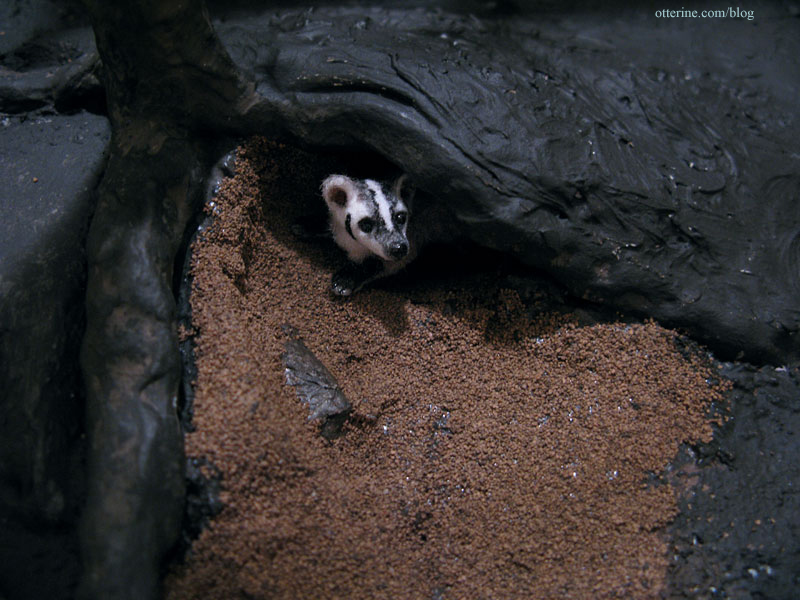
After letting this all dry completely, I primed and painted the spackling. He certainly does look right at home.
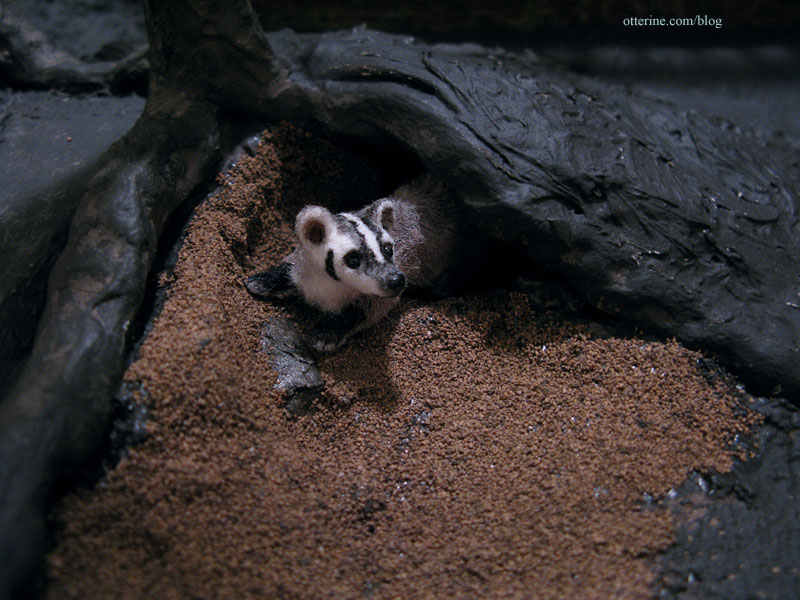
And, he goes way back in there! :D I love it so far!
Woodrow came to check things out, but that is a Grahame-sized burrow. It’s too short for Woodrow. Good thing he’ll have his own home elsewhere.