
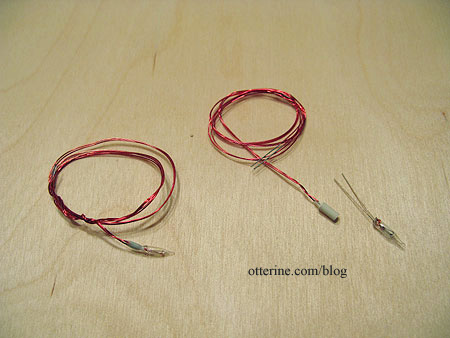
The Chrysolite sconces had non-replaceable bulbs that I decided to swap out for replaceable ones. At first, I thought I would have to use candle sockets with thick wires, but I did some research and discovered and Cir-Kit Concepts makes candle sockets with varnished wires, the same type that came with the kits. :D
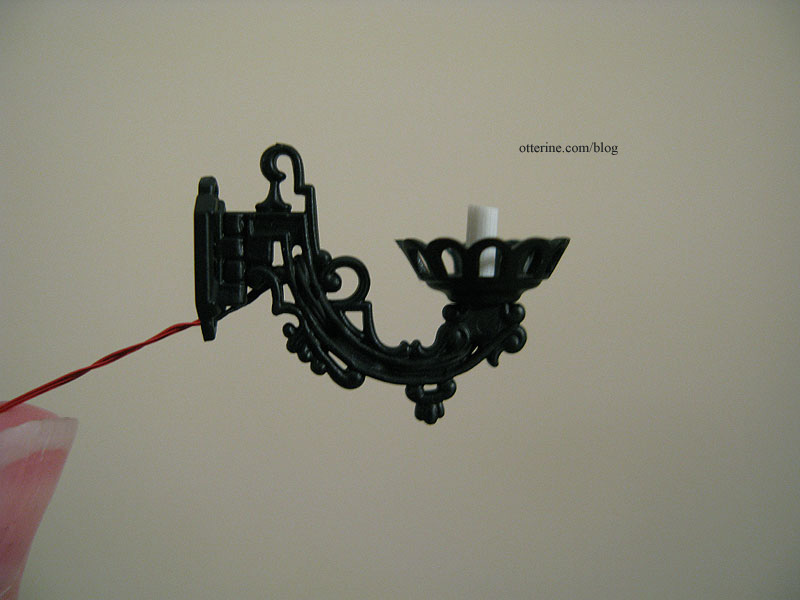
The sconces were molded in black plastic, but I still used flat black spray paint to take away the shiny plastic appearance. These fixtures have beautiful and delicate detailing only possible with plastic kits, but they don’t look at all cheap.
Threading the wires wasn’t exactly easy but there was no way I could have used regular white wire replaceable bulb sockets. The varnished wires fit perfectly.
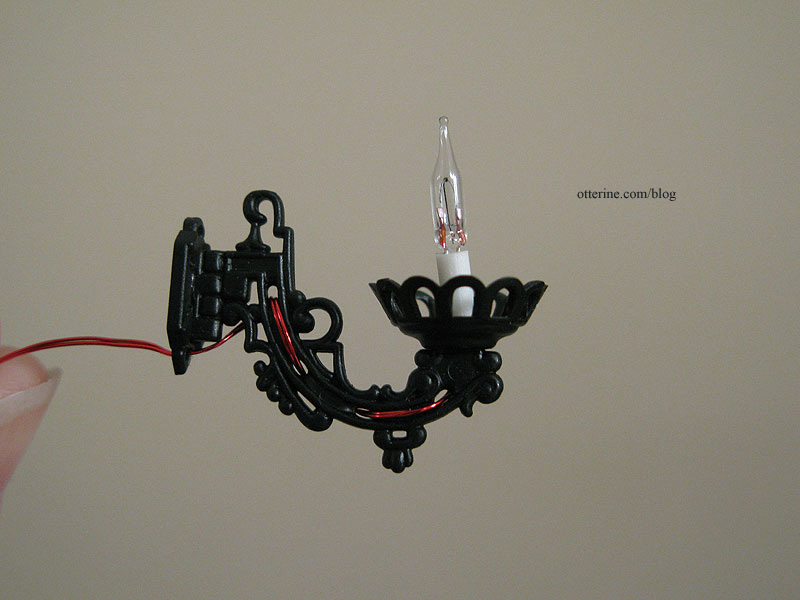
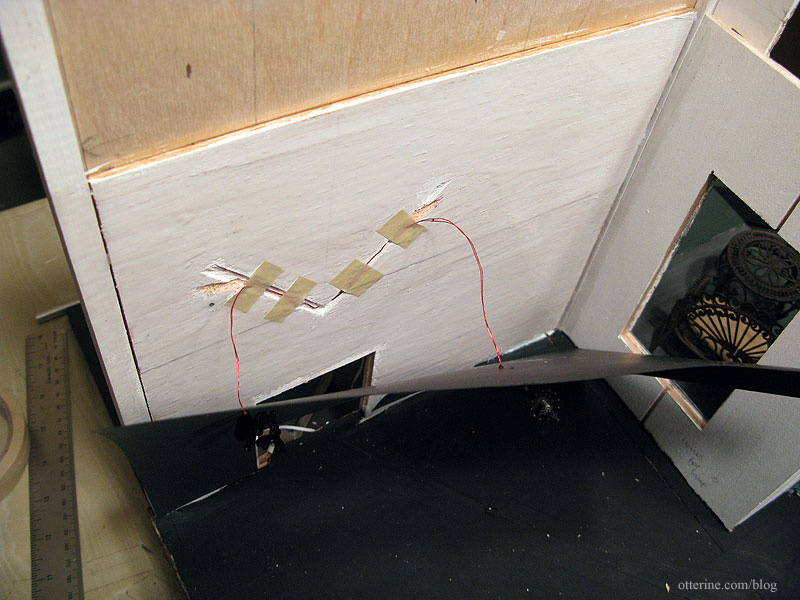
I used some black acrylic paint to cover the red wires so they wouldn’t be as noticeable.
Installing these rascals involved a lot of “chicken or the egg” reasoning. I had made the channels for the wires previously. The wires will not be poked through the wall to the exterior until they reach a center point. So, part of the wires will run on the interior wall. I had to figure out how to get the sconces attached to the wallpaper, paste the wallpaper in place, and run the wires into the channels. This is why I buy extra paper! This scrapbook paper is by Recollections and is a glittery deep green with plain black on the back.

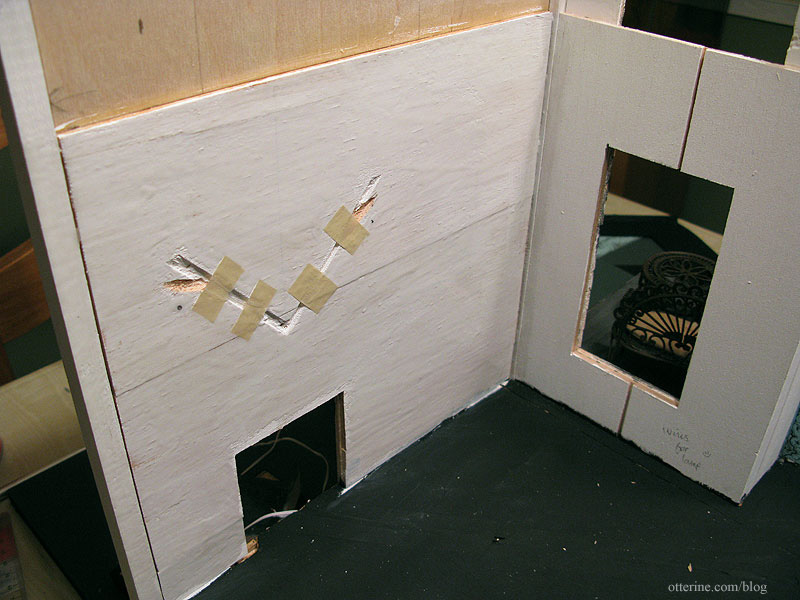
First, I made sure the wallpaper piece was cut correctly. Next, I marked where the sconce channels began behind the wallpaper. I poked holes in the wallpaper and fed the wires through, leaving the sconces loose. I did a quick dry fit, and realized I had the sconces too high. Since I didn’t want to re-cut the paper, I dropped the holes by 3/8″ (the size of the sconce back plate) so the original holes would be covered. I re-cut the channels in the wall to make up the difference.
I put a few small pieces of tape per channel to make a pocket for the wires while still allowing for movement. I figured a whole strip of tape would just stick to the wires and make it difficult to pull them through. More on that in a minute.
I then applied Yes! paste to the wall. (Note: I no longer recommend Yes paste – I use Wallpaper Mucilage instead. Yes paste has problems with longevity.)
Then came the “I hope this is going to work as well as the plan in my head” moment. I fed the wires behind the tape and out the holes in the wall. Using my third and fourth hands (bahahahaha), I somehow managed to press the wallpaper down while pulling the wires out through the holes to the outside of the wall, pausing for a second to apply some glue to the backs of the sconces so they would remain in place once the wires were pulled taut. I taped the wires on the outside of the house so they wouldn’t slip as I worked.
I then smoothed, straightened and stopped swearing. ;D I also clamped the back edge of the wallpaper to make sure it would seal tight. This was not something I wanted to have to do over. This paper doesn’t much like to stick, as I noticed when I put it on the pocket door wall.
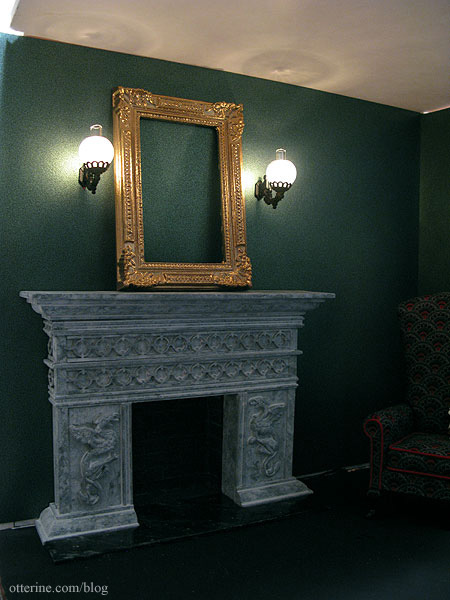
I added the glass globes, propped my mockup ceiling in place and tried out the lights with the frame (still to be aged) that will sit between them. Love!
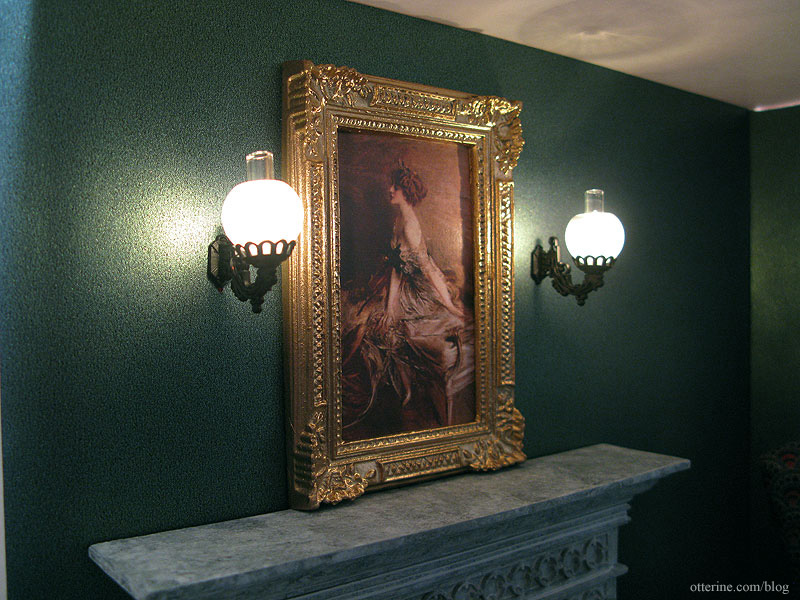
For a final treat tonight, I tried out two works of art by Giovanni Boldini. These are quick printouts on regular paper. Before using them, I will sharpen and brighten them in PhotoShop and print on Art Canvas by The Crafty PC.
The first is a 1911 portrait of Princess Marthe-Lucile Bibesco. I love this painting, though I just discovered it only two days ago when I was searching for the second painting below.
The second, and my original idea for this space, is the 1905 portrait of Elizabeth Wharton Drexel. I first saw this gorgeous painting in person during a trip to Newport, Rhode Island. It is located in The Elms, one of the magnificent mansions there. While the first painting is darker and has sharper brushstrokes, this one ties in the reds and oranges in the room and lightens the mood just a bit.
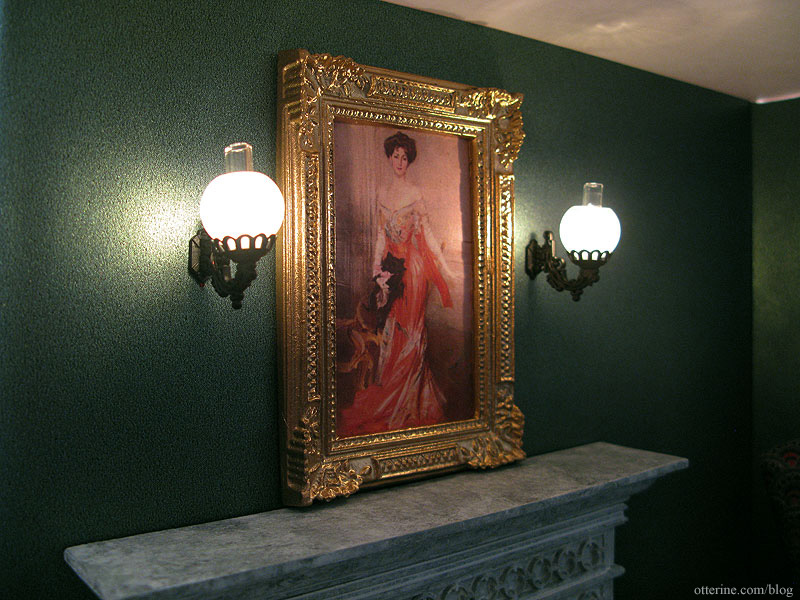
I am so torn between them. I think I’ll just have to wait until the room is all together and then try them again. Whichever painting I don’t use in the parlor can perhaps go in the bedroom, though I have another painting in mind there. (Final choice here.)


