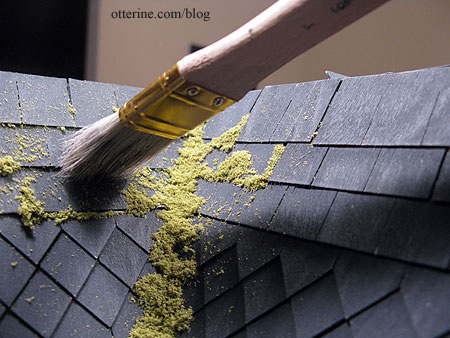
Moss = mess. That is a truism! :D To add moss to the roof, I used the same materials I had used on the mossy front steps – Aleene’s clear gel tacky glue and Fine Turf, Burnt Grass by Woodland Scenics.
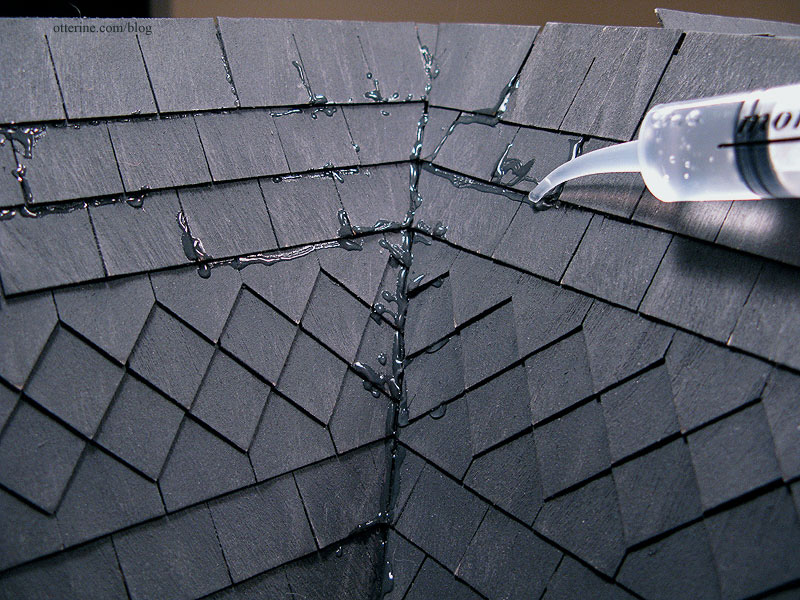
I used a glue syringe to apply the glue, focusing the glue on the seams between the shingle rows with a few lines following the vertical lines between the individual shingles. I worked in small areas so the glue wouldn’t have the chance to dry.
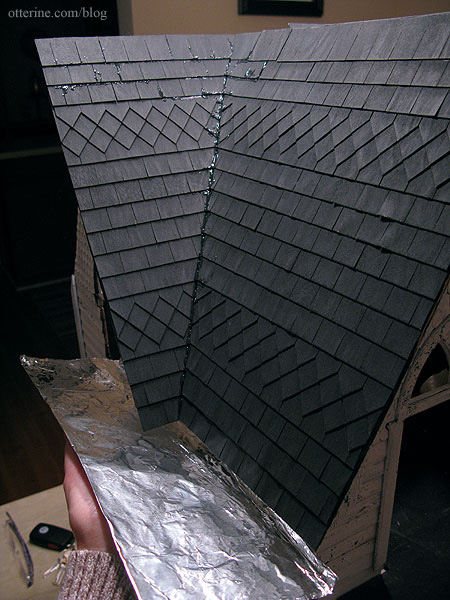
For the portions of the roof that allowed access, I used a foil tray to catch the excess moss as I applied it to the glue.
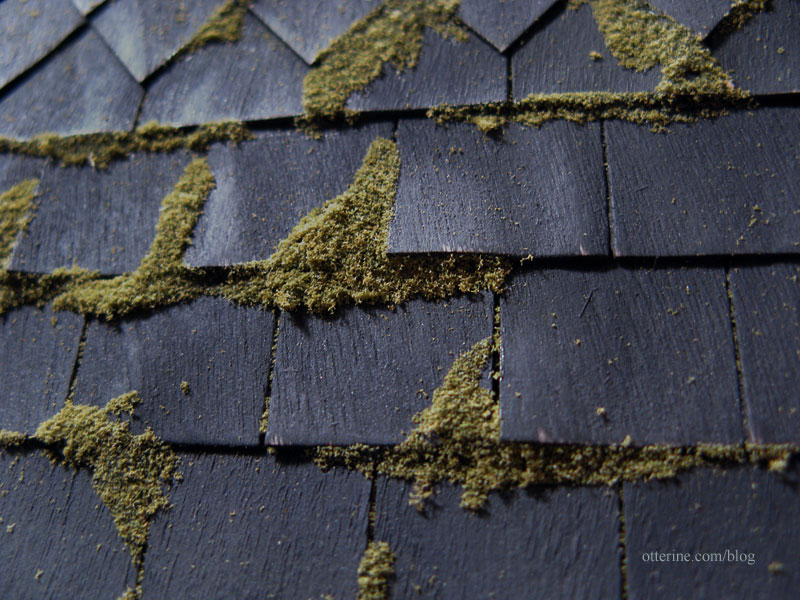
I applied the moss liberally and let it set for a few moments.
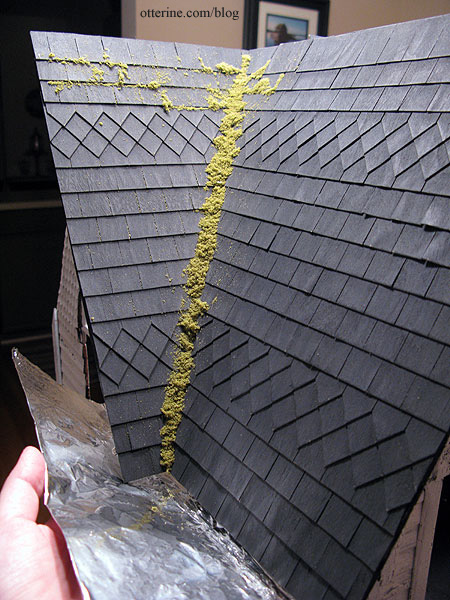
I used a large, soft brush to remove some of the excess. Once the glue has set overnight, I’ll go back and remove more.
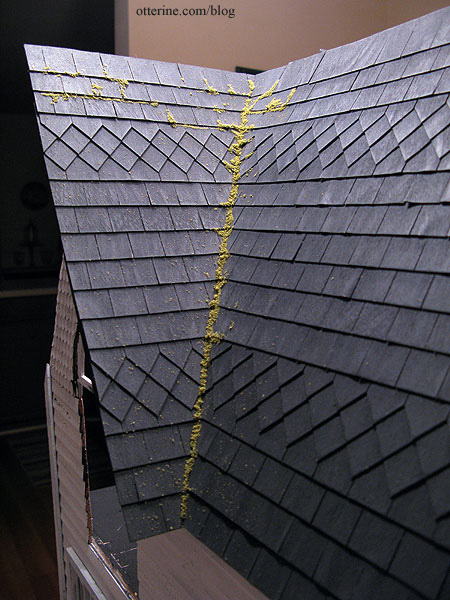
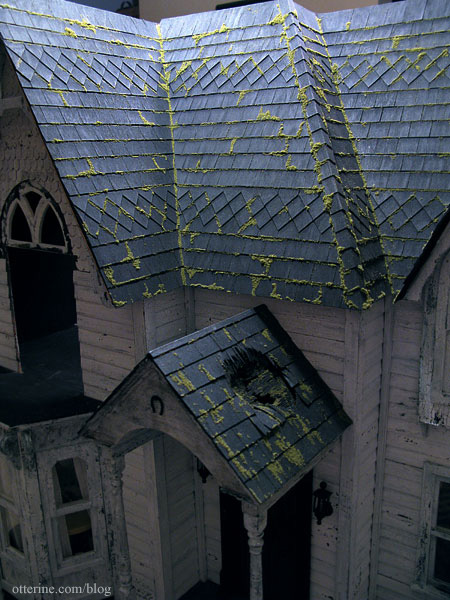
I filled that large gap in the left side valley…no need for that trim wood after all. :D
For the especially warped shingles, I worked those in my favor by adding a lot of glue under and around them. This makes them stand out more, but they look more realistic.
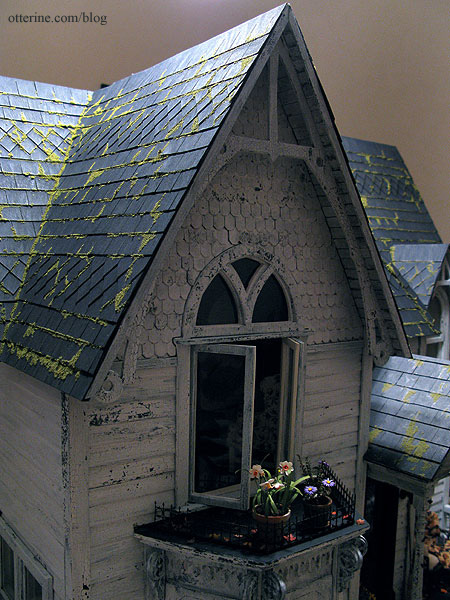
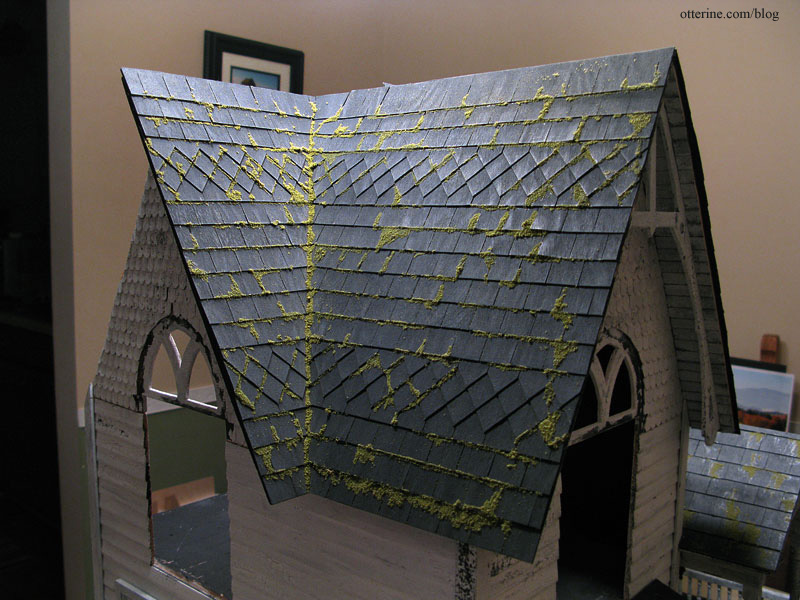
I think grandma might want to look into replacing a few of these before she ends up with water damage.
The railing on the sun porch is held in place with only pins, no glue. This means I can remove it as needed. I figured it would be easier to clean up the excess moss material without it.
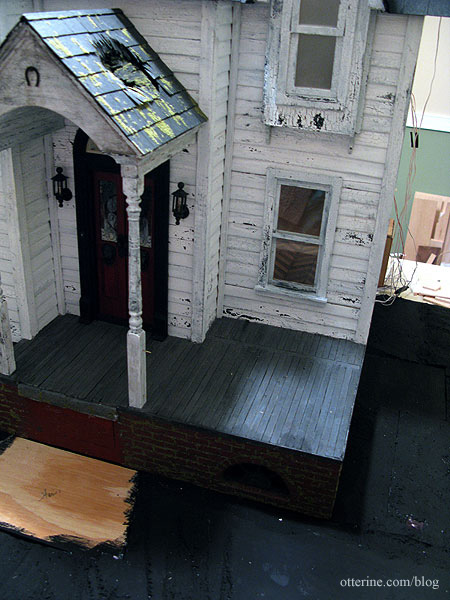
I didn’t go overboard with the moss, and there will actually be less than you see here when I brush away the excess again tomorrow.
Yay for creepy, mossy house!!! :D
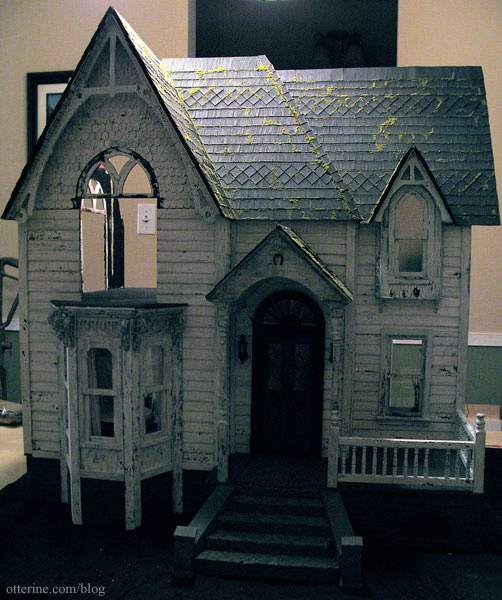
Update: after installing the bedroom swinging window, I added the final trim to the front gable as well as the trim between the main wall and the gable.