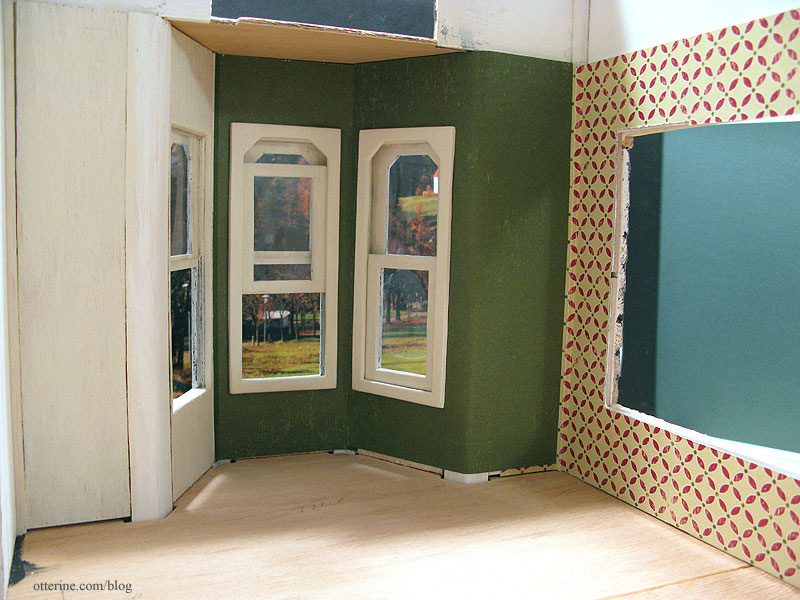
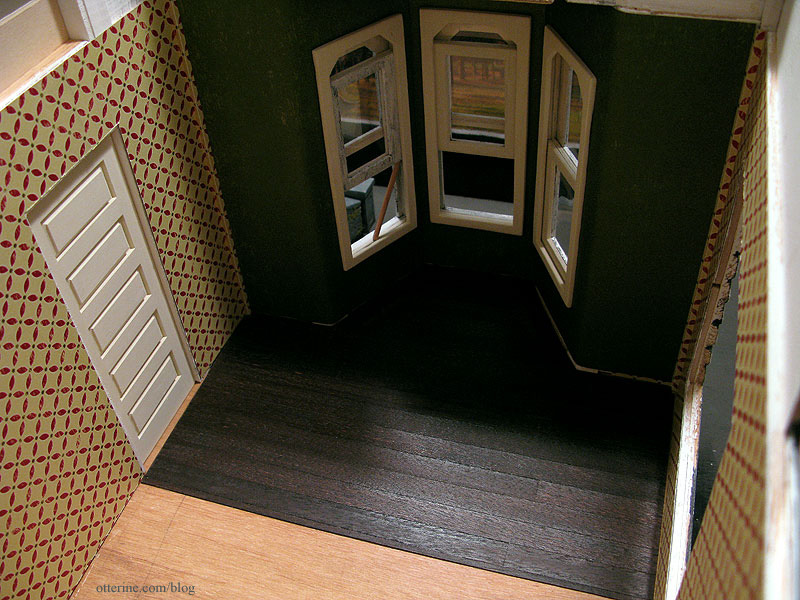
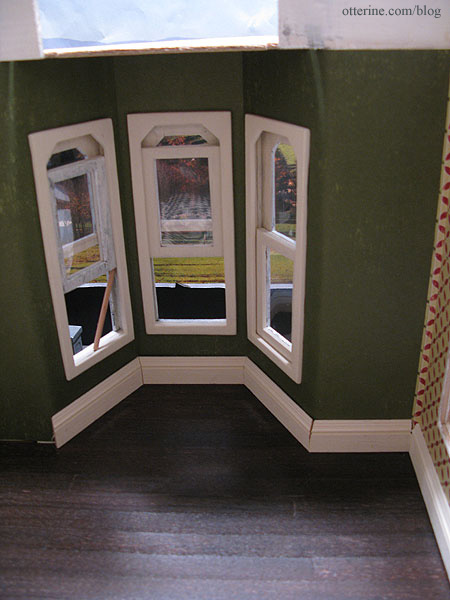
Continuing work on the kitchen papers and flooring. I started pasting the wallpaper in the front bay window as well as the newly installed kitchen side wall. With the bay window paper in place, I was able to start gluing in the window trim. I used the same super glue trick installing the trim – just a few dots to hold it in place while the white glue dried. It made it so much easier. And, the middle window still works! :D
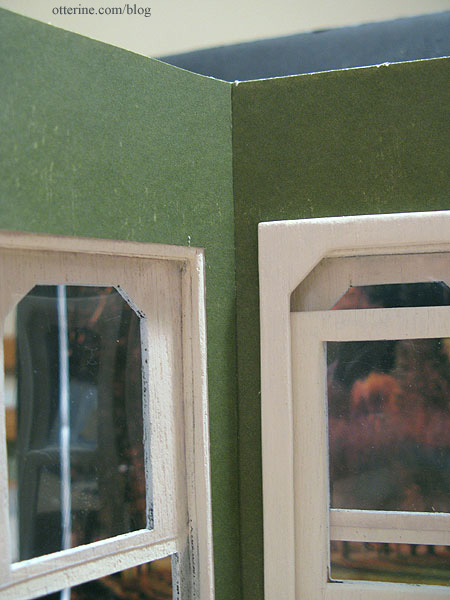
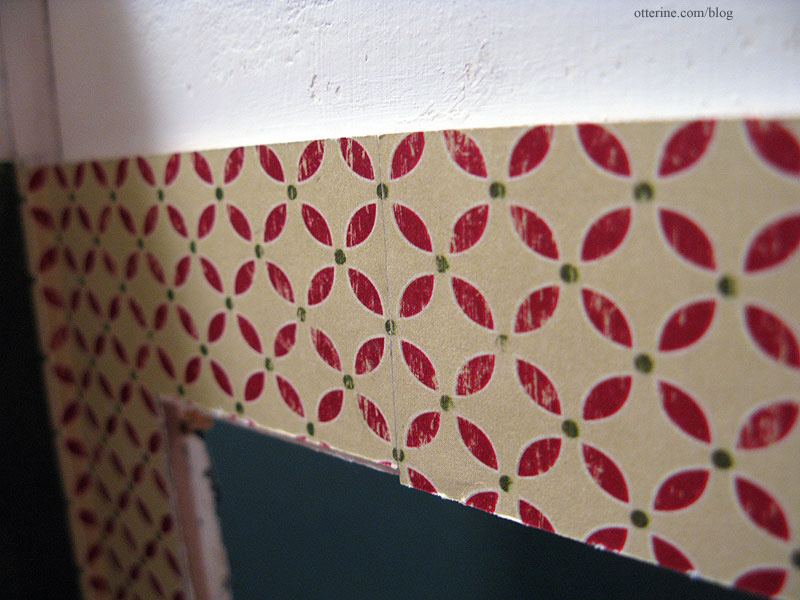
Since scrapbook paper is limited to 12 inches in length, areas needed to be pieced. It’s easiest to piece at a corner since your eye already sees this area as a dividing line and the seam will be less obvious. To get a good match in a pieced corner, I include a bit of overhang.
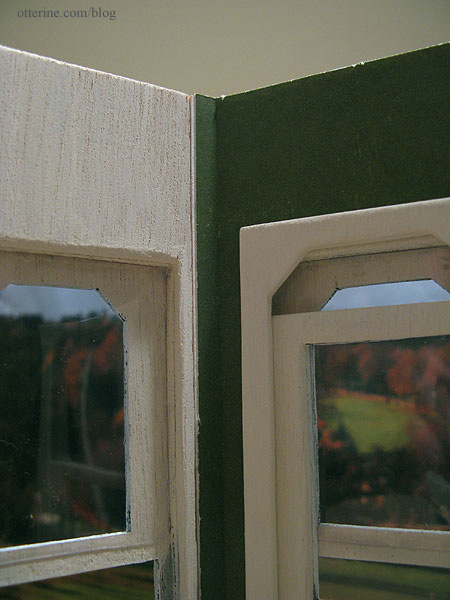
I then paste the adjacent piece over this extra paper for a nearly invisible seam.
When the paper needs to be matched on a long wall, I cut the pieces to match in pattern and paste end to end. The seam is somewhat visible, but it should blend well and not draw your eye once the room is furnished.
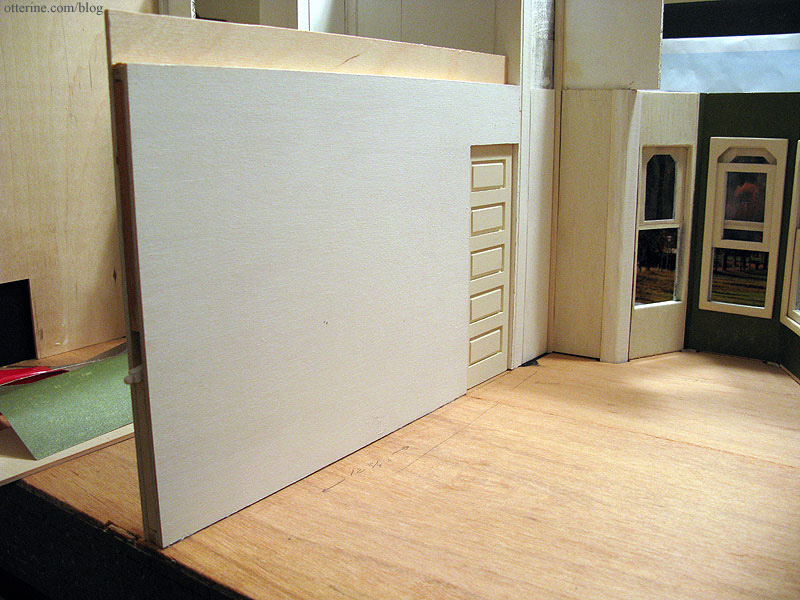
I finished up the pocket door and primed the two separate walls before gluing it all together. I again used super glue to hold the pieces in place while the wood glue dried. That’s fast becoming my favorite trick for building! Once dry, I glued the assembled wall into the house, being careful not to glue the door itself to the floor.
Once the glue set, I was able to paste the rest of the wallpaper. I always use Yes! paste applied with a brush. Note: I no longer recommend Yes paste – I use Wallpaper Mucilage instead. Yes paste has problems with longevity.
Up next, installing the wood floor I finished previously. I’ve built in enough clearance for wood flooring to continue under the pocket door when it is closed. This part of the floor will be installed when I work on the entry and parlor floors. And, yes, the third window is still loose enough to require a dowel to prop it open. :D (Of course, I installed the insert wrong side out and had to do a bit of trim removal to reverse it.)
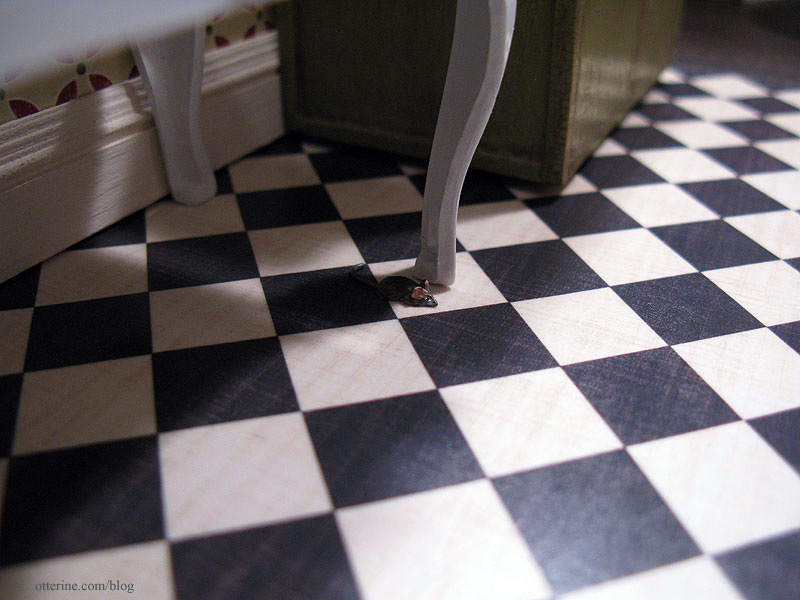
To finish the tile portion of the kitchen floor, I used spray adhesive to attach the cut piece of Cream Diamonds by The Paper Studio to a larger piece of Bristol paper to give it added weight and durability. The wood floor it will be next to is thicker than the scrapbook paper itself.
I sprayed the surface of the paper with matte sealer. I was heavy-handed with it, so parts turned out glossy and others spotted. There are even a few random imperfections. All of these things make for a perfectly aged floor! :D I just wish it showed up in the photos. At least you can see the aged pattern of the printed design.
I’ve started cutting the baseboard pieces, but they are not yet glued in place. Since the Heritage kit doesn’t lend itself to straight and square construction, I will need to do some filling where the cut pieces of baseboard meet. It’s a fairly simple fix, and I’ll detail the process in a future post.
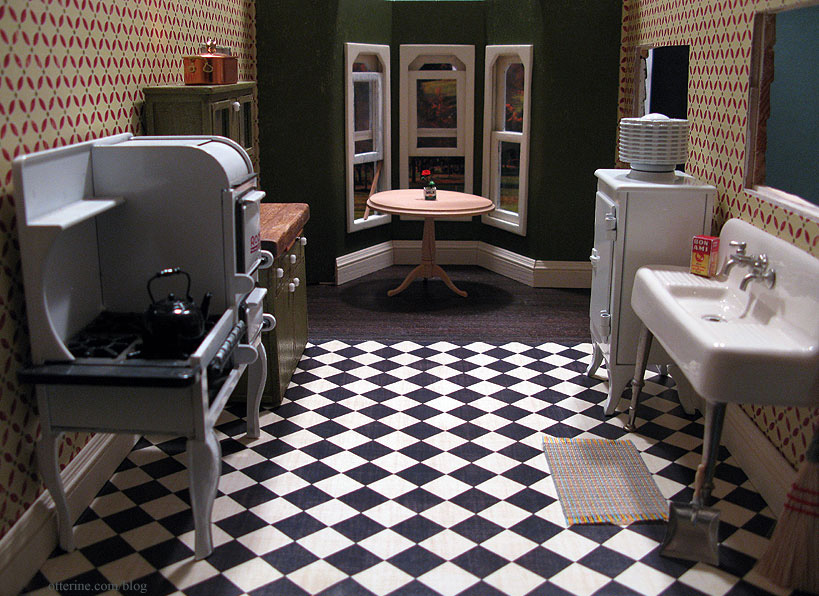
And, here is the kitchen with the pieces I plan to use for it.
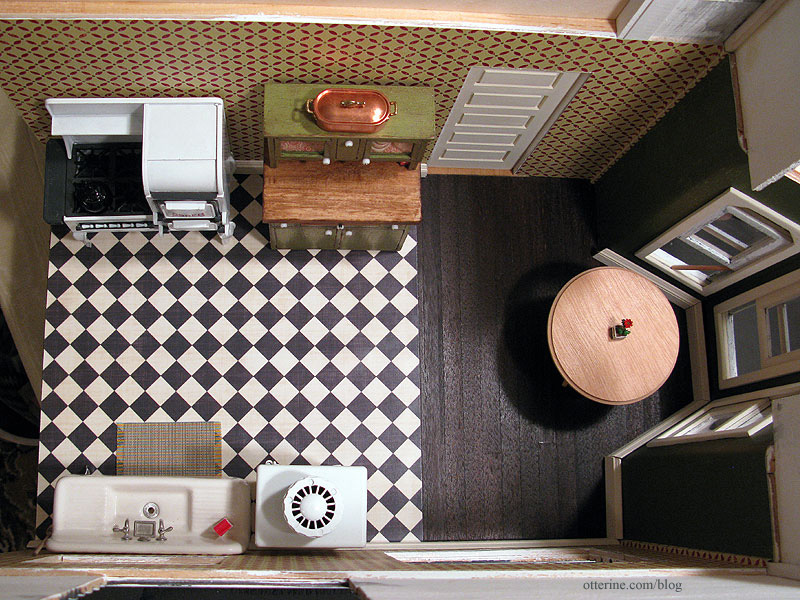
I really like how it’s turning out. :D