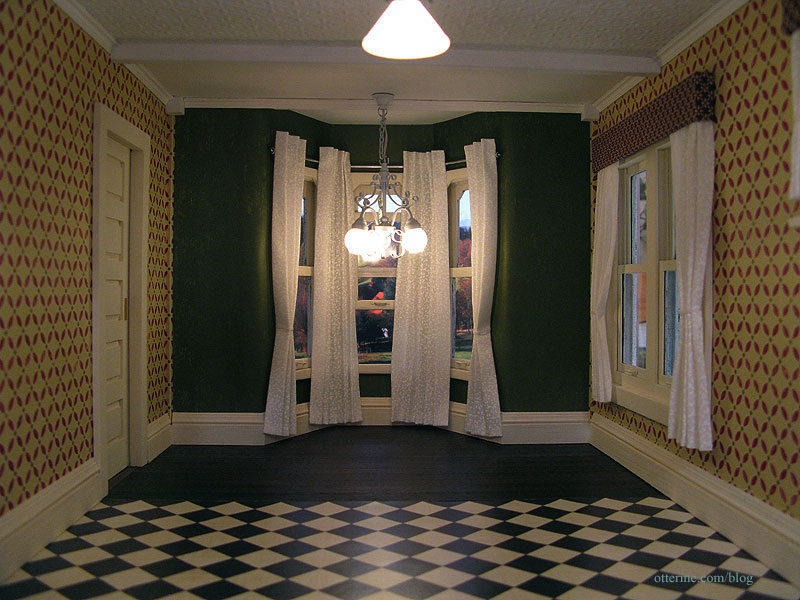
I’ve had crown molding painted for the Newport for some time but didn’t end up using it in any of the rooms. Since the kitchen has a partially textured ceiling and gaps in the non-textured part (a characteristic of the way the kit is constructed), I decided to add some crown molding painted white to match the ceiling.
The two inner corners have small protrusions created by the dividers used in the construction of the house. On the Greenleaf forum, Mike had posted a picture of corner blocks used in crown molding (here’s a real life example). These fill in the corners and you need to cut only 90-degree mitres – much easier than angled mitres.
I opted for 3/8″ wood blocks from Hobby Lobby, cutting a notch in the back to fit the corner protrusion. As you can see, it’s easier to cut these without the ceiling board in place yet.
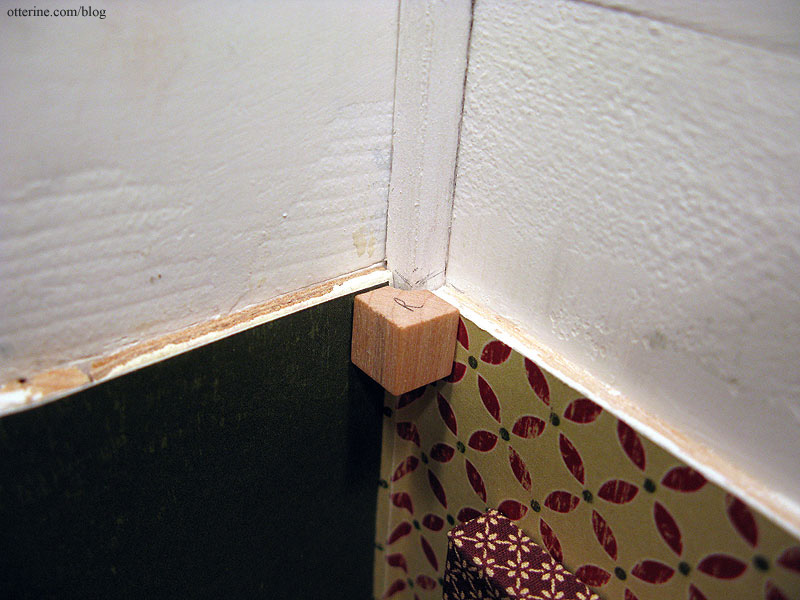
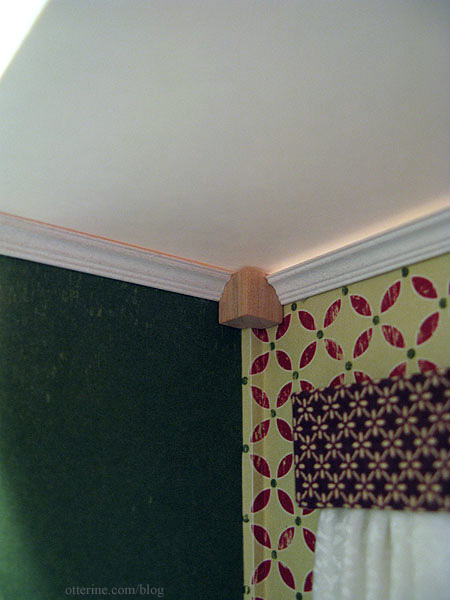
Here they are held in place with some mini hold wax. I couldn’t install them until the ceiling board was glued in permanently to ensure a good fit. The corner blocks might be slightly too big, but they should blend well enough once they’re painted white.
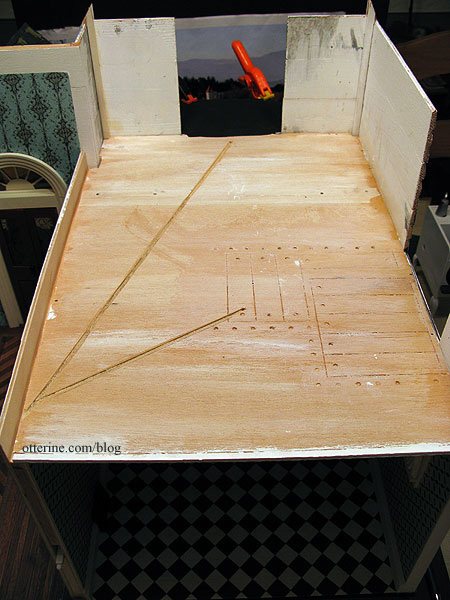
After cutting wiring channels for the kitchen ceiling lights, I glued the ceiling board in place and used a few finishing nails for added structural support.
I installed the strip of wood across the front of the bay window to hide more ceiling gaps. Working in this deep, narrow room was not easy, so I am glad I installed all of the windows, window treatments, interior trims and baseboards before putting the ceiling board in permanently.
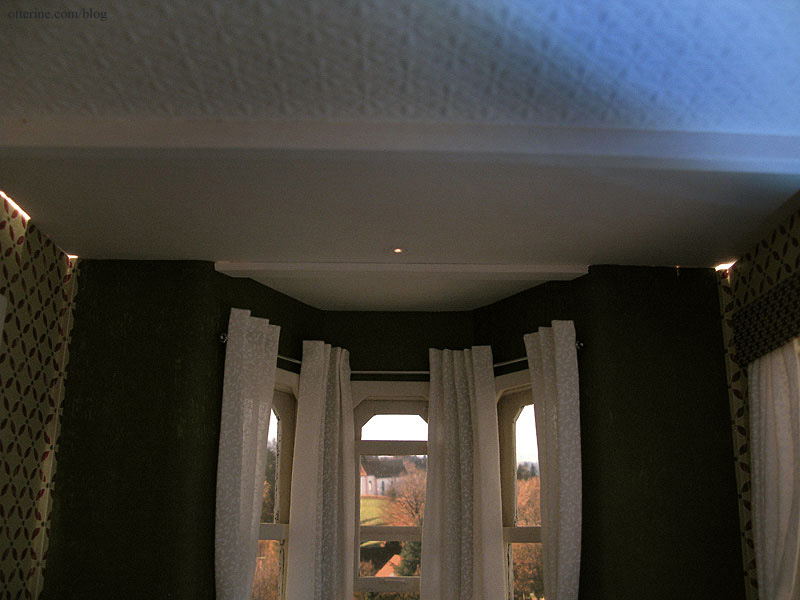
I really love the way the crown molding completes the room.
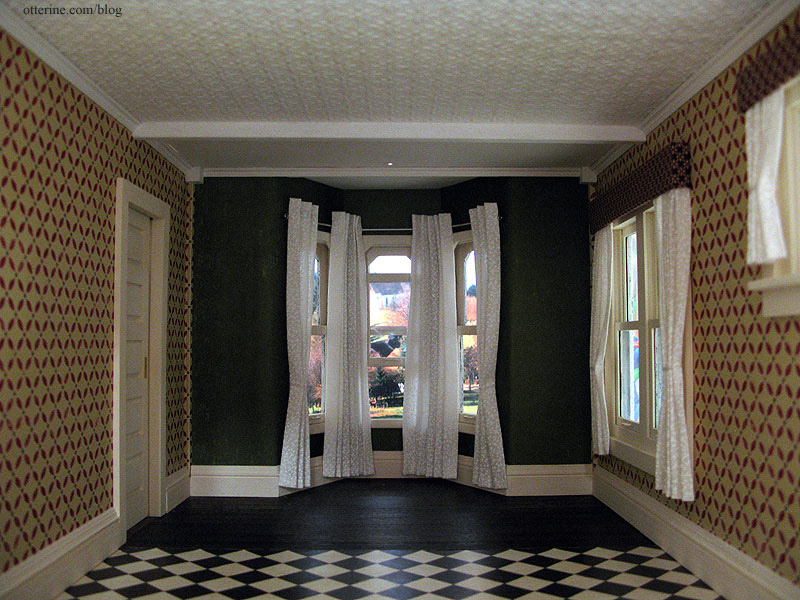
I glued in the corner blocks and decided to span the crown molding across the front of bay window ceiling board instead of continuing the crown molding inside the bay. The bay window is now a cozy nook.
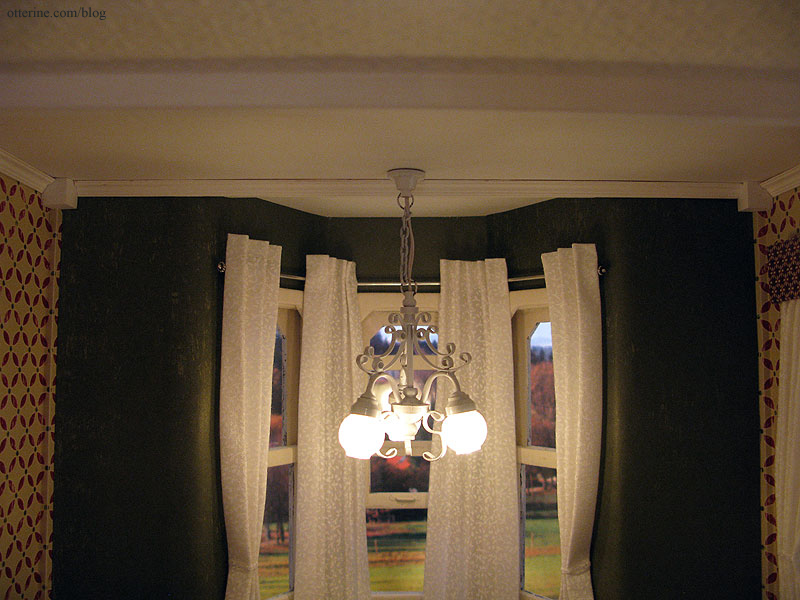
As expected, there are some minor gaps here and there as well as some paint chips. I’ll fill those in next, but not tonight.
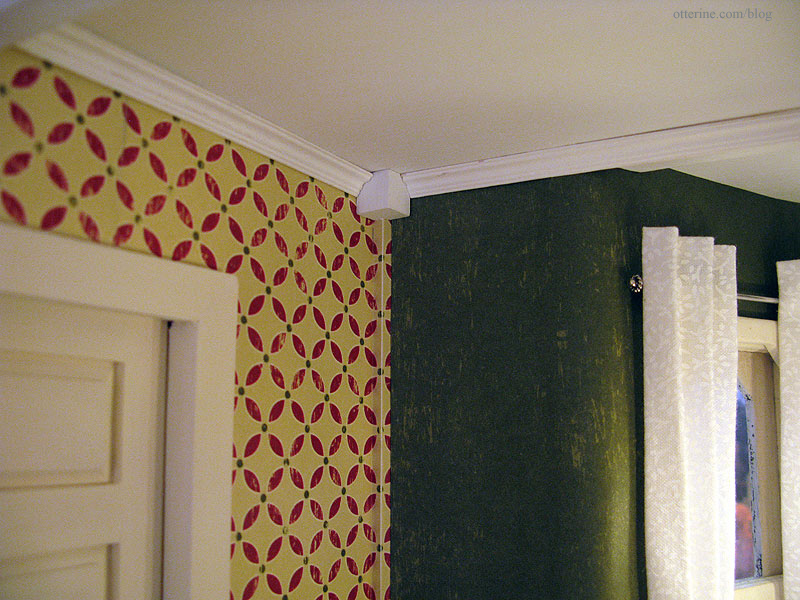
Once the touch-ups are done and the lights are permanently installed, this room will be done except for decorating! :D
