
Completing work on the interior staircase. After getting the new spindles painted and installed on the stairs, I stained the replacement railing from Manchester Woodworks. From there, I procrastinated, even breaking a new kit out of its box. :D I am now prepared to tackle the rest of this project. Truth be told, I can’t put the hallway ceiling on until I do, and that is holding up progress on the attic and finishing the house overall. In simpler terms, I have no choice! :O
I wish I could tell you there was a magical formula I used to get this railing on. I was just winging it with some visual measuring and crossed fingers. I have no idea if it is actually straight, but it looks it, so I suppose that is all that matters. Here’s what I did.
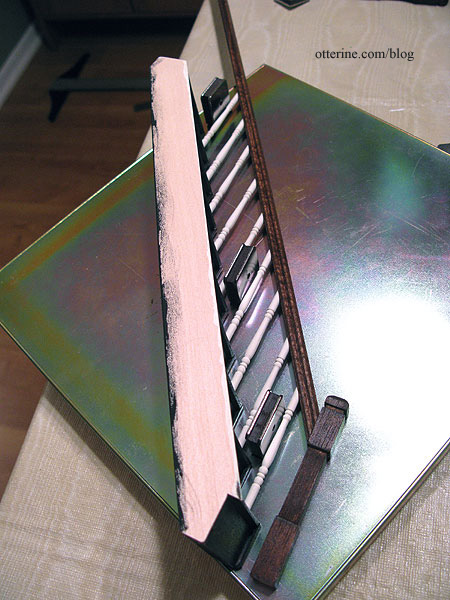
I used the back of my Micro-Mark gluing jig to hold the stair assembly in place. I bent all of the spindles to make them as even as possible (they have wires in the bottom that were glued into each stair). I dry fitted the railing onto the spindles to determine where the railing would hit the front newel post. I also measured where the top newel post would hit the railing and snipped the end.
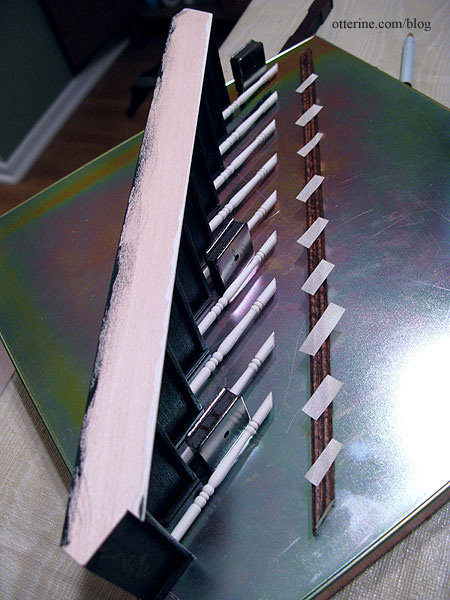
I marked where the spindles hit the railing with masking tape strips.
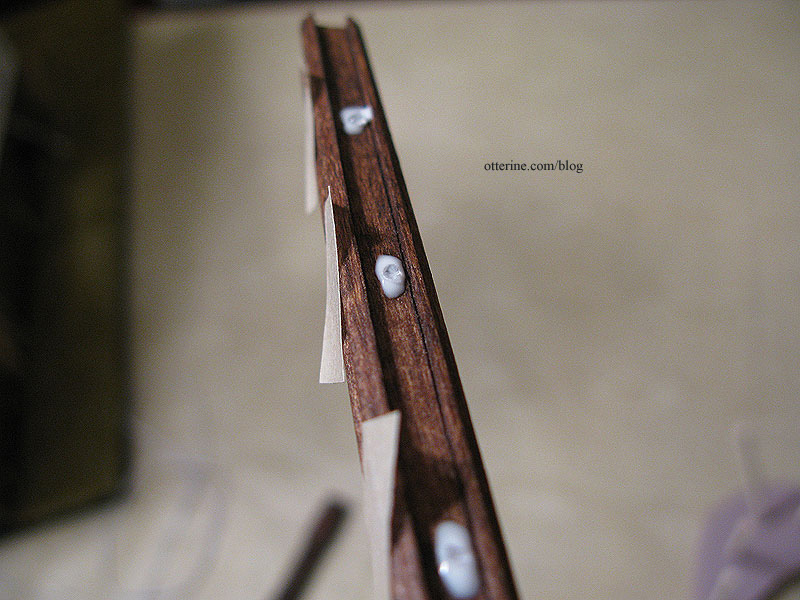
I added a drop of tacky glue and super glue gel behind each piece of tape.
I placed the railing onto the spindles while the stairs were still on the jig but immediately lifted the assembly off the jig and adjusted the railing quickly before the glue set.
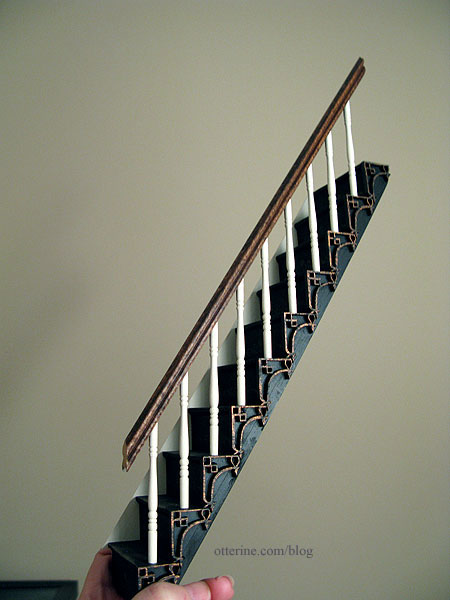
The stair assembly fits so snugly that I didn’t bother with glue along the wall. I did glue the foyer newel post to the floor and the railing.
It worked!!! :D
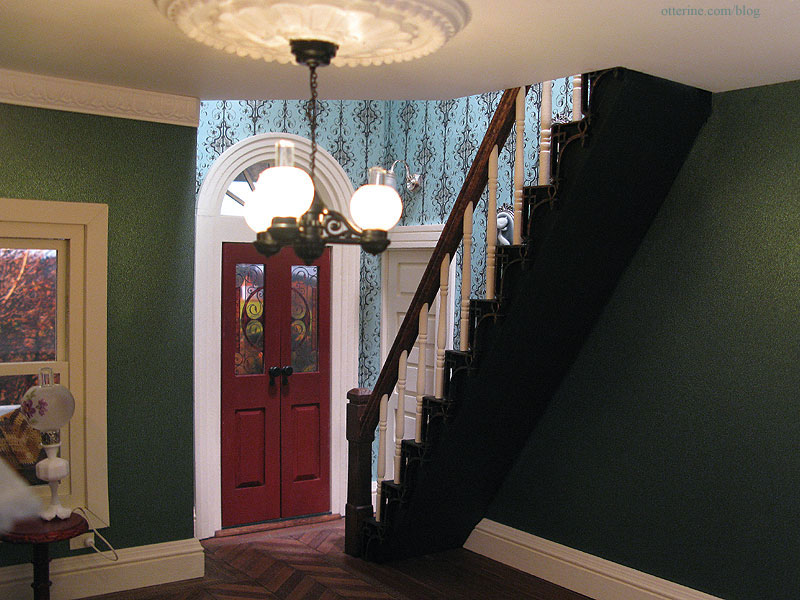
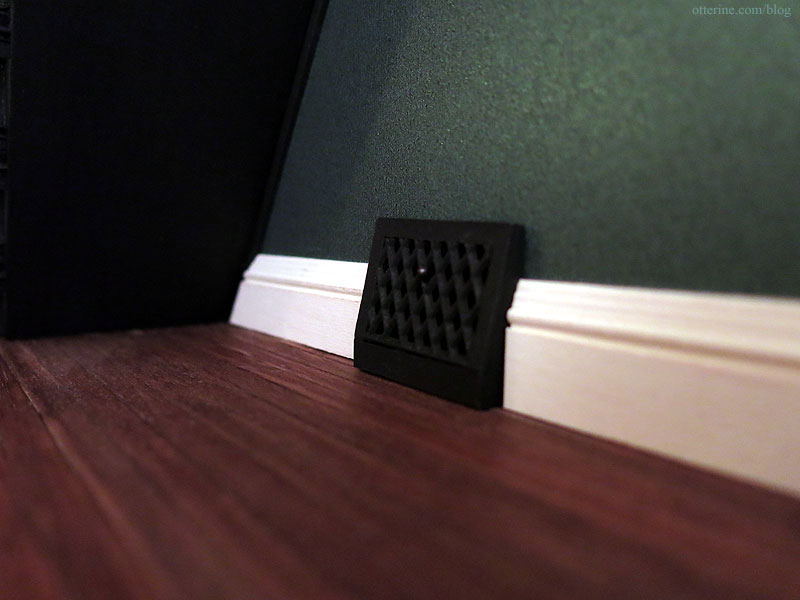
I was able to then add the final baseboard trim and crown molding behind the staircase. I also added a baseboard heat register (my bash of a tutorial by Kris at 1 Inch Minis).
Next up, the upper hallway balcony railing.


