
Continuing work on the interior staircase. When I cut the balcony and the adjacent stair opening, I left enough room to add a stringer. This completes the look of the baseboard trim up the staircase and addresses the slight warp in the pocket door wall that the stairs follow.
I used 1/16″ thick basswood sheet to make the stringer, tracing the outline of the stairs flush with the back and lower front. I added a little extra to the top to trim the stairs. I painted the visible part of the stringer Vintage White by Folk Art and the back edge black.
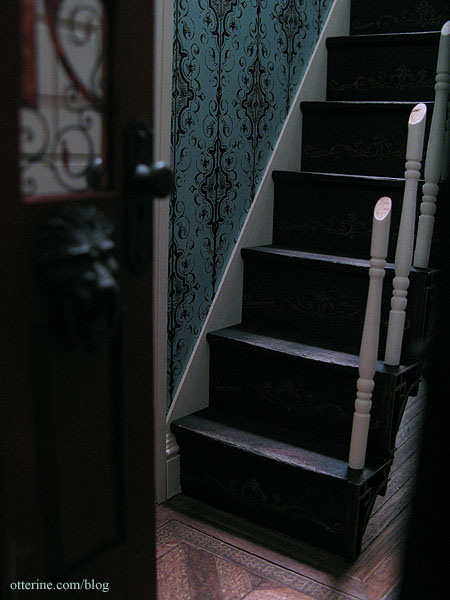
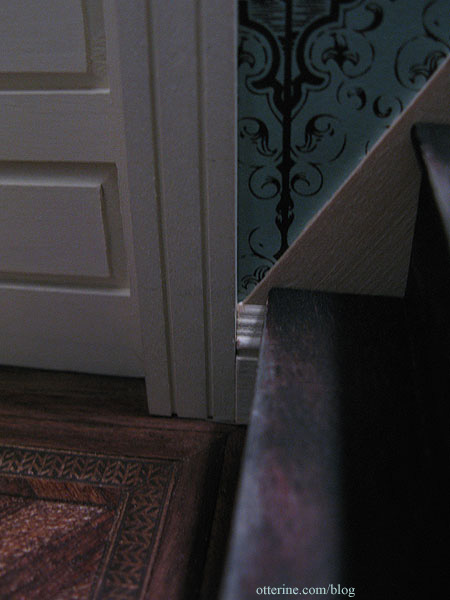
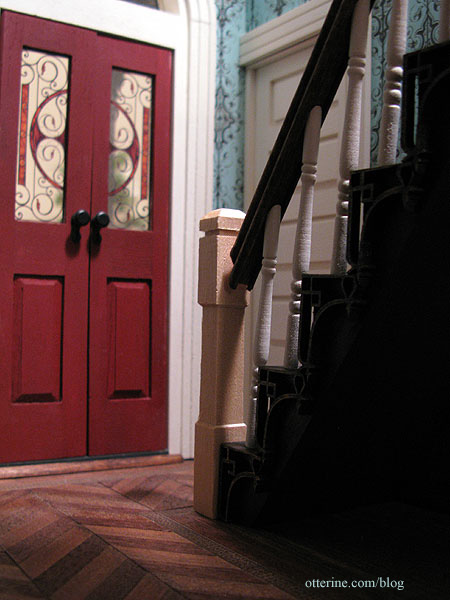
At the base of the stairs, the stringer meets the baseboard trim. Here the stringer is shown before finishing. This is one of my favorite views of this house that can be seen only with a camera.
I glued the stringer to the stairs to keep it in place.
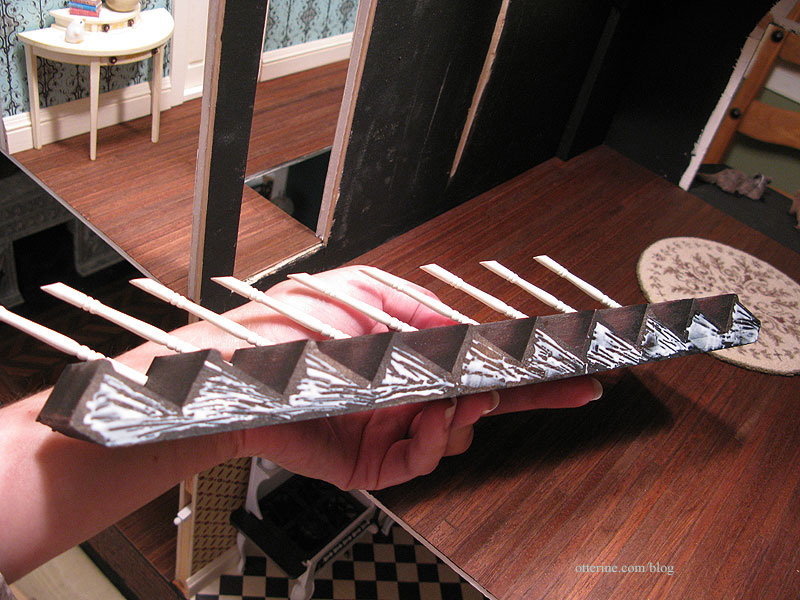
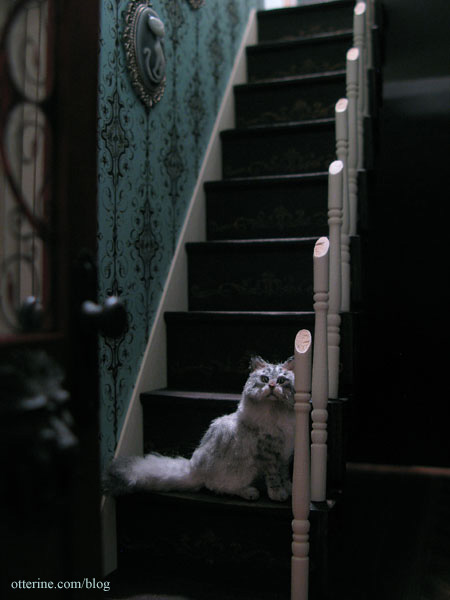
The stairs are still removable at this point, because I need to be able to work on the railing and newel posts. Oh, hello, Ophelia. :D
The railing supplied with the narrow staircase kit was obviously made for the flat balusters that came with the kit. The rounded spindles I used instead would not work with the supplied railing since the opening in the bottom of the railing was too narrow.
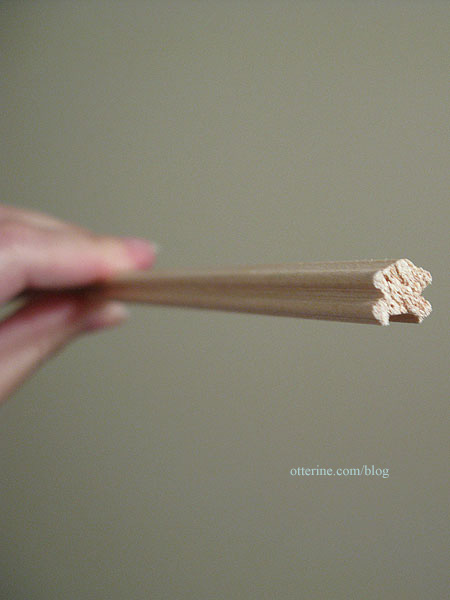
I bought replacement railing from Manchester Woodworks. This has a 3/16″ groove in the bottom, perfect for the tops of the spindles. I like the profile of this particular railing, too. It has a fancier look than the standard railing stock.
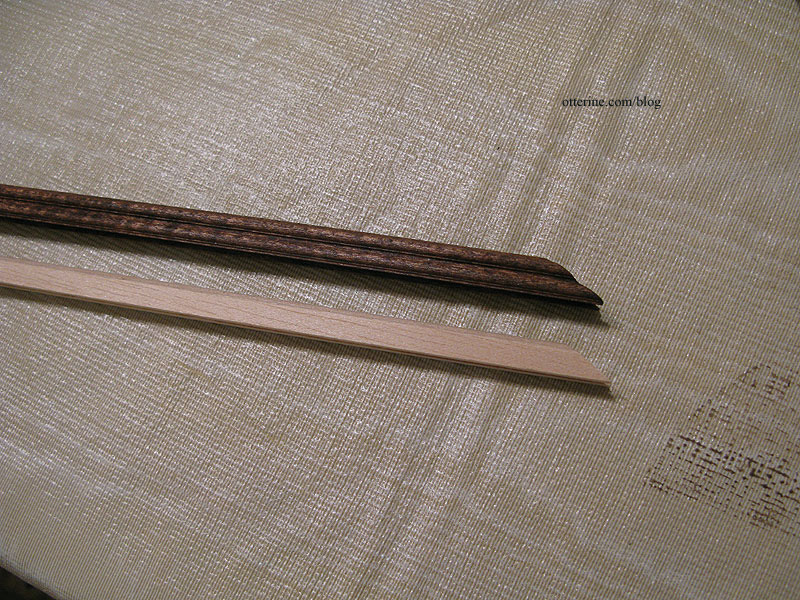
I like the look of white spindles with a stained railing, but I wasn’t sure if I should match the railing to the stairs or the flooring. Since the railing will continue around the upstairs balcony, I opted to match the railing to the floor and stained it Minwax English Chestnut.
When I stain or spray paint, I use a rubber glove to hold the piece (or the board with the pieces taped on). Saves me from soaking up chemicals through my skin, and there’s no clean-up involved. These gloves usually last through many applications, so I just set them aside to dry until next time.

I used the kit supplied railing as a guide to make the lower angle cut for the stair railing.
I fit the railing in place, leaving it long for now until I determine the length I need.
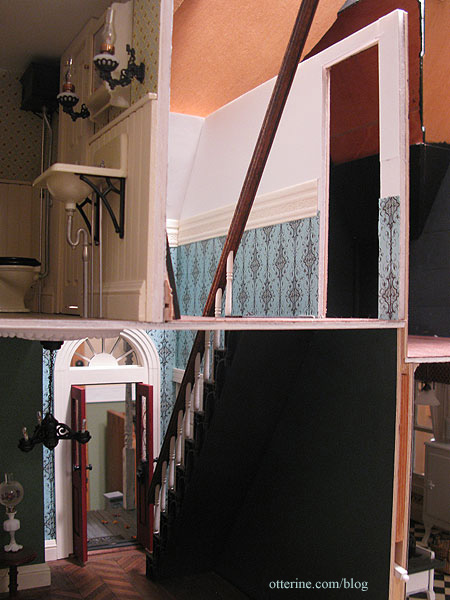
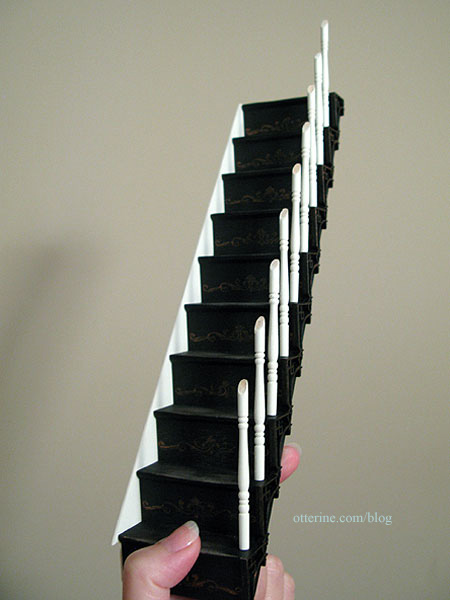
It fits perfectly over the angled tops of the spindles. It’s actually just sitting on them without any glue or wax. As hoped, the imperfections near the tops of the spindles are no longer noticeable with the railing in place.

This is the square newel post that came with the narrow stairs kit. I like it because of its heavy visual weight. I will stain it English Chestnut to match the floor and railing. I think painting it Vintage White would make it stand out too much since it is a sizeable piece.
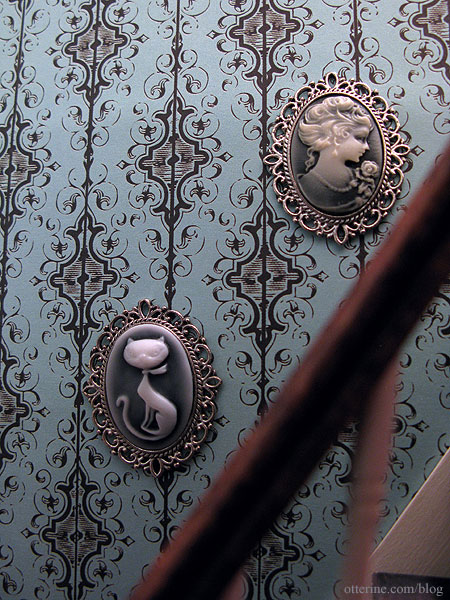
The cameos that will hang in the stairway are pendants from Fairy Tale Fantasies. One is a retro kitty and the other a beautiful vintage lady. I cut the loops from the tops to use them as framed art. I love their ghostly appearance.
Finishing the railing here.


