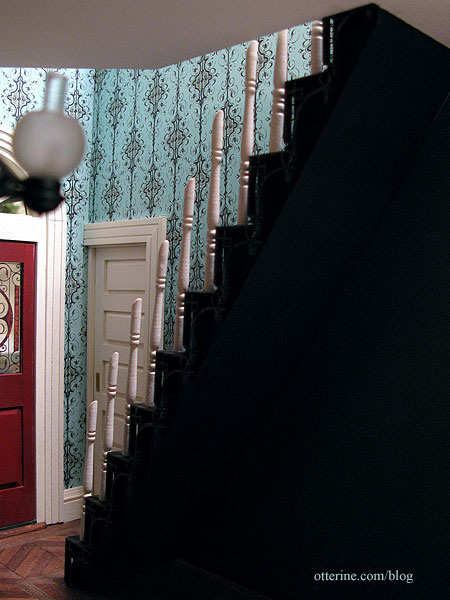
Continuing work on the interior staircase. This was my first time putting together a stair railing. The narrow stairs kit came with balusters, but I prefer the look of rounded posts to flat ones. I purchased a miscellaneous miniatures lot awhile ago that included the windows I used for the cellar as well as several packages of posts. The ones I’m using are Real Good Toys 3013A spindles.
There’s one thing that can be counted on when working with miniatures…you will knock into something held together with nothing but glue and it will crumble back into the pieces from which it was made. :\
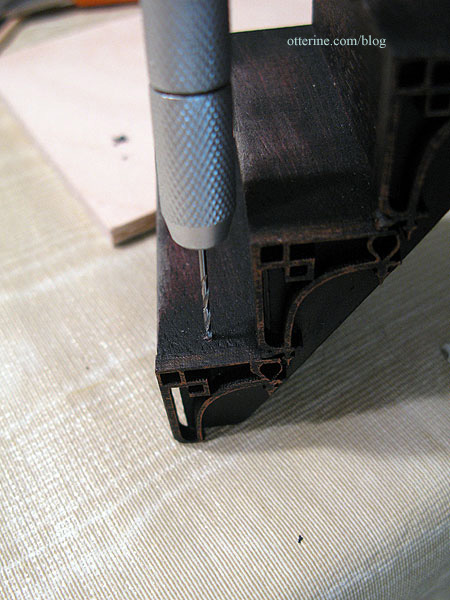
To help aid with this inevitability, I drilled pilot holes and added pins to the connections between the stairs and the posts. This is also helps keep things aligned when working with multiple parts that need to be glued all at the same time. It’s a tip I learned on the Greenleaf forum.
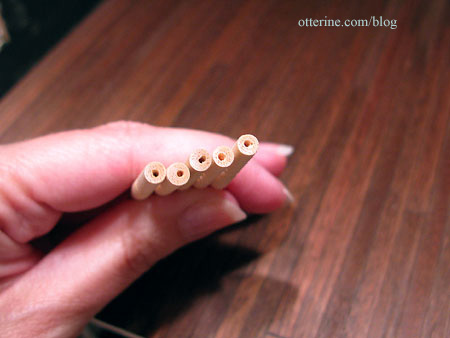
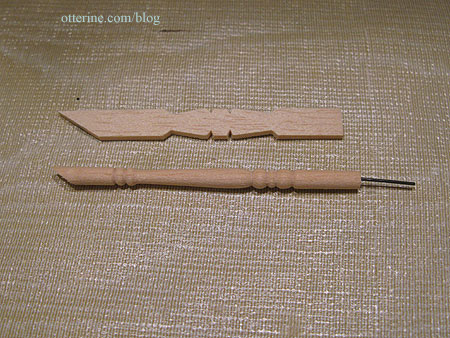
I used eyelet headpins mainly because I had an excess of them on hand. I used super glue gel to supplement the Aleene’s Quick Dry glue to insert the headpin into the drilled holes. I then cut the headpin to roughly 1/2″ (this is longer than I need but I will wait to cut them down until later).
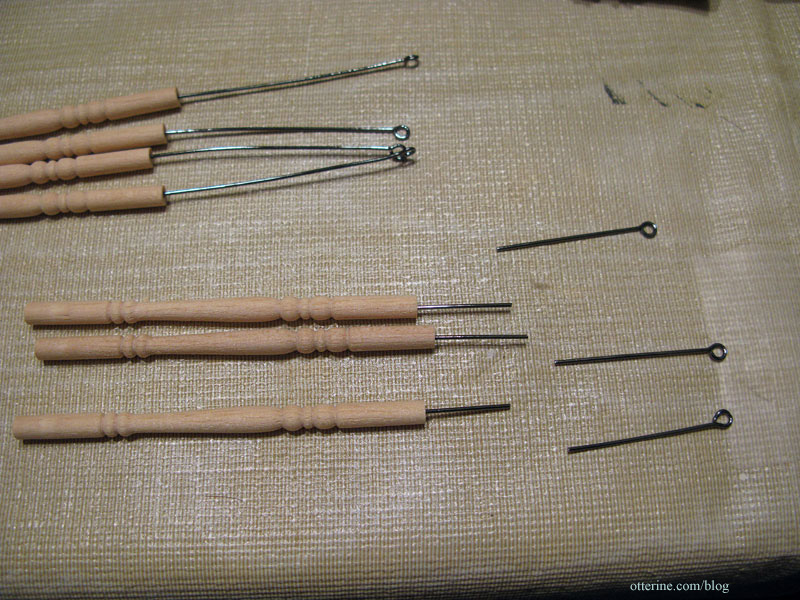
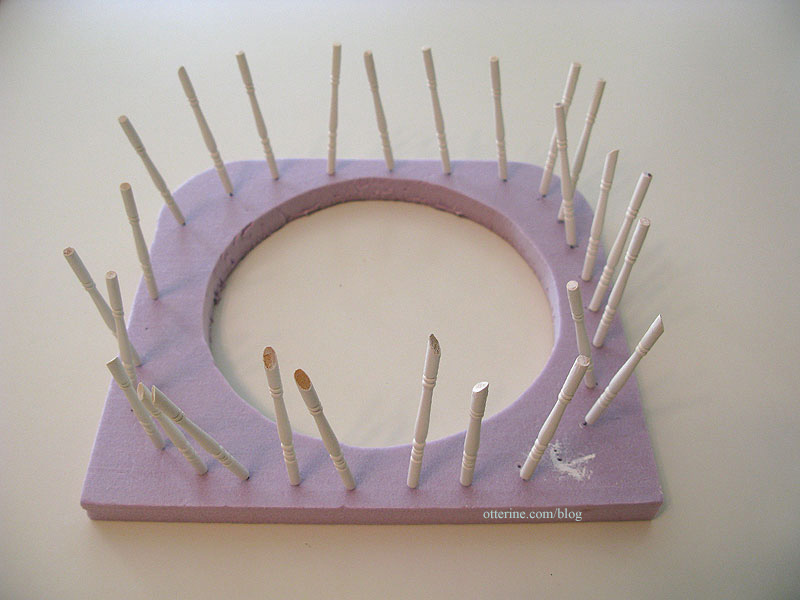
This allowed me to stick the spindles into a scrap of builders foam for painting.
For the stair spindles, I used the kit baluster to mark the angle needed.
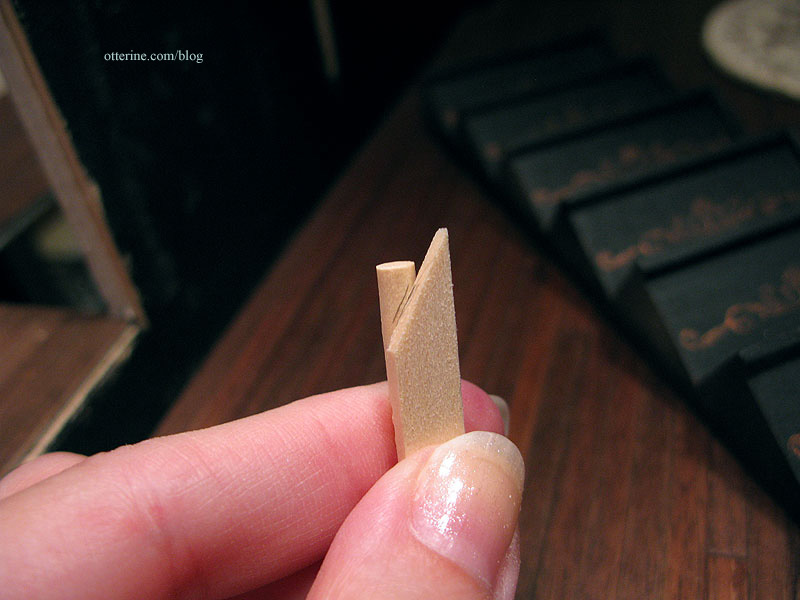
I then cut the top of the rounded spindle to match.
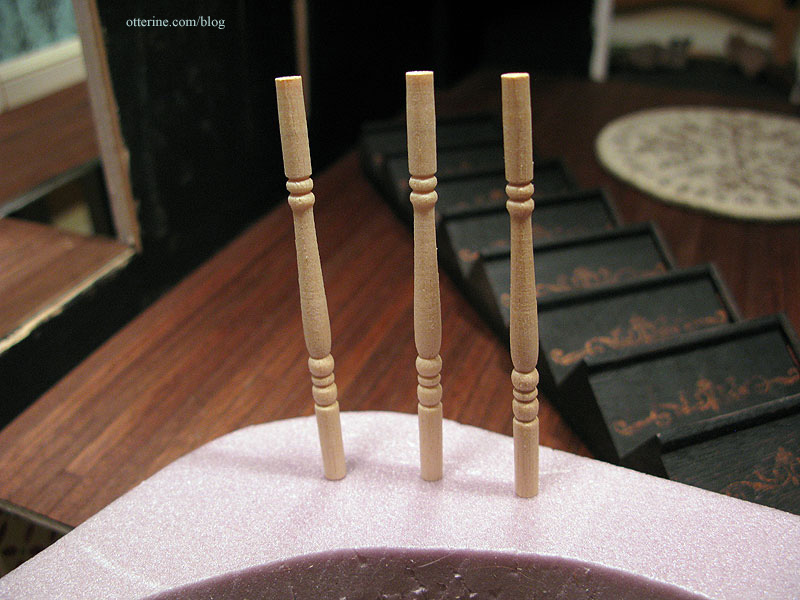
I painted the posts Vintage White to match the rest of the trim, sanded once and then painted a final time. Here are all the posts for the balcony as well as the ones for the stairs. Why do all this tedious work more than once?
Since drilling a tiny hole into the end of a round dowel doesn’t often end up right in the center, I chose to drill the corresponding holes in the stairs one at a time. After trimming the pin, I lined up the spindle with a stair and pressed the pin to make a mark.
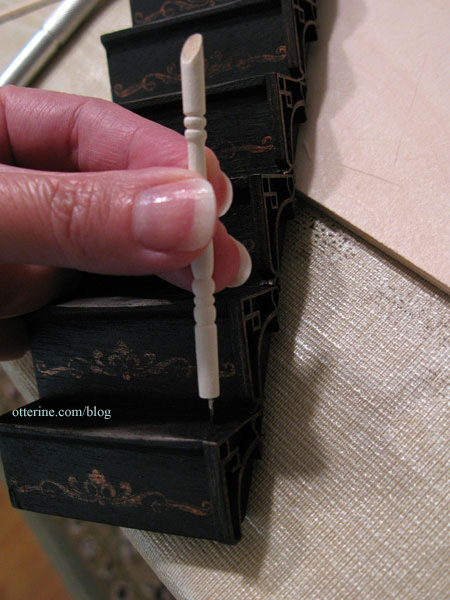
I drilled a hole into the stair at that mark.
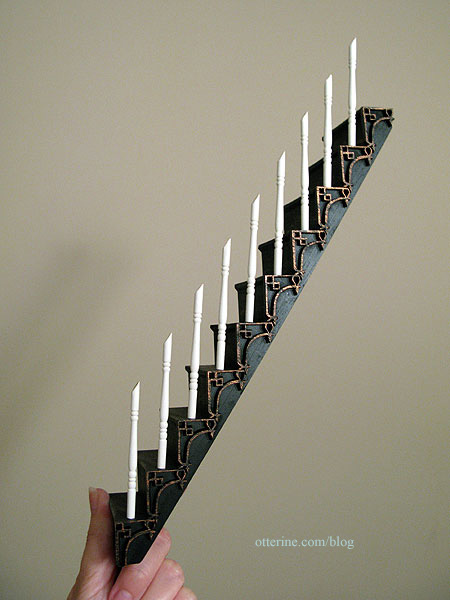
Using super glue gel and Aleene’s Quick Dry, I attached the spindle to the stair then repeated all the way up. I’ve left the top one off for now since I will need to make sure I am able to attach the stair railing to the balcony railing on the upper floor. That’s probably best to do once I have the stairs glued in permanently. For now, the staircase is still removable and will be until I absolutely have to glue it in place.
I tried to sand down the lifted grain during the painting process, but bumps remained or recurred near the tops of some of the spindles no matter how much I sanded. I hope these will be less noticeable once the final railing is in place.