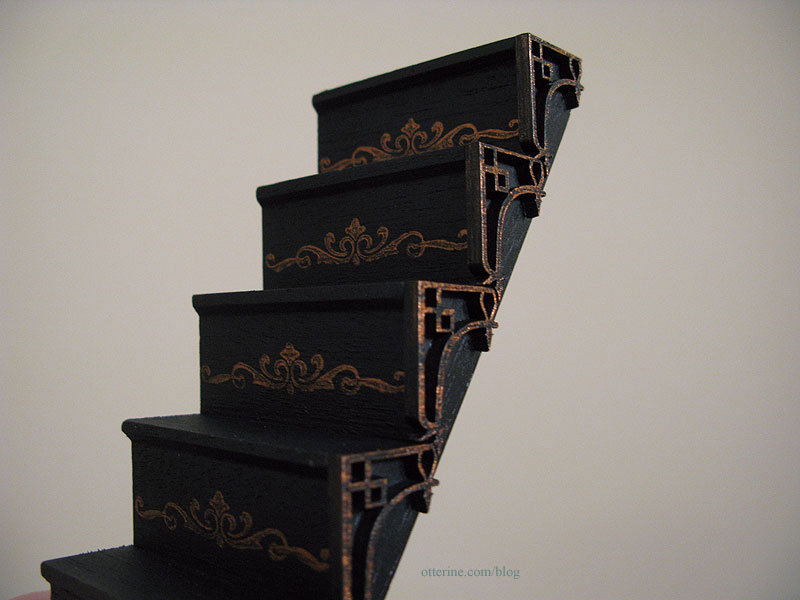
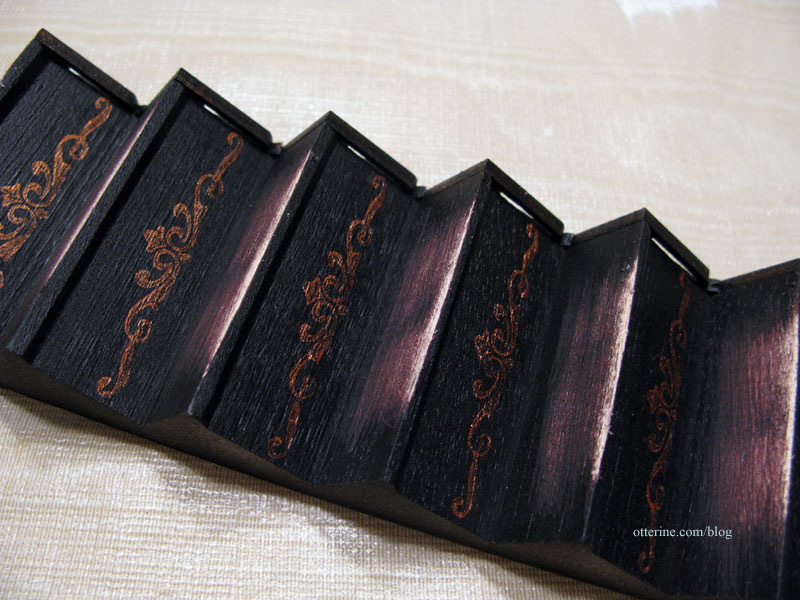
Evelyne’s suggestion from my last stairs update to dry-brush some metallic paint onto the laser cut trims to bring out the detail also brought on another idea…painted risers.
I used a scroll design clear stamp by Recollections (bought with a coupon since these are expensive).
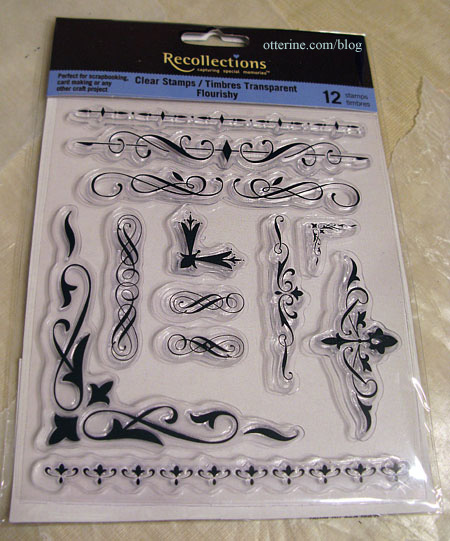
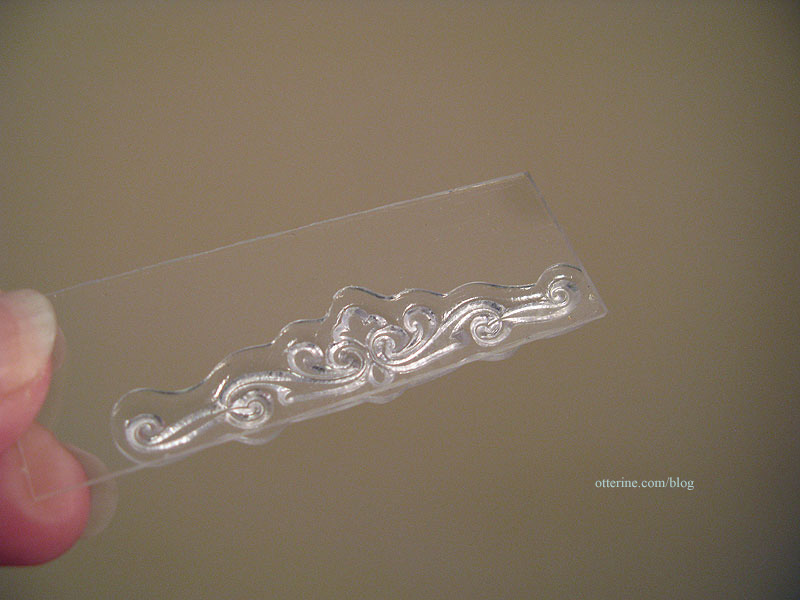
You’re supposed to peel these rubbery stamps off the sheet and stick to a clear acrylic block to use them. I didn’t have an acrylic block (also expensive and only one coupon allowed per day) so I used the glass insert from the front door! :D
I spread some Pure Bronze paint by Apple Barrel in a pie tin with a brush and then pressed the stamp into the paint.
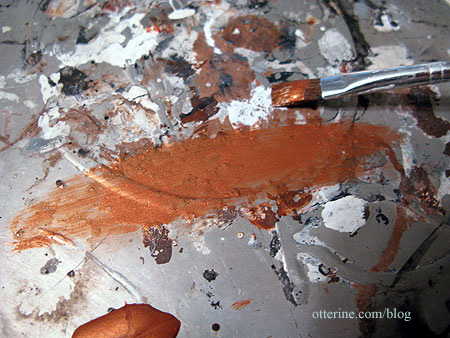
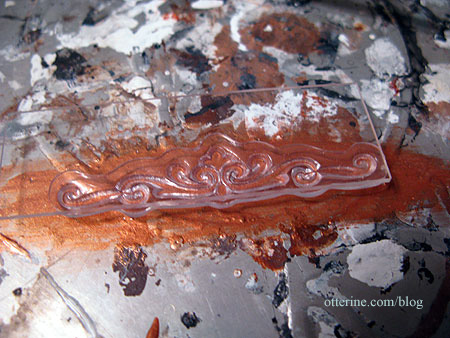
I touched up any sparse areas with the flat side of the brush.
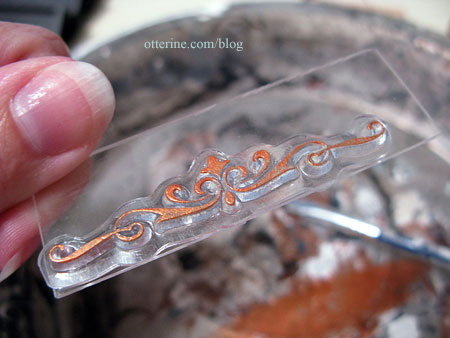
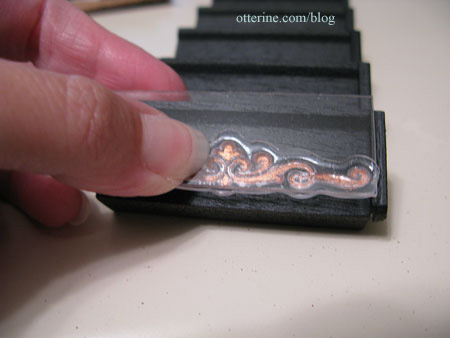
I then pressed the stamp onto the riser. The glass insert worked better as a stabilizer since it was small and I was able to line it up with the stairs as I went.
Voilà! :D
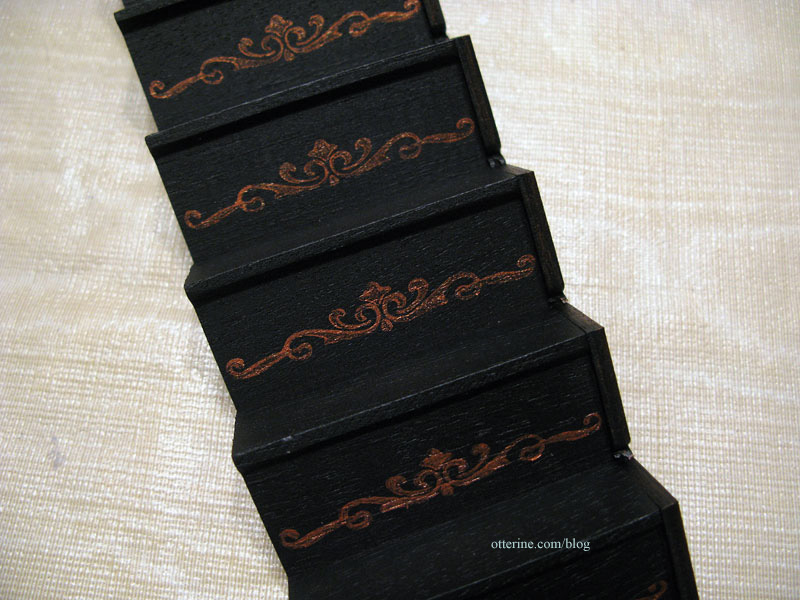
With some further practice, I probably could have gotten more even coverage from the stamp…but this worked well for old worn out stairs.
Using the same flat brush, I stippled some paint onto the laser cut trims. I must say, it looks even more fabulous! Thanks, Evelyne, for the fantastic suggestion!
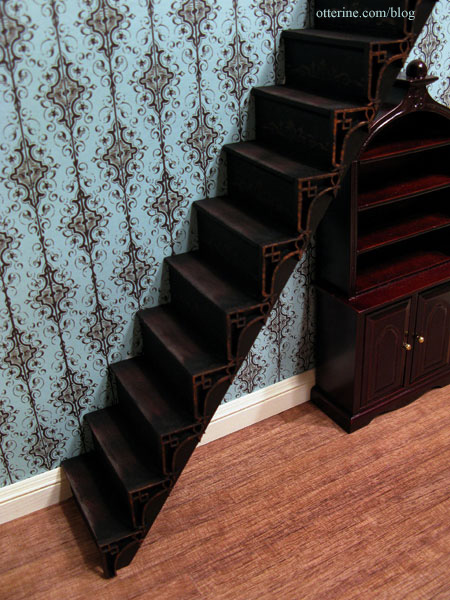
Once the stair detailing was good and dry, I used some coarse sandpaper to wear down the front edges of the treads and put in some minor indentations mimicking years of parallel footfalls.
I then used fine sandpaper to even out the obvious scratch marks and to soften the painted risers.
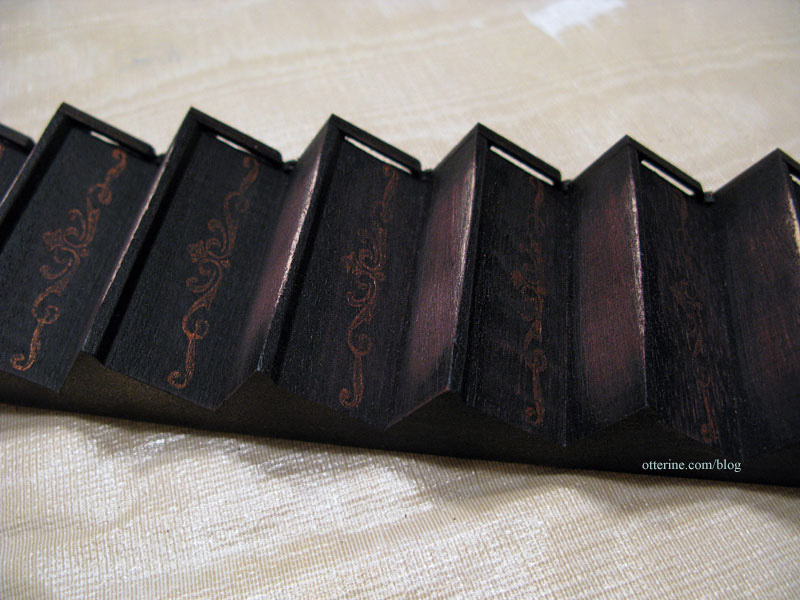
To fill the color back in, I used a wash of Bittersweet Chocolate by Americana and black paint. This toned down the deep black and made it look as though the heavier stain had worn away over the years. Here you can see where the red base layer comes into play. That dark stain would have penetrated the wood into the deep layers. Leaving it all light wood underneath would be out of character with worn dark wood.

And there you have it…fabulous stairs made better and older!