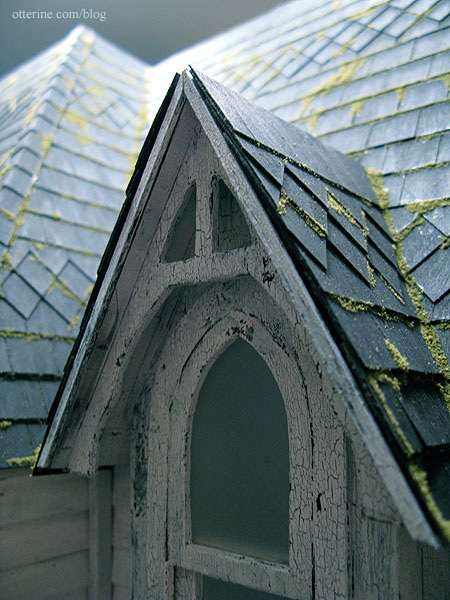
I added the final trim for the front gable between the eave and the house. I find that the more trim I add, the more realistic the house seems. (Note to April: if you plan on adding finishing trim like this, do it before adding the fancy gable gingerbread…trying to get my fingers in this space was interesting.) Yes, I am aware I need a wasp’s nest or hanging bat here. :D
I added the final trim for the front dormer on the outer edges and at the inner eave. I had to use tweezers to glue the inner trim in place. All that’s left for the dormer is the roof ridge finishing.
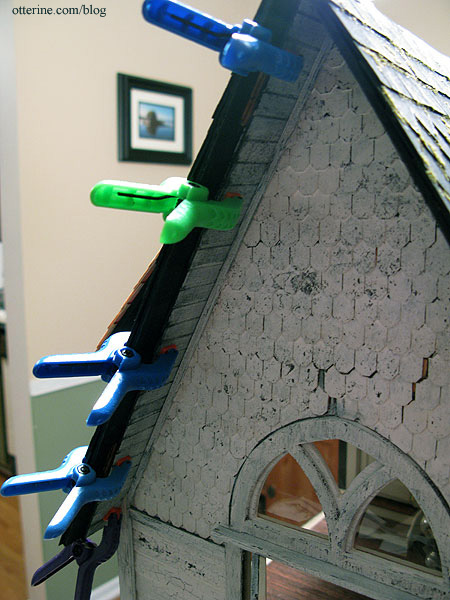
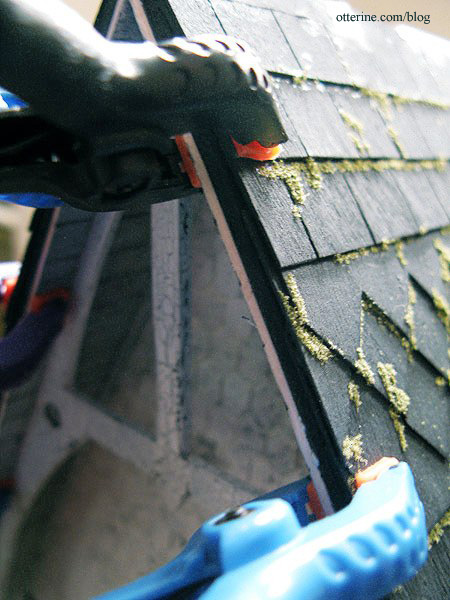
I completed the gable eaves and trims for the open side gable as I had done for the front gable. This time, I added the finishing trim between the eave and the house before adding the gingerbread.
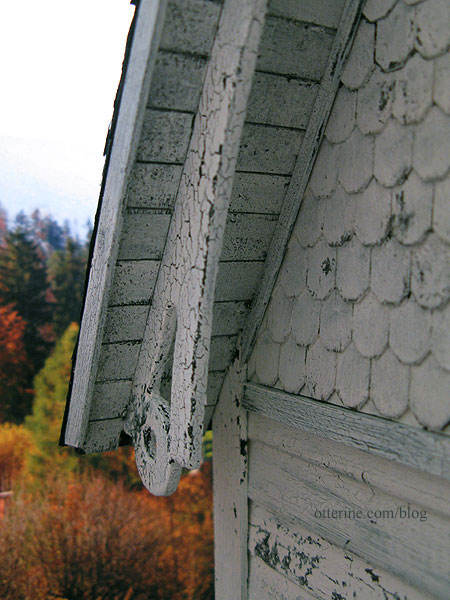
Before adding the outer edge trim, I checked the fit and cut any excess from the forward edge. The photo is a little blurry, but you can see the unpainted portion where I cut away the excess.
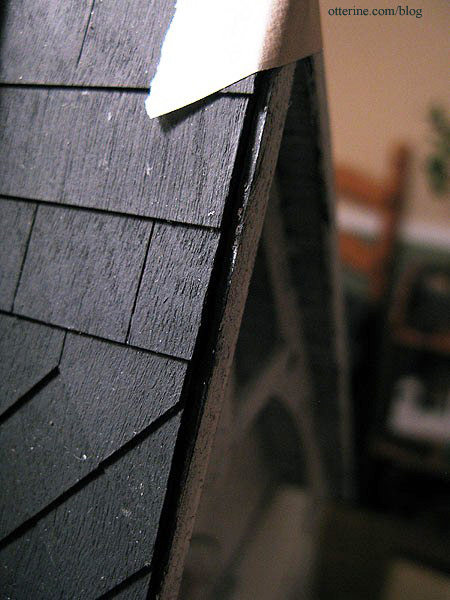
When I shingled the edges of both side gables, the shingles didn’t protrude over the edge as much as they had for the front gable and front dormer. The trim here sticks out just a little farther than the shingles, so I painted the top edge of the trim to match the roof to make it blend more. Again, it was hard to photograph with the way the house is sitting under the lights.
Some of the half scale shingles on the gable shrank away from the arch window and in the middle. This didn’t happen on the front gable, and I used the same glue and paint processes on each. Who knows? It works, though, for my falling apart manor. ;]
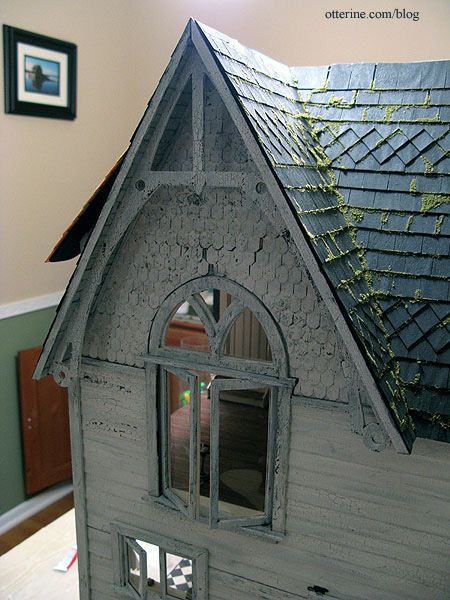
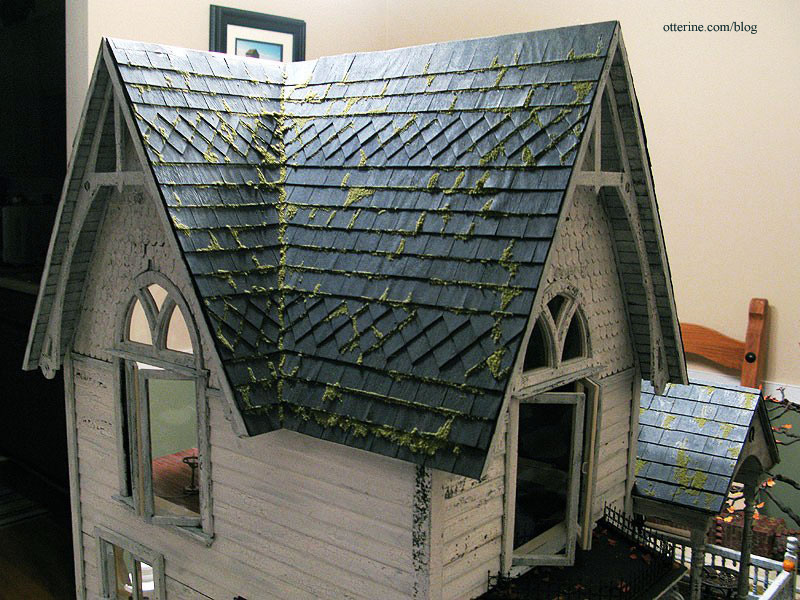
I like the way the two finished gables look together. :]