The second floor dormer window was to sit atop the original kit porch, which is no longer part of my Heritage.
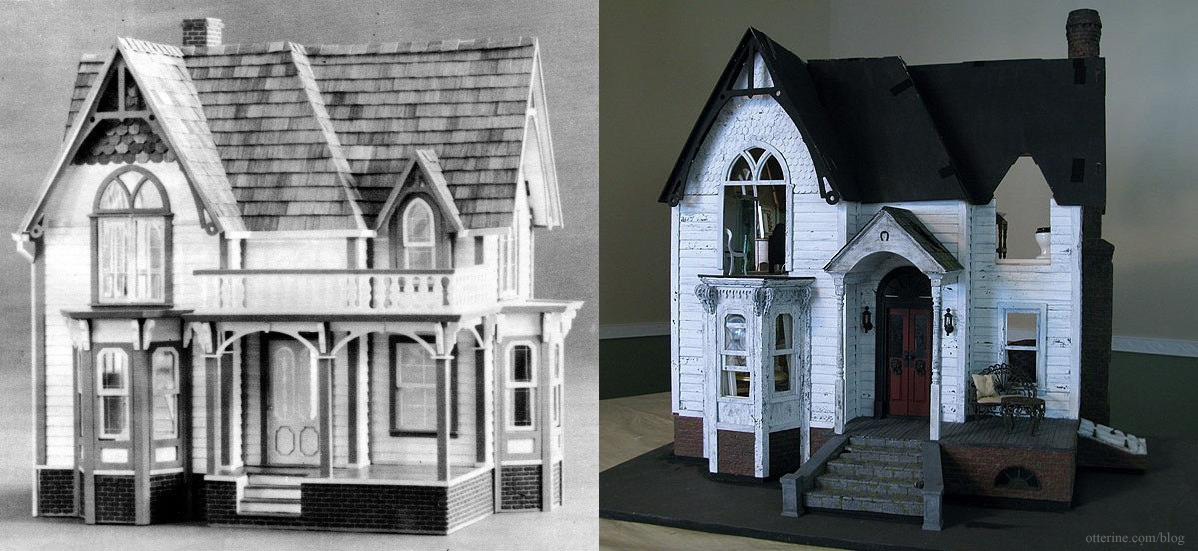
I also raised the ceiling in the parlor, but I can’t raise this window by the same amount since the roof pieces would no longer fit correctly. And, I can’t cut down the window. So, instead of building it per the kit instructions, I had to wing it.
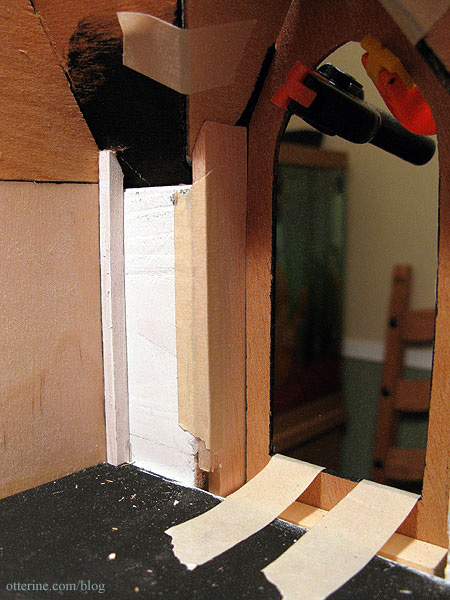
First, I taped the window roof pieces to the main roof then tested out the main window piece. It didn’t even come close to fitting – the curse of die-cut parts. I fixed the top angle and was able to get the window to fit. It doesn’t help that the main window piece is also warped.

I added 5/8″ of scrap wood behind the lower portion of the window to hold the window straight out from the house.
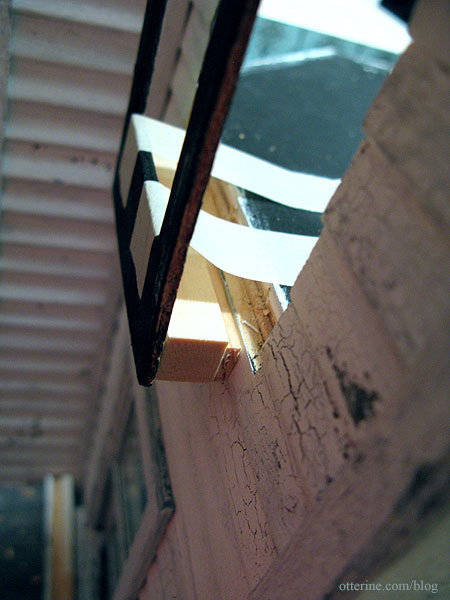
I cut new sides that lined up with the exterior window. I used balsa since it’s easy to cut and shape, and it won’t be holding any structural weight. Basically, I was just building this one piece at time, making it fit along the way. Once the basic structure was determined, I could work on fine-tuning the fit and aesthetic.
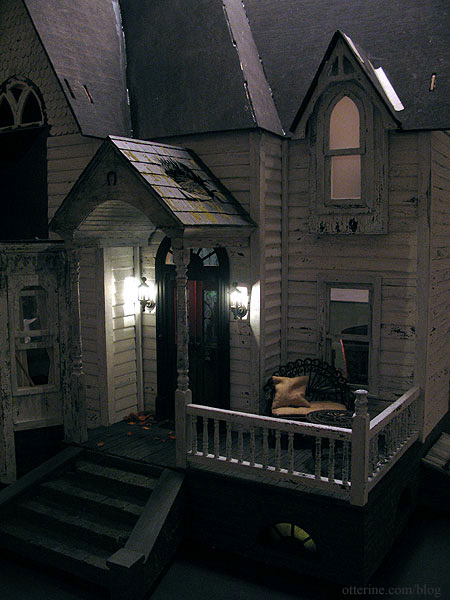
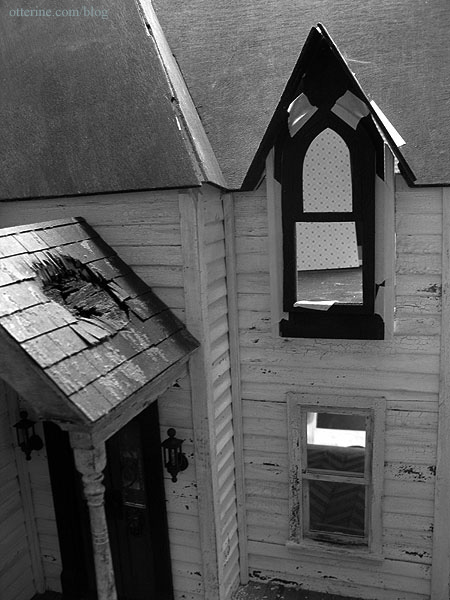
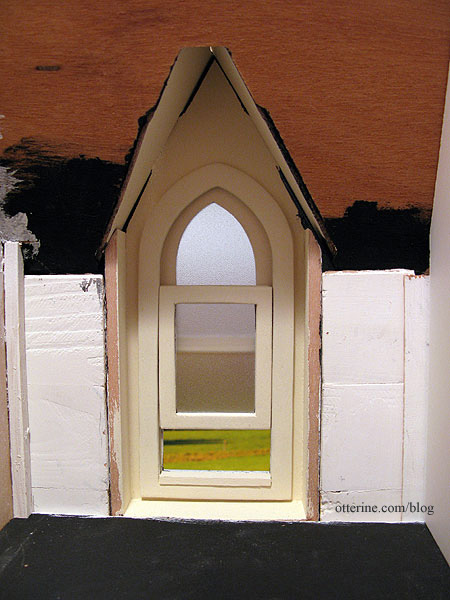
I think we have a winner! This window will have the same aged white paint as the rest of the windows.
Today, you get black and white photos because my orange shirt reflected on the white house and messed up the colors. :D Looks a little creepy, no? The gaps around the window will be masked with trim, and I’ll finish the bottom of the exterior portion as well. I think it will work well with the portico and lower front window.
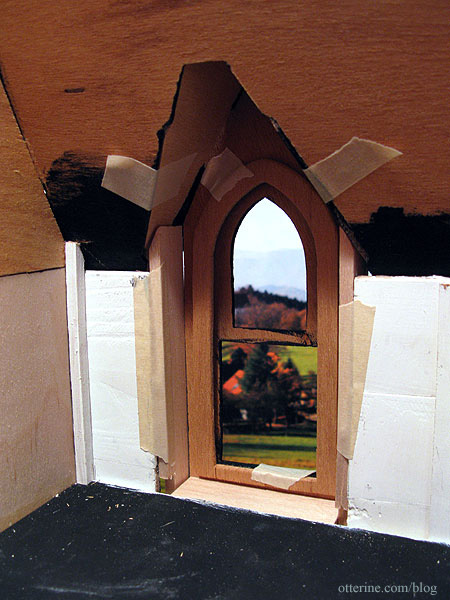
The new sides also line up with the interior walls. I’ll re-cut the new sides to fit better, but it already works better and should make it easier to decorate on the inside without all those silly wall connectors like the one in the corner there.
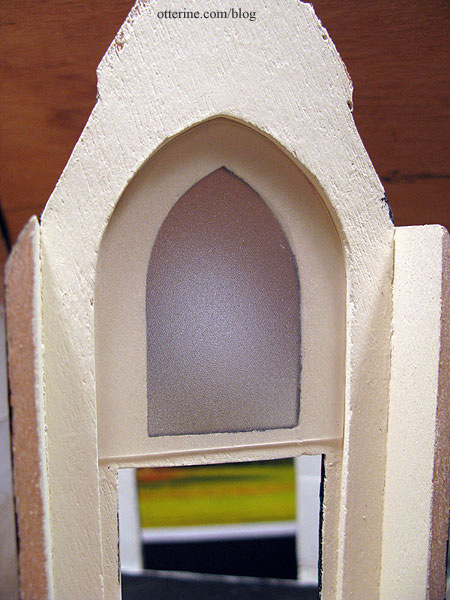
On the inside, this will now be a floor to dormer-ceiling window, so I’ve eliminated the sill. I trimmed the outside edges of the window frame pieces because they seemed bulky to me. This won’t effect the functionality of the window. I added a scrap of wood to fill in the hole and make the window level with the floor. Should be just enough room for flooring.
I cut new side walls for the dormer window and spent a fair amount of time repairing the old, brittle wood of the remaining original kit pieces. I decided to assemble and finish the window in its entirety before installing it, figuring it would be easier to touch-up the paint by doing it this way.
I opted for a fully painted interior to the dormer window assembly since I thought wallpapering would be too difficult in this small of an area. A painted window wouldn’t look out of place in an otherwise wallpapered room, in my opinion. Once the dormer roof pieces are in place permanently, I’ll fill in the gaps and touch up the paint.
One of the nice things about working in an office is that when bound presentations need to be taken apart and shredded, I can snag the specialty papers. Here is a frosted tab page.
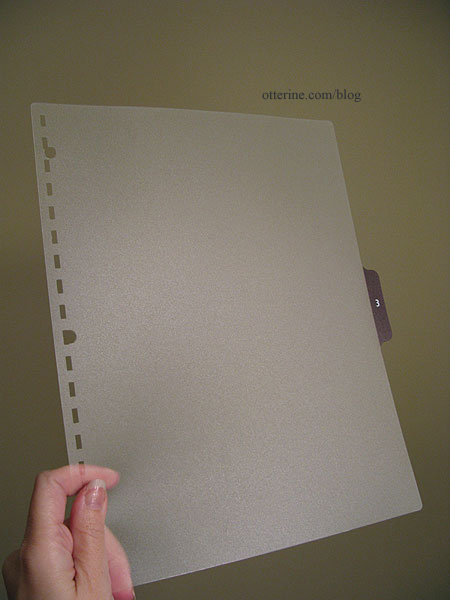
Cutting the window inserts from this material gives grandma a little privacy. :D
So, does the window work? Yes! Well, it’s a sticky window, but it works. :D
Aw, yeah…that’s creepy. :D
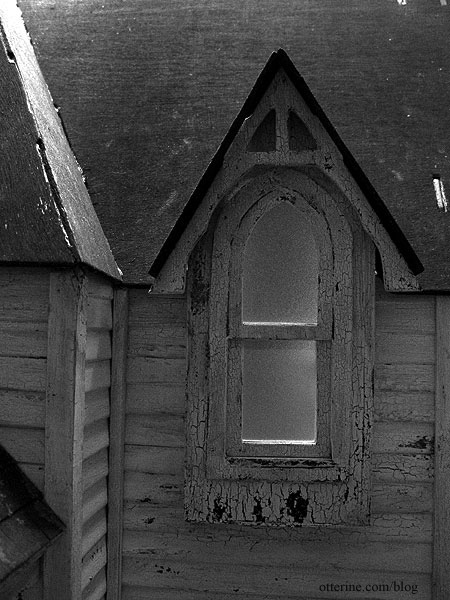
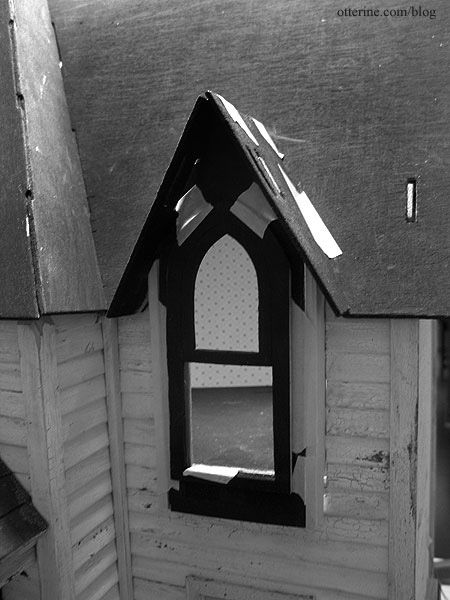
As you can see, I’ve painted the gable trim for the dormer. Both the roof pieces and this gable need to be adjusted to fit, but so far so good.