
The bay window is shaping up nicely, but I still have more changes in mind (of course). I glued the exterior frames onto the walls and began the painting process to match the rest of the house.
I decided to pad the interior walls of the bay and adjacent walls. I just find the connectors to be intrusive and a pain to wallpaper around. This meant I had to do a bit of experimenting.
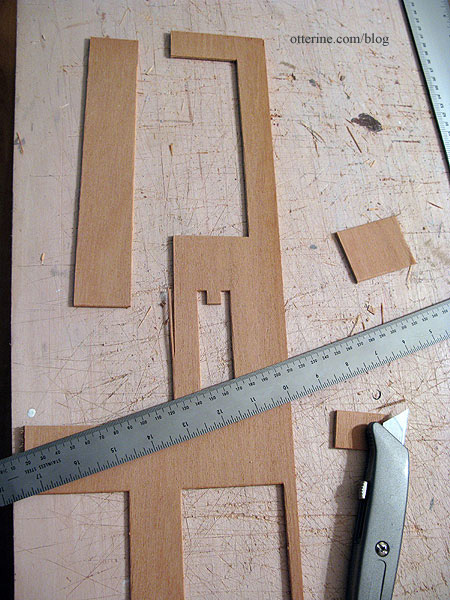
It was all made much easier by the fact that I had eliminated the side bay window and therefore had twice the parts for one bay window – minus the two exterior frames that I used to build the chimney. But, it was the bay wall pieces that really mattered, and I had three extras, the exact number I needed.
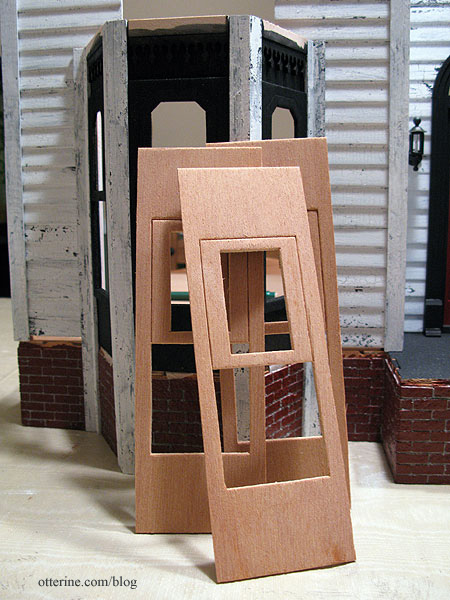
I cut these wall pieces to fit inside the connectors on the interior.
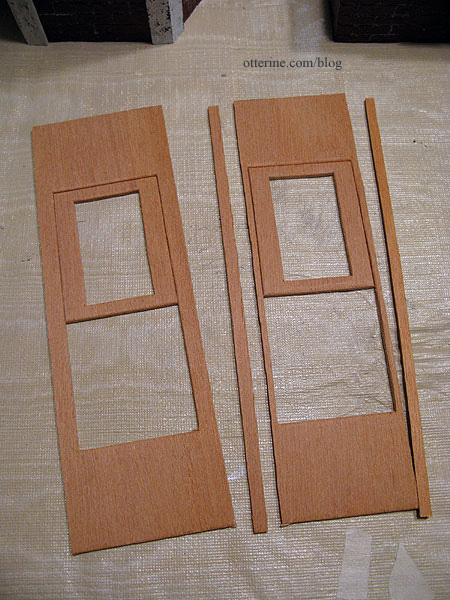
I left a little wiggle room since any minor gaps will be covered by wallpaper.

The interior trim will then sit on top of these extra walls once I get to the interior. To be honest, the plywood trim is pretty shoddy, so I’ll likely end up cutting my own interior trim. For the exterior, poor wood condition works well for this particular build, but the interior wouldn’t be quite this bad.
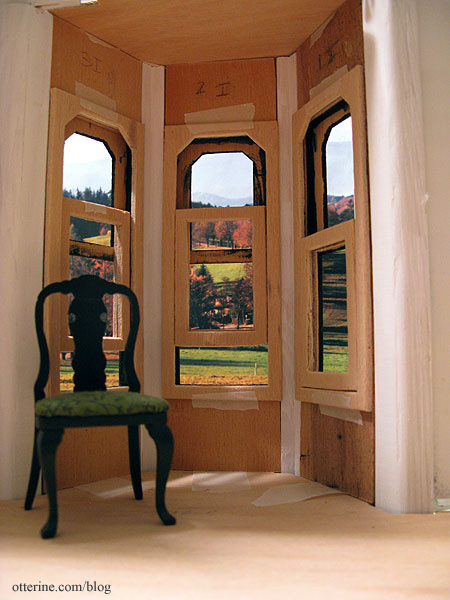
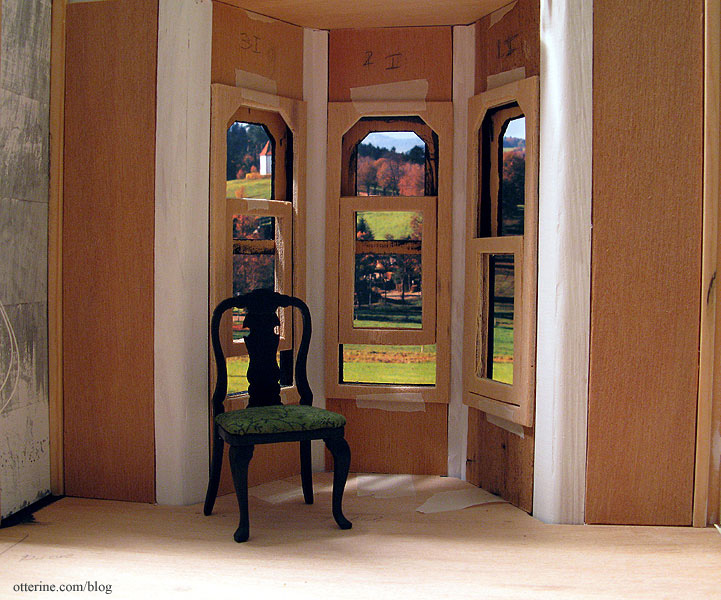
I think the padded walls give this bay a much cleaner look.
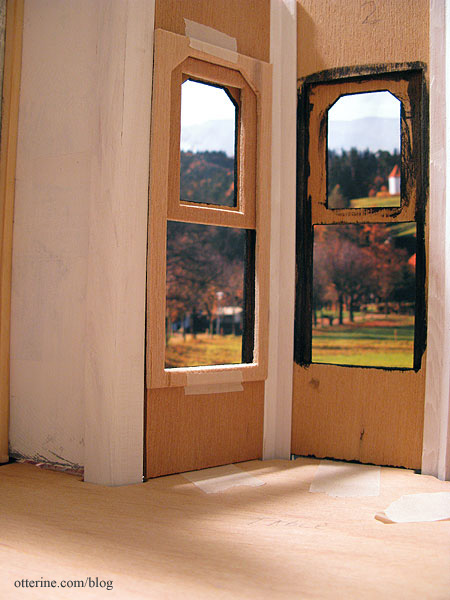
The adjacent walls are also padded using waste wood from the die cut frames.
This evens out that entire wall. I’ll pad the wall to the left, too, but it requires thinner wood.
I’ve heard from others who have built the Heritage and other Dura-Craft houses that once you get the windows and frames painted, the windows no longer work. It’s not a terrible disappointment to me that this might be the case since I don’t plan to keep opening and closing the windows.
Besides, the kit wood is not the best for this kind of wear and tear. One of the windows needs to be glued shut simply because it’s the only thing holding the assembly together. The other two I will glue in place partially open. Who doesn’t like a bit of fresh autumn air?


