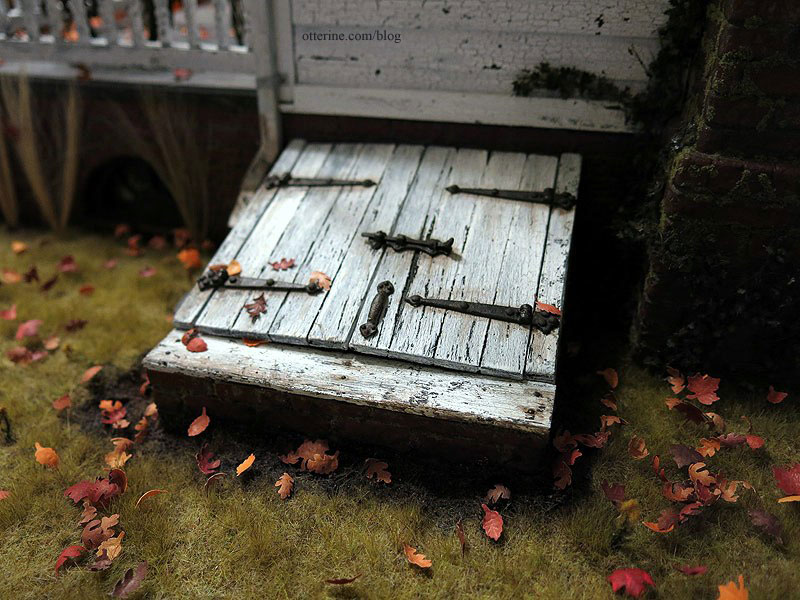
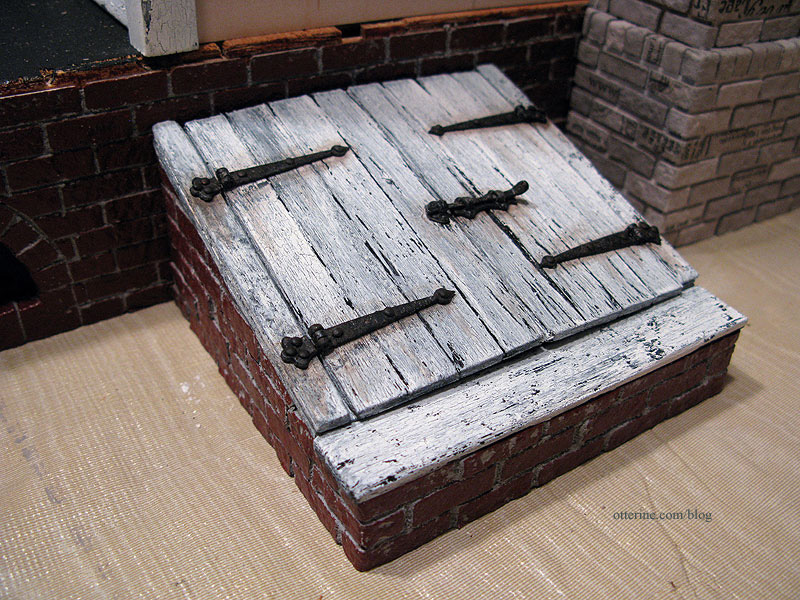
I might end up putting in a flickering unit for the cellar lights and fireplaces, so I needed to plan ahead for an accessible place to hide the circuit board just in case. :D I figured a set of working cellar doors that allow access to the unit would be just the thing. And, who doesn’t think old cellar doors are creepy?
My inspiration comes from Jeremy Paul. I studied his design for the beautiful Tudor he is currently building, though I built mine out of foam core board, wood scraps and egg carton bricks.
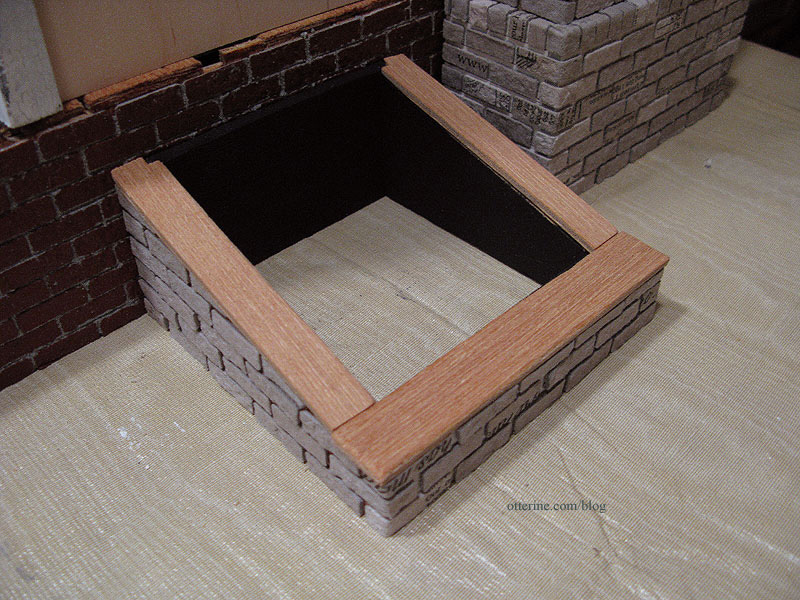
I started with a 1/4″ thick foam core board to get the general shape and size I wanted. I used 1/2″ thick foam core board for the front support and scrap wood from the Heritage kit for the back.
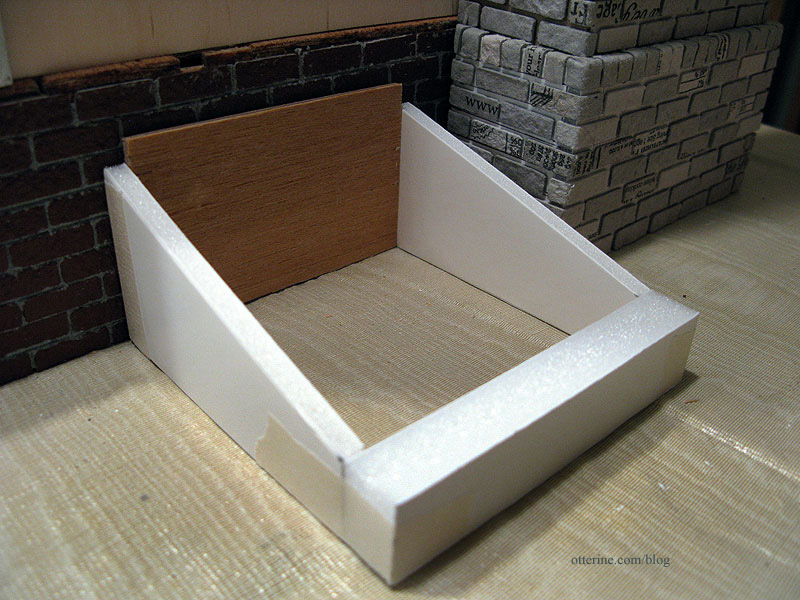
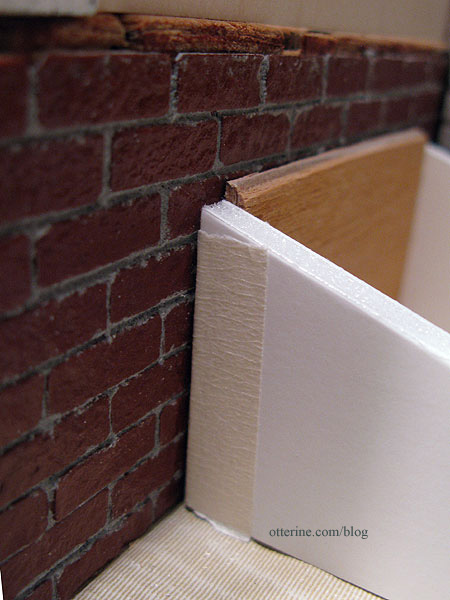
The back piece has a slight angle cut into it.
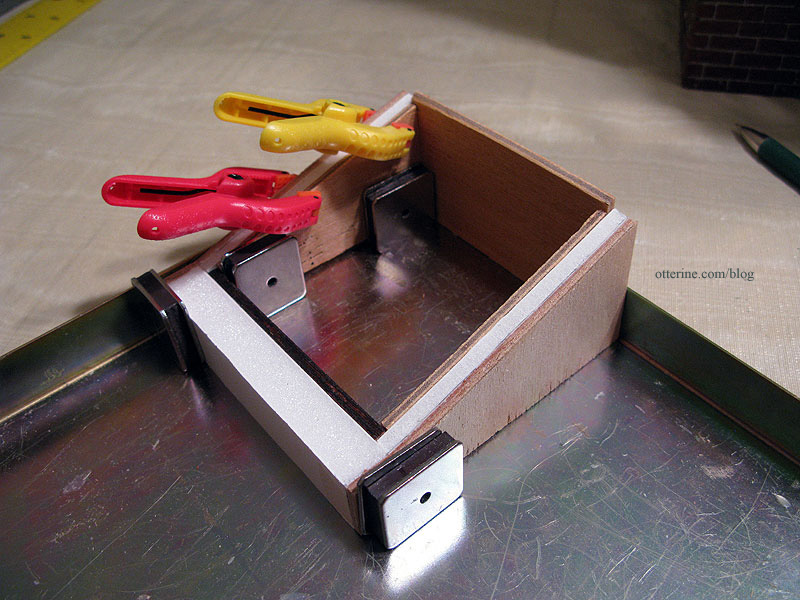
I glued more plywood scraps to the inside and outside for added stability.
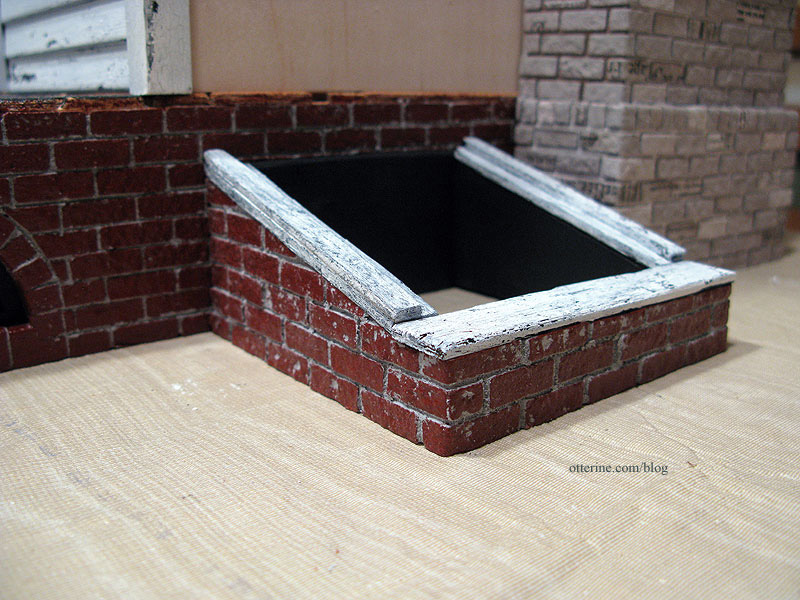
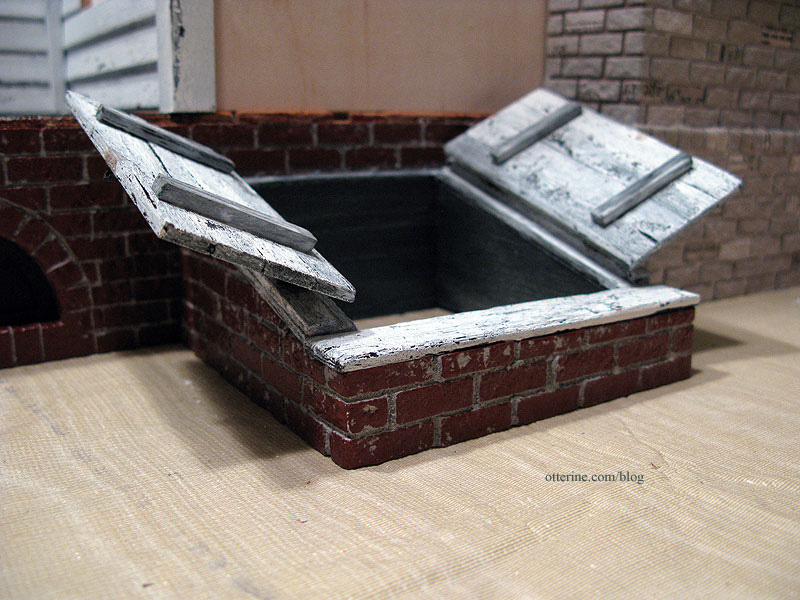
I covered the exterior with egg carton bricks painted and grouted to match the foundation. I sealed the interior wood with black paint.
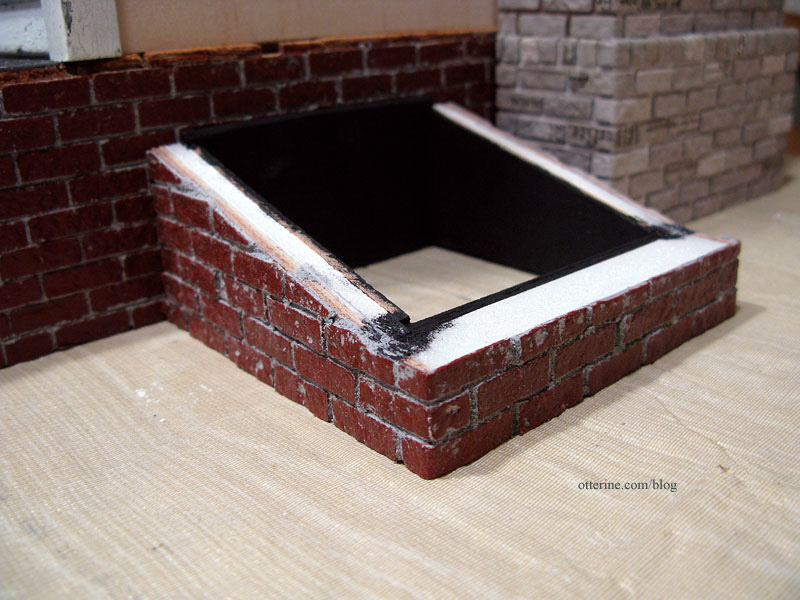
I covered the tops with plywood scraps to cover the exposed foam core centers.
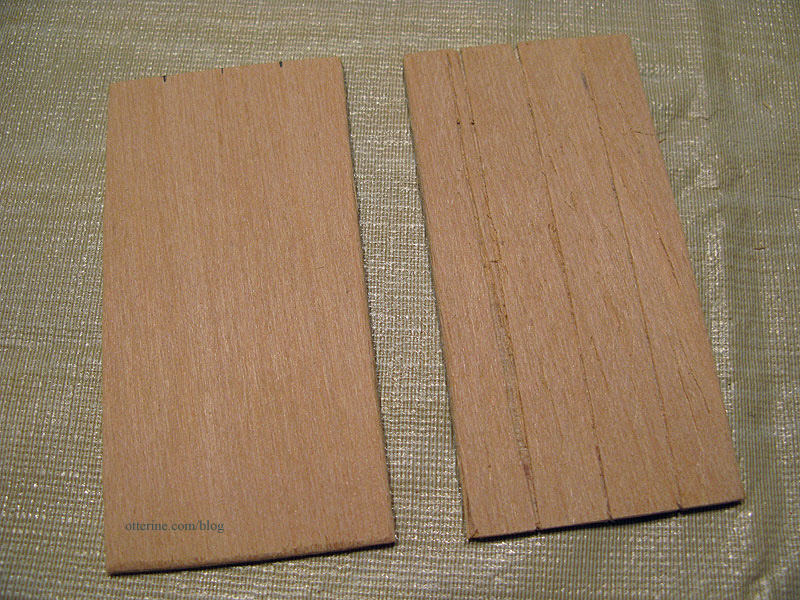
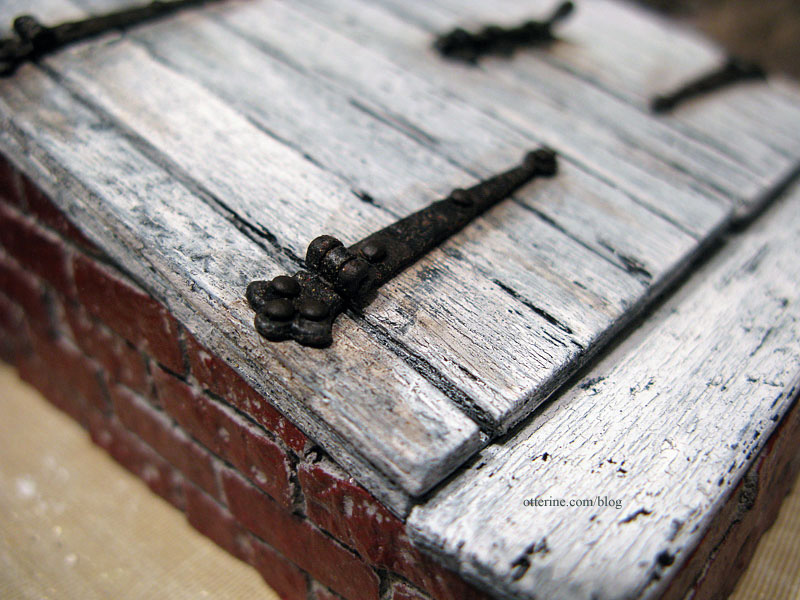
The doors are made from waste wood from the Heritage kit, scored to look like planks. It’s actually a positive that the wood is a little shoddy in this case! :D I did beat them up a bit more with an awl, though, to wear them out a bit more.
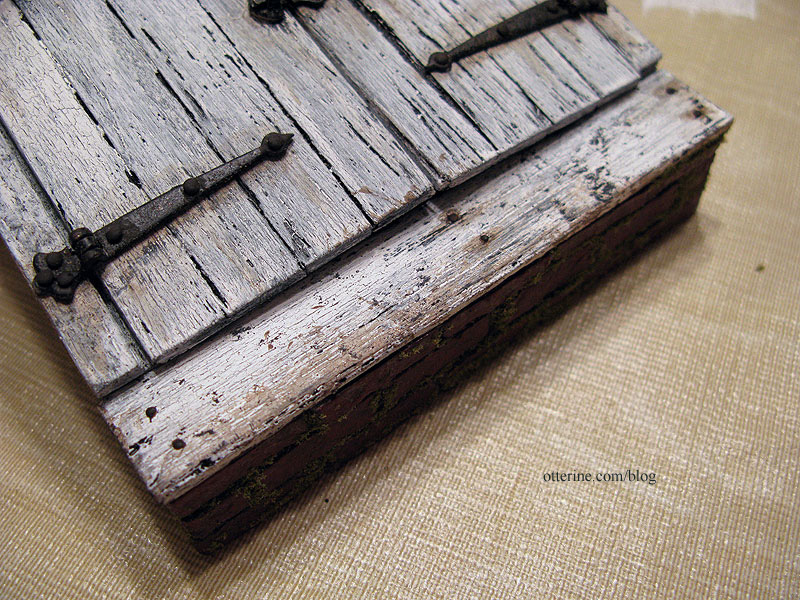
I painted and aged the wood in the same manner as the rest of the house. After fitting the doors in place, I glued another scrap of plywood to either side to hold the smaller end of the working hinges.
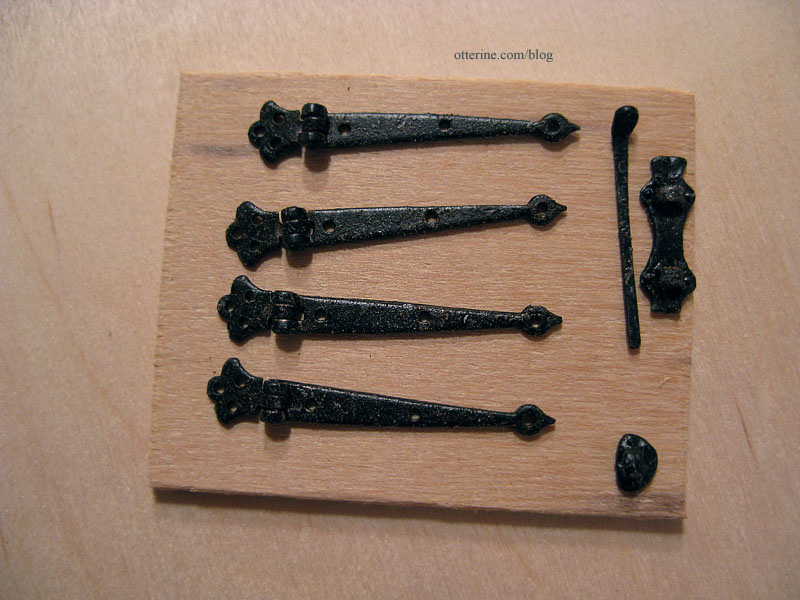
I used hinges by Dijon International and the latch is leftover from my Baslow Ranch supplies since I had built a custom wood latch for the barn door and didn’t end up using this latch. I sprayed them with Rustoleum brown paint but dabbed most of it off to keep it from binding the working parts. As it dried, I kept moving the hinges to make sure they would remain working. The paint gives it a nice rusted and corroded appearance.
To attach the hinges, I drilled pilot holes.
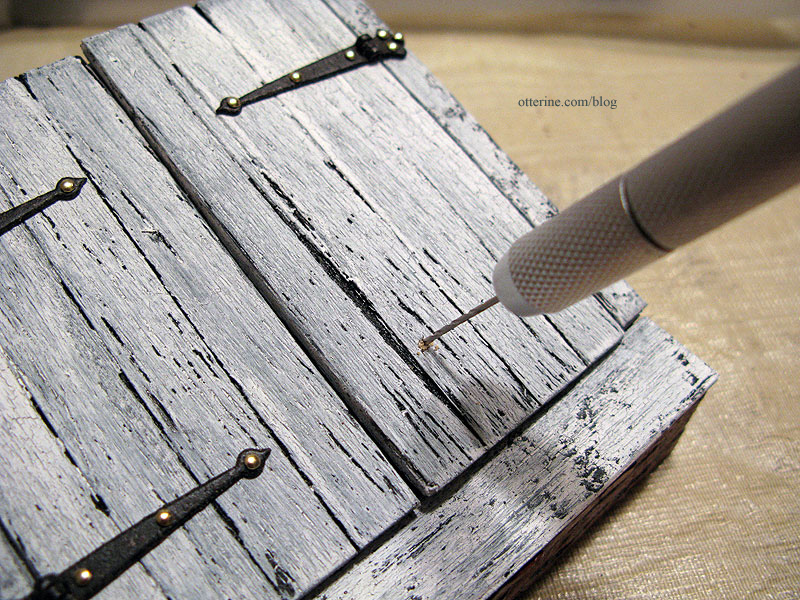
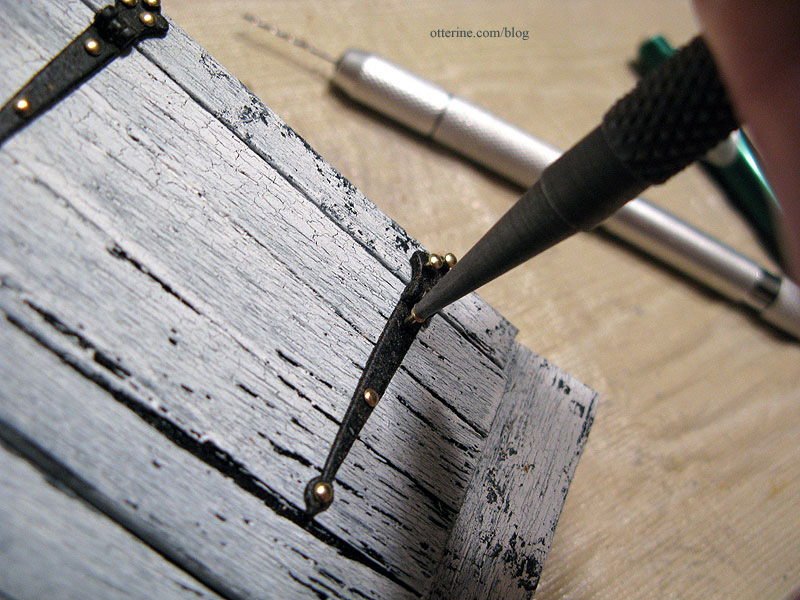
I then pushed in the nails as far as they would go by hand and followed up with a nail setter tapped with a rubber mallet.
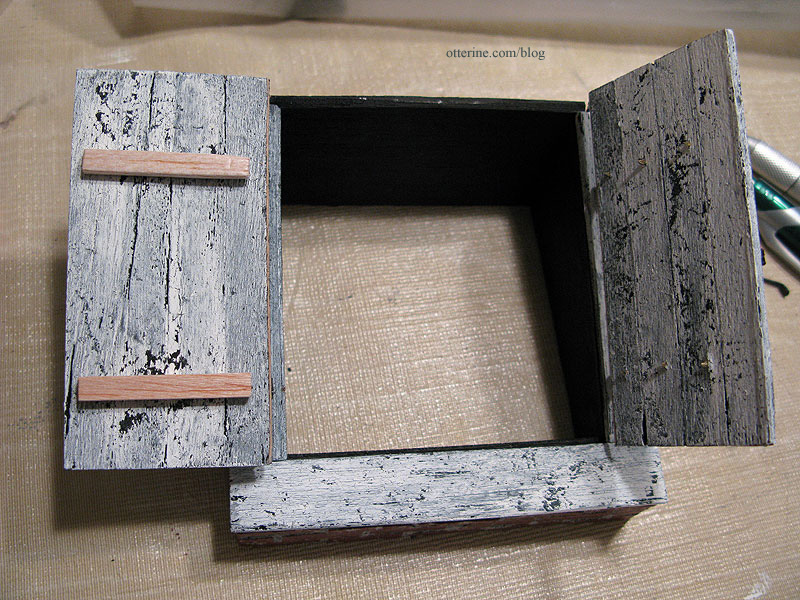
Even though the doors are made from a single board scored to look like planks, I added cross bars on the inner portion for added realism when the doors are open. I did this after all the pieces were assembled to make sure it wouldn’t interfere with the operation of the doors. I used balsa since it was easy to press over the nails sticking out on the underside of the doors.
The hinges come with bright brass nails, though, so I dabbed paint on them after assembly. I added a rusty paint wash around the hardware to age the wood. I love the effect of the textured paint on the hardware. :D
I’ll age the bricks and add moss later in the landscaping phase. I like that the doors ended up a little warped.
The whole assembly will be attached to the baseboard when I get to that part but for now is still removable. I’ll attach it after the chimney to make sure there’s no interference between the two.
I added old rusty nails.
I later added a handle as well.