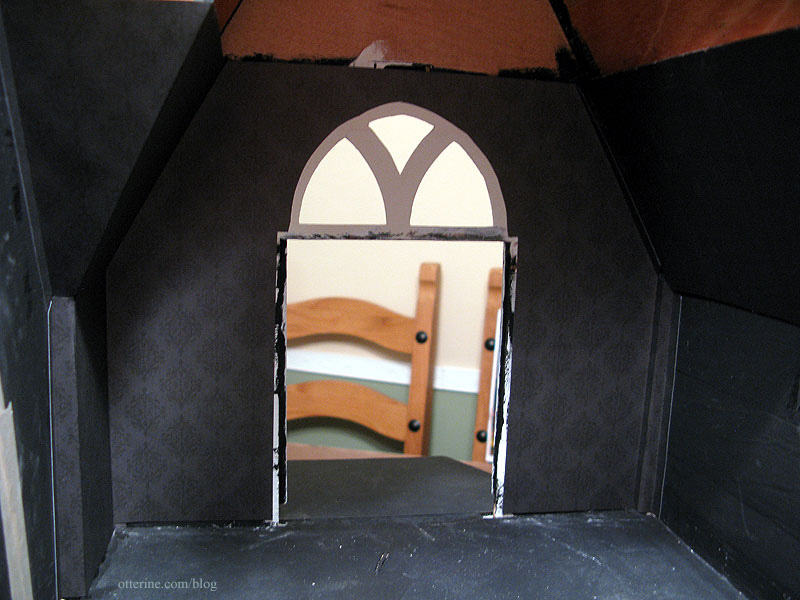
Completing work on the bedroom wallpaper. The wallpaper pieces had to be glued in place in a particular order for the tabs to work. I started with the two side triangle pieces and then added the pieces for the left side angled wall and the front window wall.
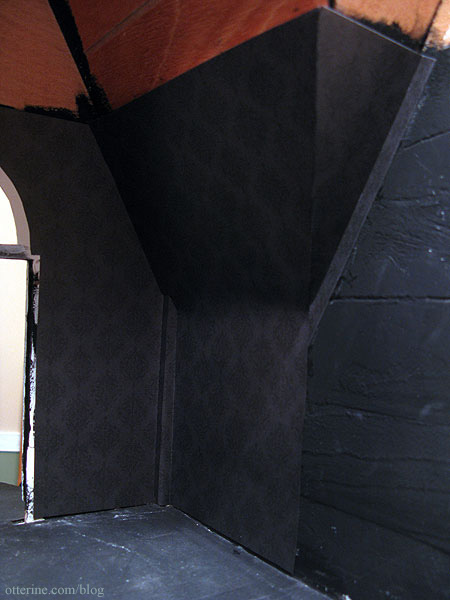
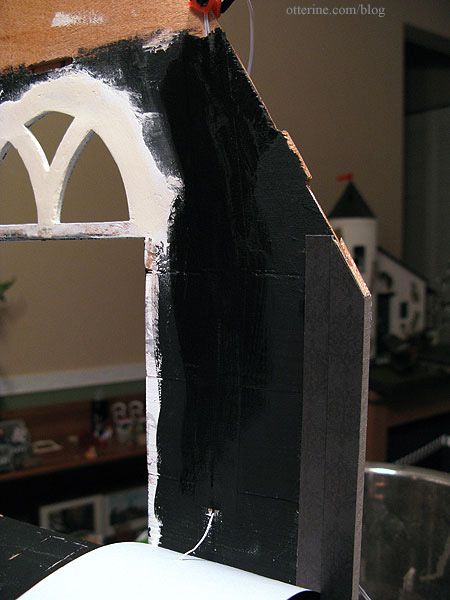
Next, the right side angled wall. The darkness of the paper made it hard to work with but it also helped mask any issues with the fit. As you can see, the outer wall is rather rough in texture. I didn’t smooth it because any modest bumps that show under the paper should work in my favor for an old house and it’s not as rough as it looks in the photo. :]
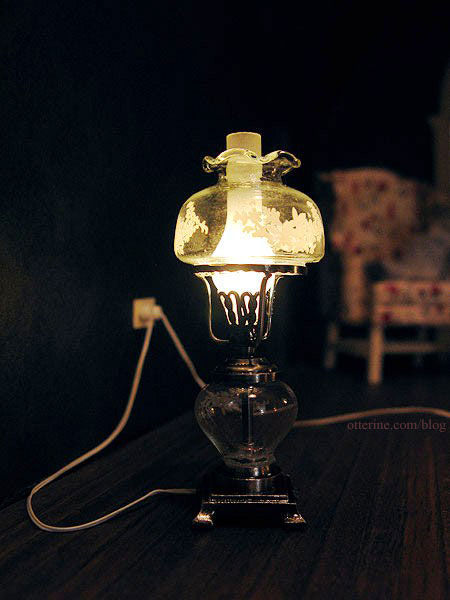
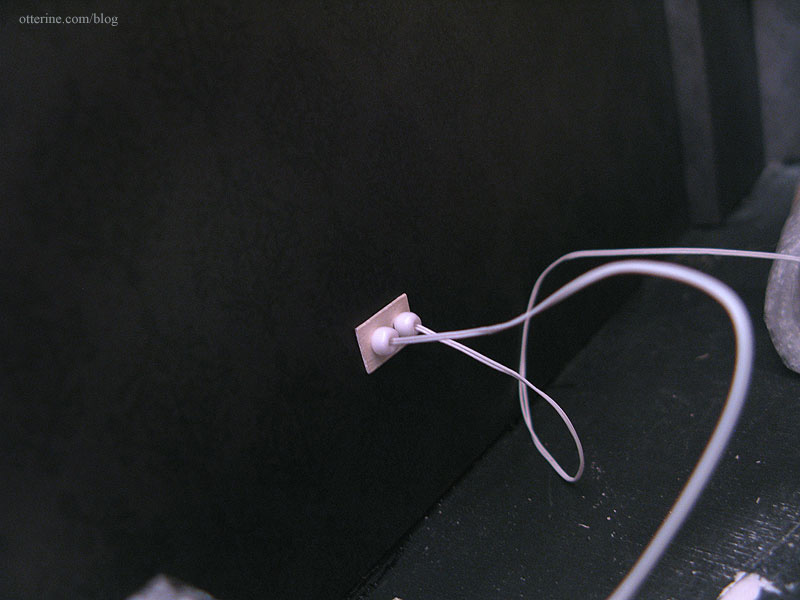
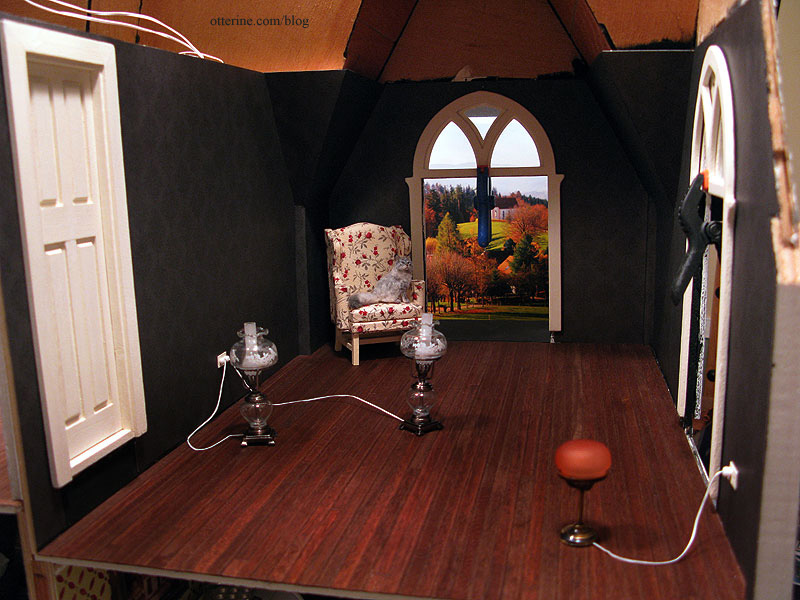
I had to wire the two bedside lamps and the vanity lamp before I could proceed. I used my usual faux outlet technique for the wiring: a bead for the plug and a handmade wooden outlet to disguise where the wire enters the wall. I had made the wiring channels previously.
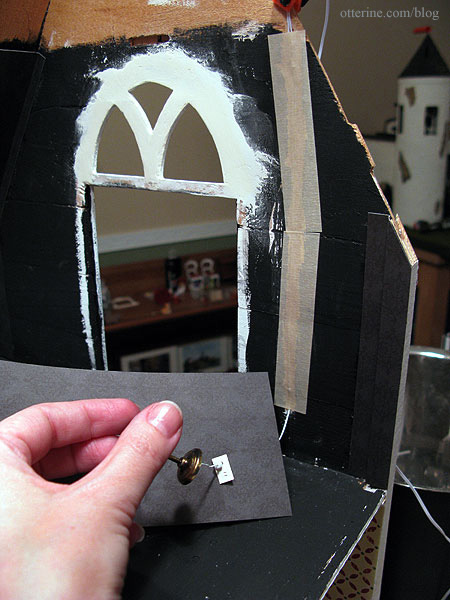
I used masking tape to keep the wires in their respective channels and then painted it black.
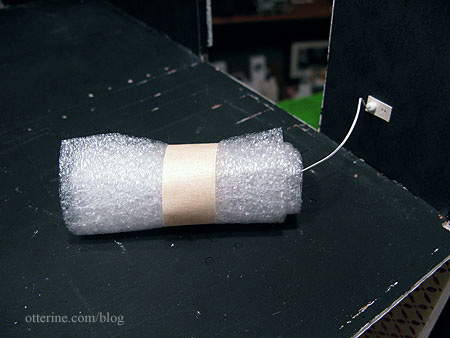
Since there was a lot of work left to be done in and around this room, I encased the lights in protective wraps.
The bedside lamps were both plugged into the same outlet, which will be behind the headboard, but I didn’t wire them to work as a set. I thought it would be nice to take photos with only one or the other lit.
The pattern didn’t end up matching on the outer wall where it was pieced, but it doesn’t bother me enough to cut a new piece from the reserve sheet. Once the ceiling, baseboard and furnishings are in the room, I doubt it will even be noticeable.

I used tape to suspend the wrapped lights and glued the flooring in place.
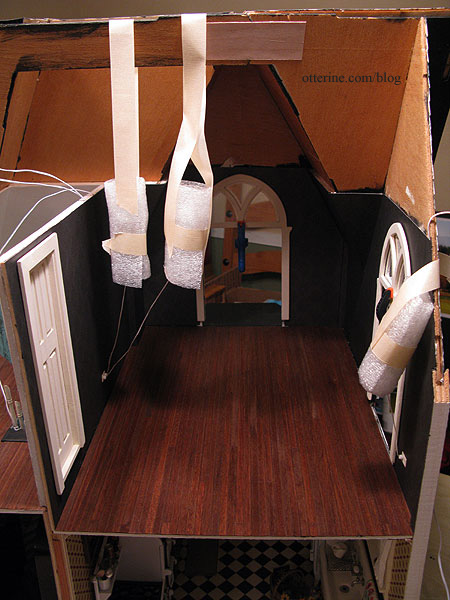
The interior window trim and door aren’t glued in place just yet, but we’re getting there! (Yes, I plan to address the floating door.)
I love these lamps! :D