
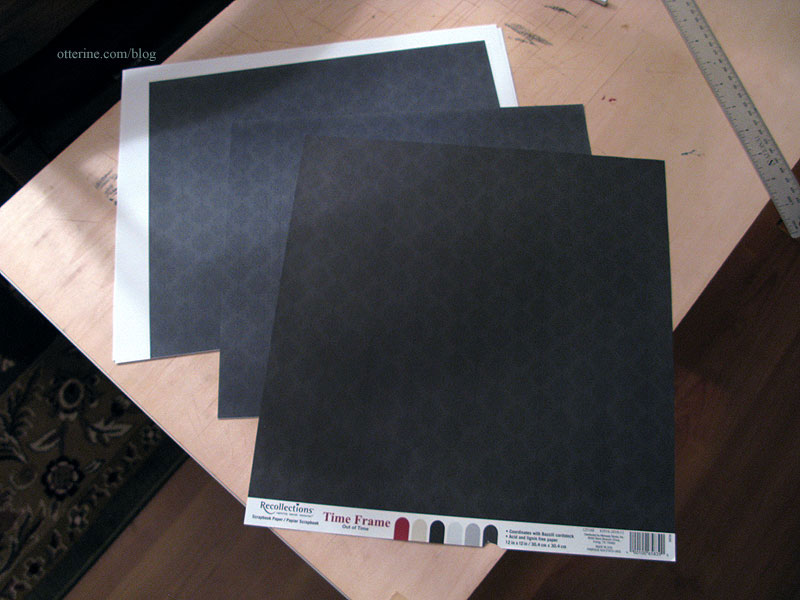
Continuing work on the bedroom wallpaper. Time for a test run with photocopies of the original scrapbook paper – Out of Time by Recollections.
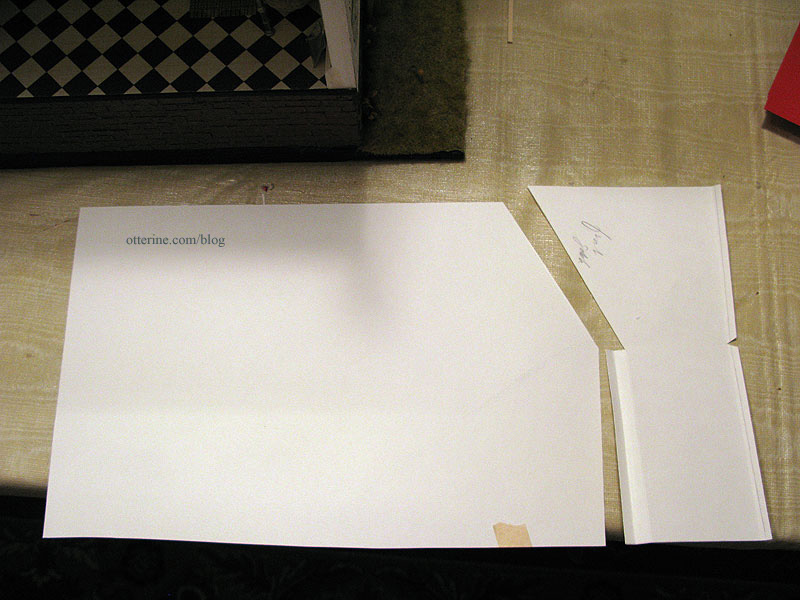
Using the original plain paper templates, I cut the photocopies and fit the pieces into the room. The two angled walls at the front of the room need taller pieces than the straight wall templates.
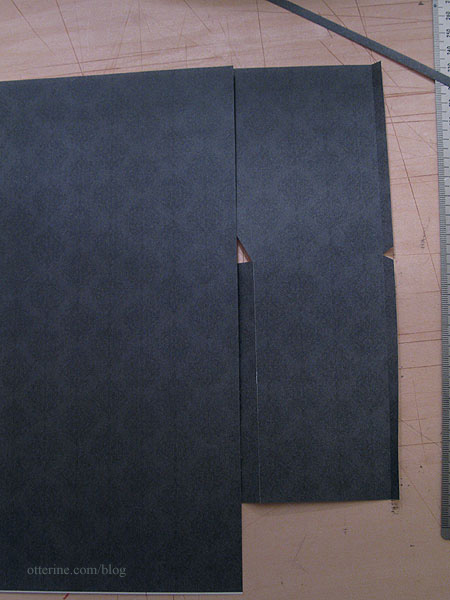
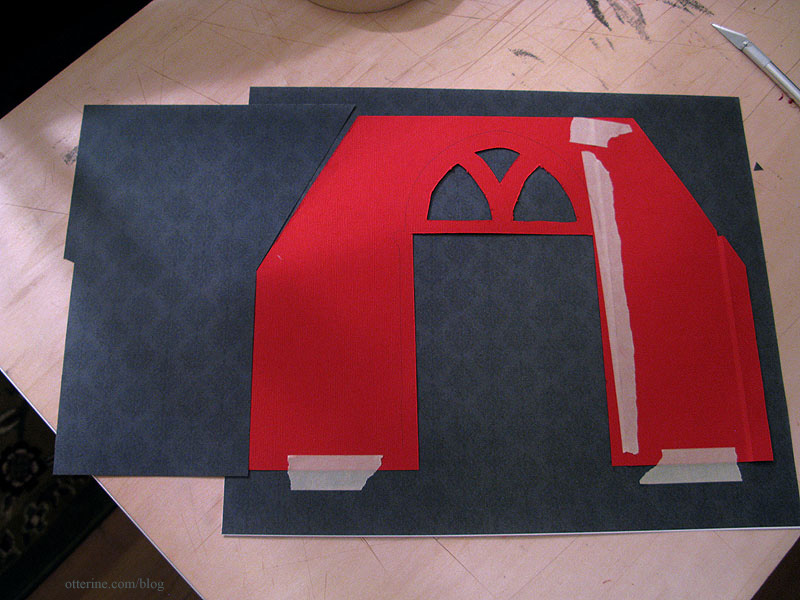
I cut the two angled templates first, using only one sheet of scrapbook paper, aligning the top of the templates with the top edge of the scrapbook paper copy.
I lined up the next full sheet of paper with the left side angled piece. I had to cut about 1/4″ from the side of the full sheet to get the pattern to match.
I taped the long wall template onto the printed paper copy along the bottom since this area will be cut off. The excess at the top will be removed as well, but I didn’t want to risk tearing the paper on that edge. Baseboard trim will cover any mishaps along the bottom.
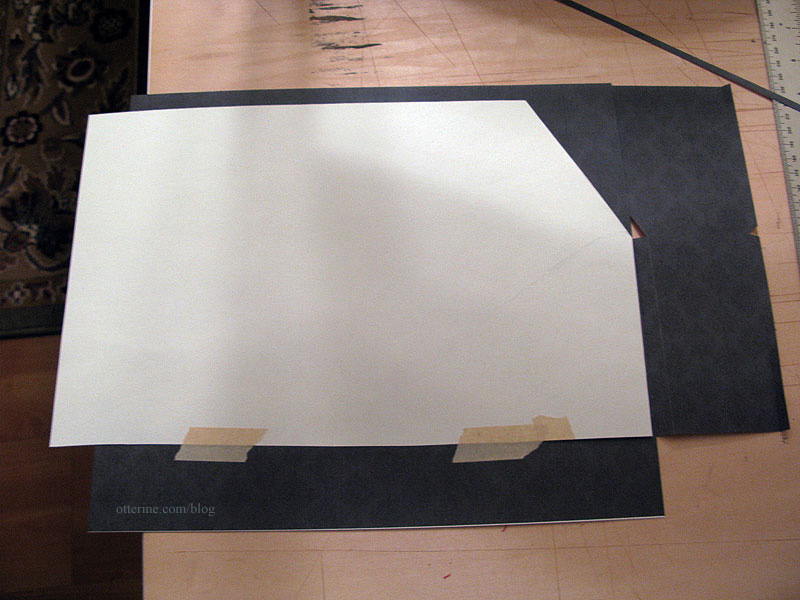
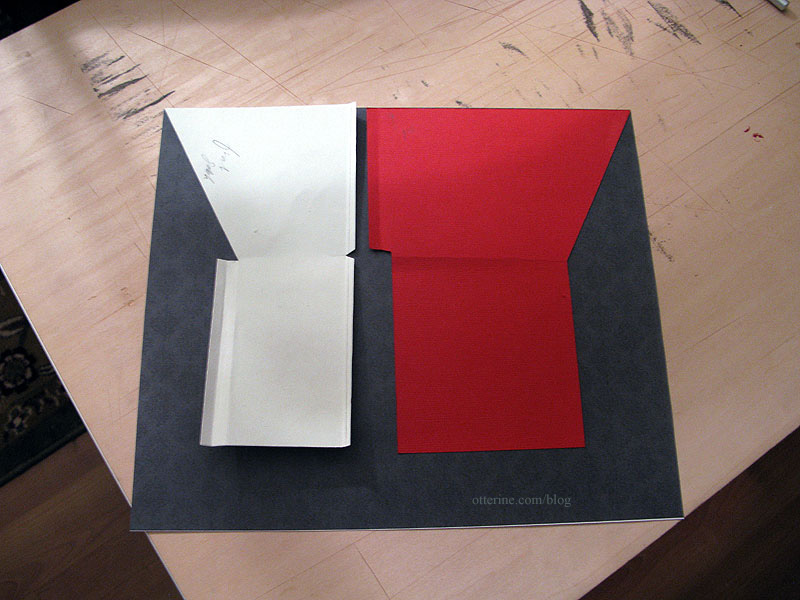
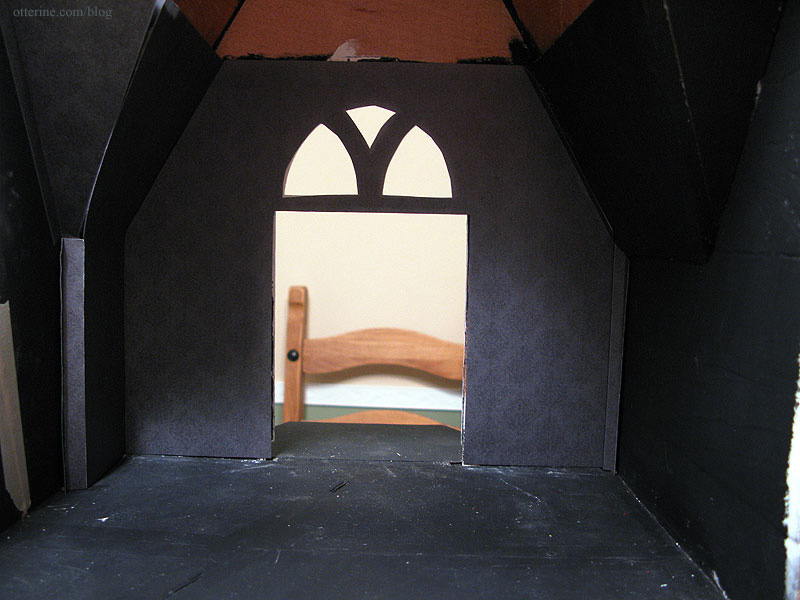
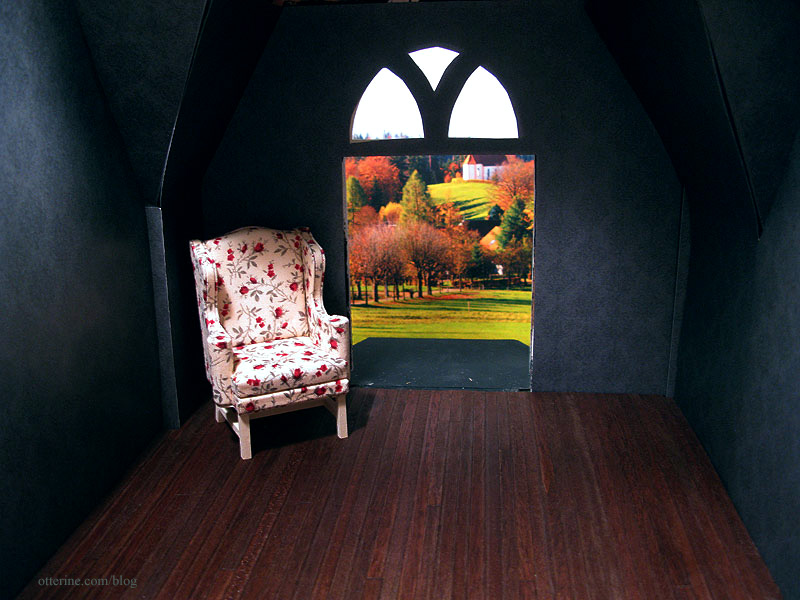
Since there is a door opening at the back end of this wall and the door trim will cover the uppermost part of the wall above the door, I just split this long piece through the middle of the doorway. For now, I will leave the two pieces whole without the door opening since larger pieces are easier to work with.
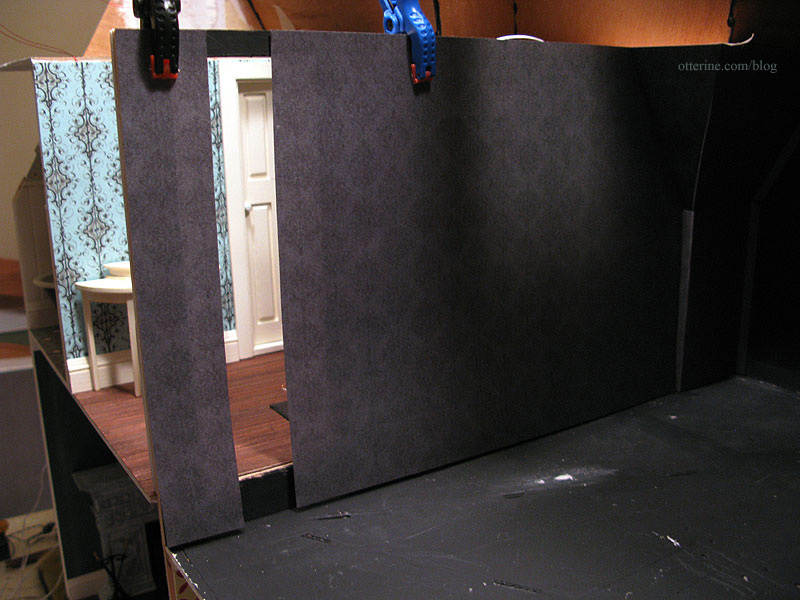
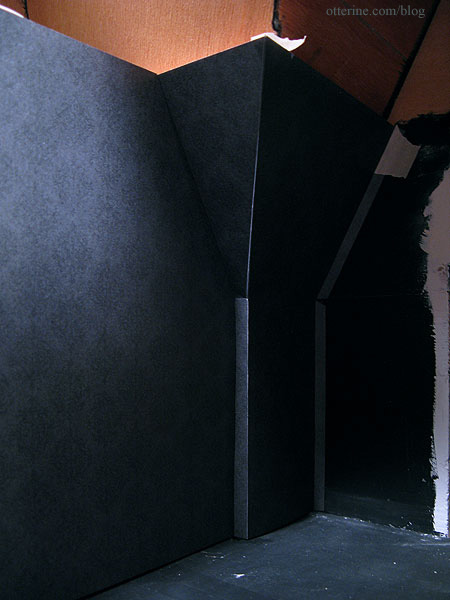
The two pieces fit well.
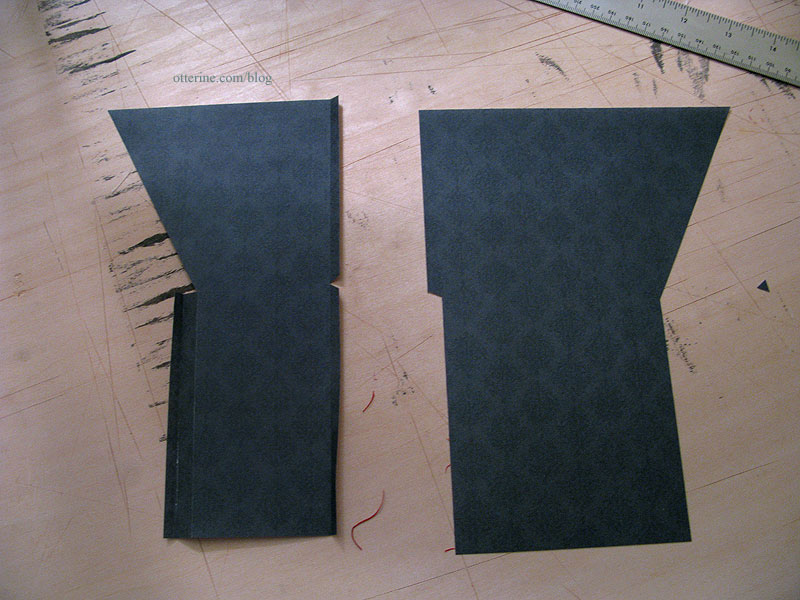
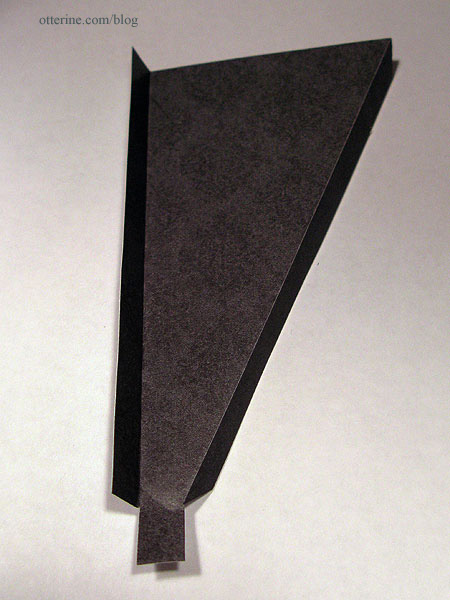
I cut the right side window wall template next. It lines up well with its adjacent angle wall piece, but I couldn’t take a photo of the pieces in place since the paper kept falling down.
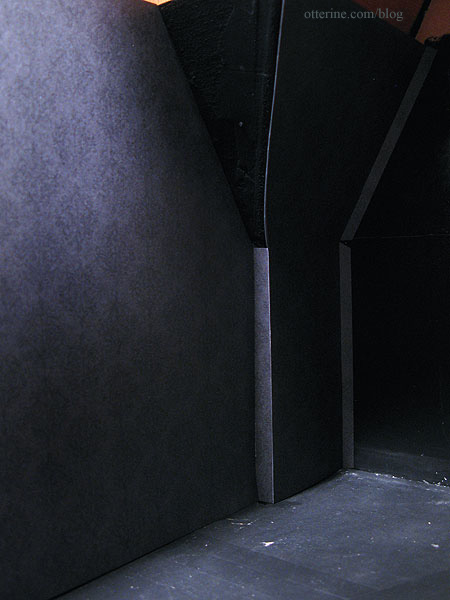
I used the waste piece from the large window opening to cut the left triangle piece that completes that wall.
It all works! Hooray! Unlike solid cardstock papers, printed papers often have a white paper core. When you score along the paper to make a crisp edge, the white core can show. I will have to use a pencil or marker to darken these edges using scraps to test out what method will work best.
I used another waste piece to make the other triangle piece for the right wall. Again, no picture of it in place.
As noted, the two side angled pieces had to be cut from one sheet due to my limited paper supply. Since it wouldn’t be possible to have the pattern continue along the front wall and match both side walls, I decided to center the front window wall template onto its own sheet of printed paper. Visually, it will make sense and, as long as the pattern flows horizontally, you shouldn’t be able to notice the pattern doesn’t match vertically in the corners.

Of course, I’m going through all this trouble for a paper that is so dark it’s hard to even tell there’s a pattern. You can see it more readily with the paper copies since I upped the contrast to see what I was doing. :D Nevertheless, it’s great practice for other patterned papers, and I wasn’t sure how it would work over all without this test run.
I used the equivalent of four sheets of scrapbook paper, and I have five originals. This gives me a tiny bit of breathing room in case something goes wrong in the actual paper application.
With all adjustments made and these cut pieces showing the best possible fit and pattern placement, I will use these secondary templates to cut the final scrapbook paper pieces.
Continued here.


