
I was able to use the kit pieces for the bay windows and ended up with two of the three working. Just like a real life old house – one window is painted shut, one window sticks and one won’t stay open!!! :D The dormer window in the bathroom is also original and working, though I had to scratch build the dormer itself. I had to replace the front and side regular windows with Houseworks components since the kit pieces were too far gone to salvage. I also added a casement window in the kitchen and a round window in the bathroom.
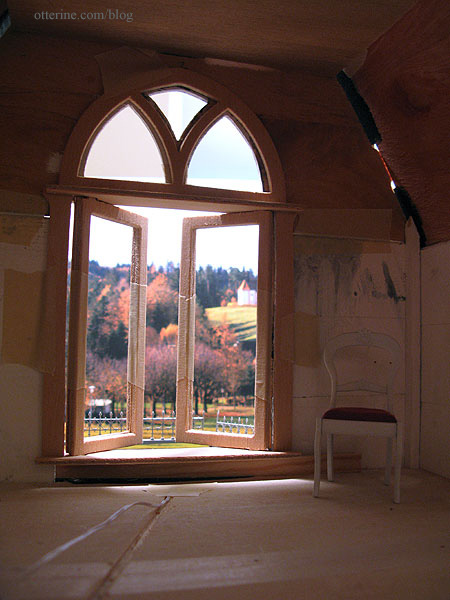
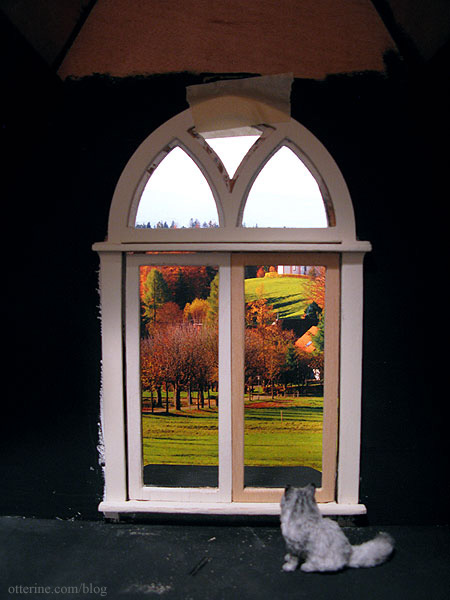
The remaining two windows are the floor to ceiling swinging windows in the bedroom. Here’s the last mockup I did for them back in March, but I have worked on finishing the parts in the interim.
The kit pieces were in relatively good condition, and I was able to use them. I had to do a little repair work and filling with spackling as I had done for the bay windows. I have a post on salvaging shoddy wood here.
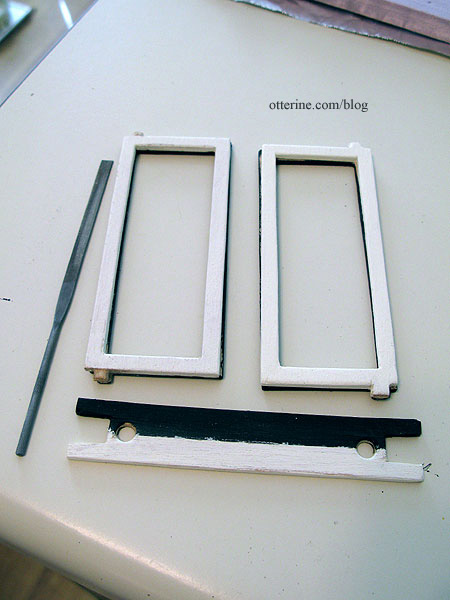
I primed and painted the interior Antique White by Folk Art, the color of all the interior trim. I primed the outside with black, the underlayer for eventual white crackled paint like the rest of the exterior.
Each swinging window is made from an interior and exterior piece with an acetate window insert between them. I don’t plan to use the printed kit acetate but plain clear acetate instead.
The windows have square tabs at the bottom that are to be sanded into a round peg and fitted into the upper and lower supports of the window frame. I used a metal file, and it worked very well.
The holes and pegs are not a perfect fit, but as long as they work that’s good enough for me.

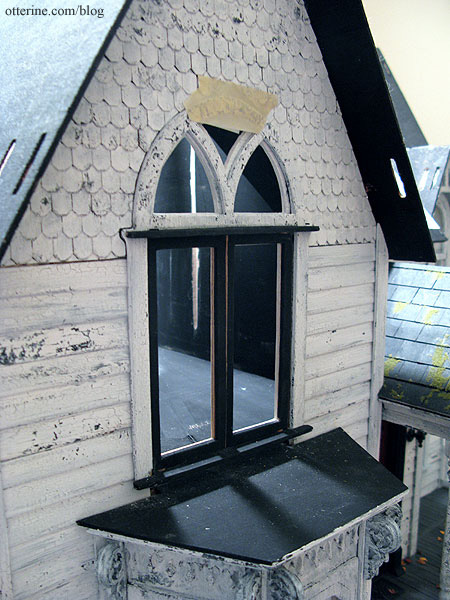
Again, there will be a little “chicken or the egg” to the process of installing these windows, which seems to be a major theme of this house. The interior wallpaper needs to be completed before the windows are installed, otherwise you’d have to cut around the fancy trim after the fact. But, I didn’t want to risk ruining the paper, so I am doing as much fitting and finishing as possible before I work on the bedroom wallpaper.
The main problem with these windows is that they don’t close due to overlap in the middle and there is too much excess wood to use the “sand to fit” method.
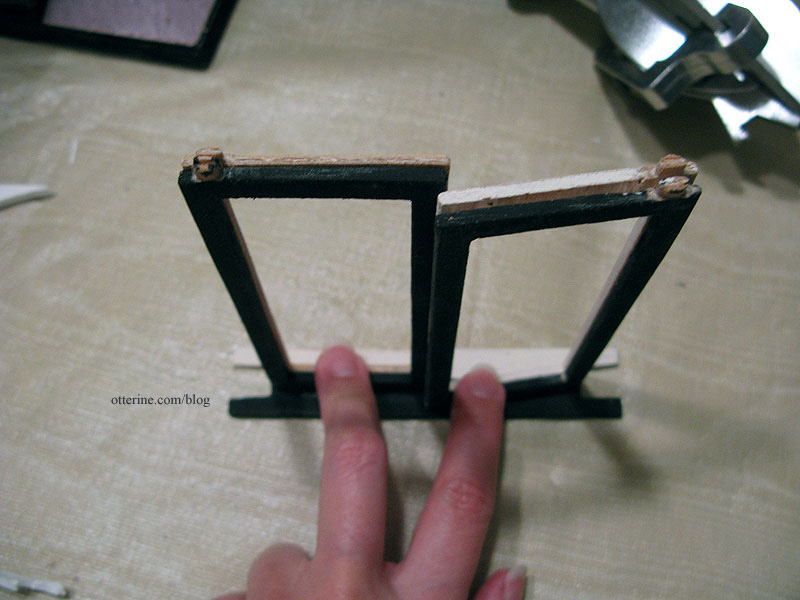
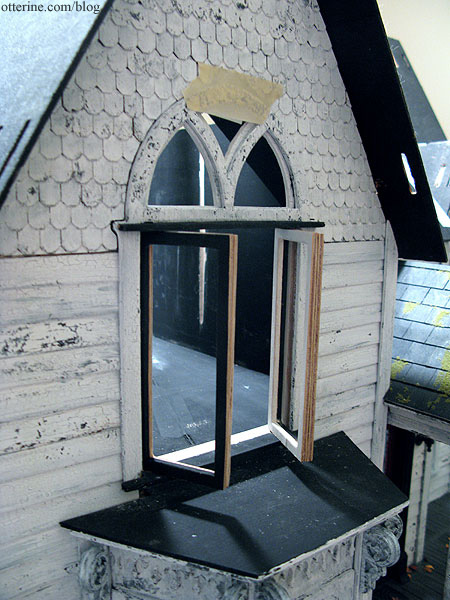
I managed to cut enough from the tops and the outer edge where the two windows meet in the middle to get this first one to close. It’s still tight, but I fear removing any more wood will just make it look lopsided. Good thing it’s an old, battered house, because I don’t know how I would get these original parts to turn out well otherwise.
There were originally three swinging windows – one in the bathroom and two in the bedroom. Since I eliminated the one in the bathroom when I added the chimney, I have extra parts to use in case of disaster. As you can see, I’ve already pulled one of the pinch hitters into play.
There will be open spaces all around the moving portions due to the nature of how the window is constructed. This bothers me for realism, but there really isn’t an easy way for me to address this. Even though I wanted the windows to function completely and close, I’ll likely display them open most of the time.
Continued here.


