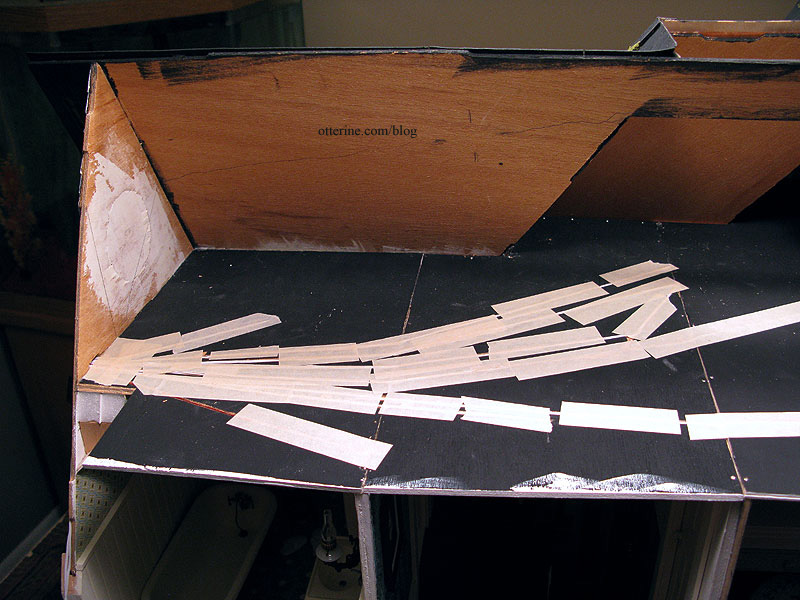
Continuing work on the bedroom ceiling. Since I’ll be installing flat trim around the bedroom ceiling to help disguise any gaps, I traced the walls onto the unpainted ceiling board.
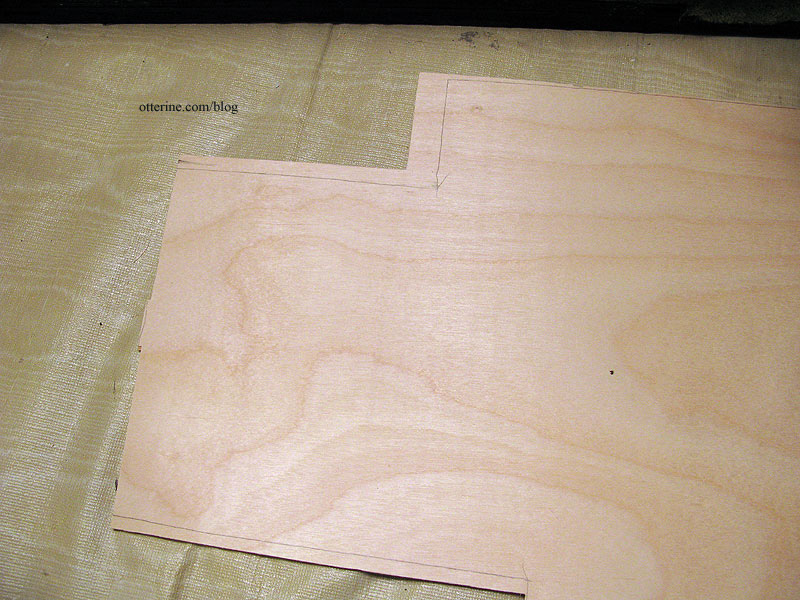
I then cut strip wood following these guidelines. I might have to do some adjusting during the actual installation, but this should give me a good approximation of lengths and angles. Much easier than trying to cut them in place later.
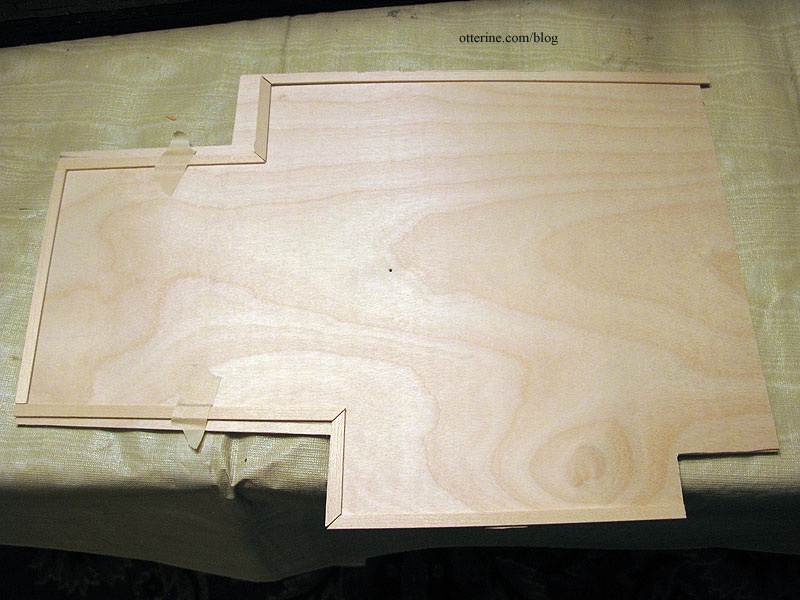
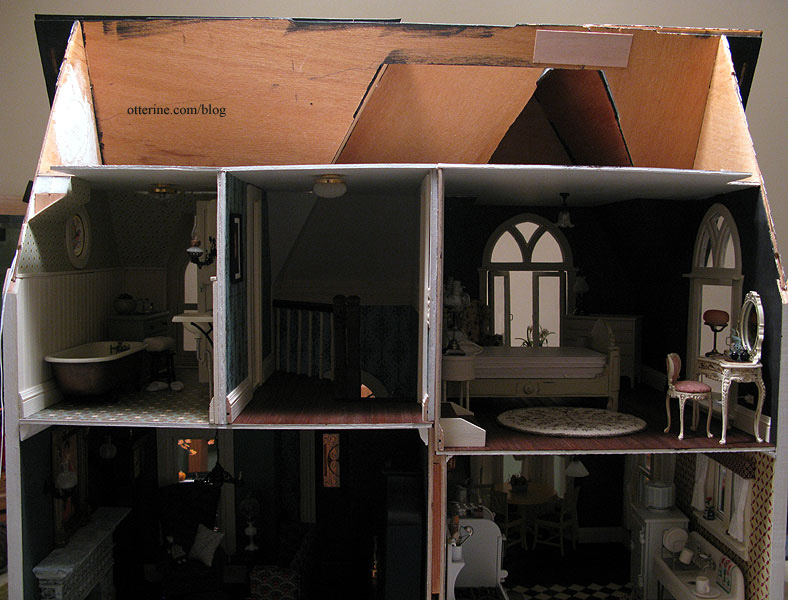
I painted the bedroom ceiling side with two coats of white paint, sanding once in between. I primed the attic floor side with black paint. I pressed the board to dry flat overnight to combat some warping in the plywood.
I glued the bedroom ceiling board in place first. The bedroom interior wall likes to lean into the hallway, so I had to hold it in place during the process. I added some straight pins for stability, cutting down the length as needed. I drilled pilot holes for them to keep the wood from splitting.
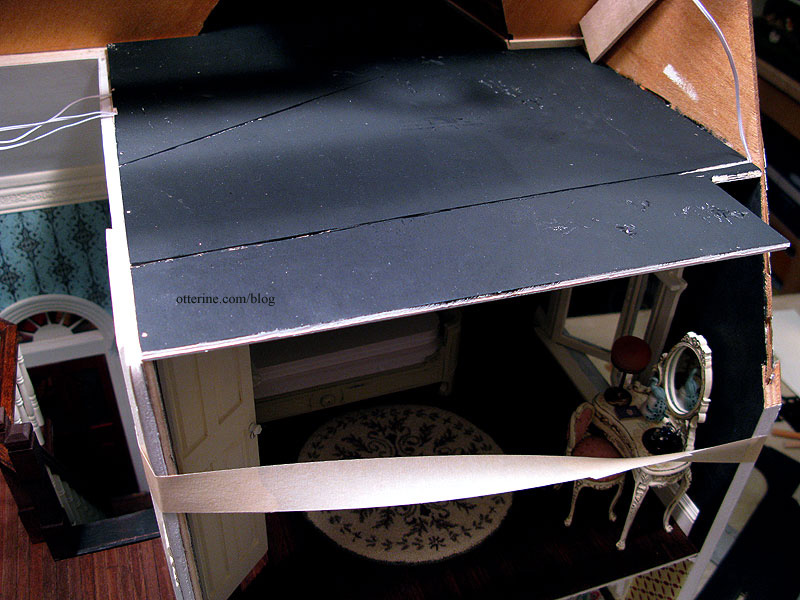
I glued in the hallway ceiling board that had been painted and prepped ahead of time. I taped the electrical wires into their respective channels, though I still have to lengthen a few of them on the outer wall to reach the power strip.
The ceiling line overall is a little crooked. Apparently, the bathroom and bedroom interior walls are slightly off in measurement from one another and the parlor ceiling has started to sag. It’s a good thing this is meant to be an old house. Haaaa! And, I’m hoping you will all be so wowed by the interior that you’ll ignore this problem. I have plans for finishing the back edges of the interior walls and floors to help disguise any warping. More on that later.
I’ve had a lot of challenges with this build, so I’ve taken these types of shortcomings in the final result in stride. I’ve learned a lot on this build, and I do love the way this house is turning out.
Update: After working on the back roof, I was able to finish up the bedroom ceiling trim. It’s a simple, flat strip wood trim, but it really brings it all together. It hides the slight gaps as well as the tabs and slots in the front and outer walls.
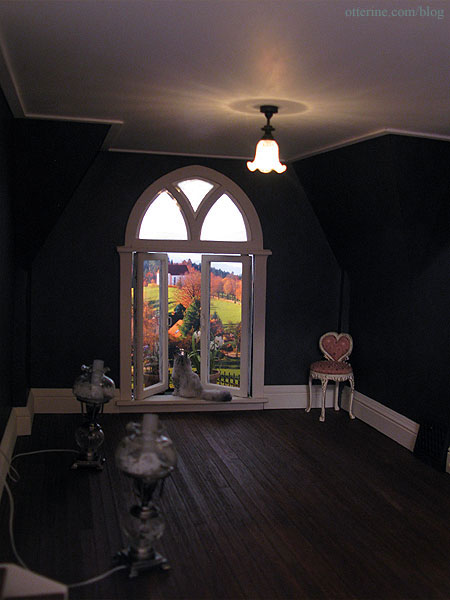
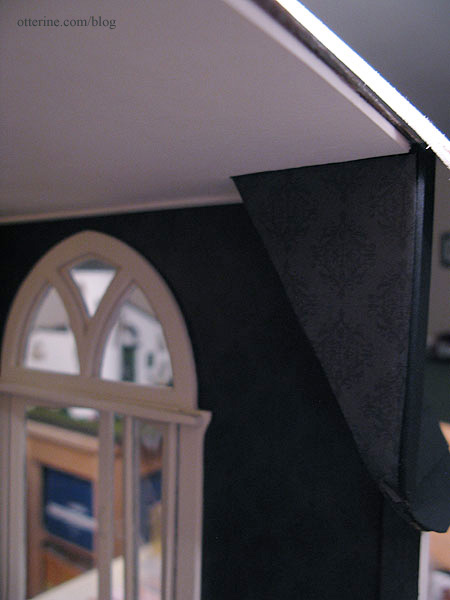
I cut and installed the final amount of bedroom wallpaper (I hadn’t yet added the flat ceiling trim around this corner to complete the room when I took this picture). There was a slight gap between the roof board and the gable wall, so I also added a thin strip of trim (painted black) along the angled wall that you can’t see unless you put your head inside the room.