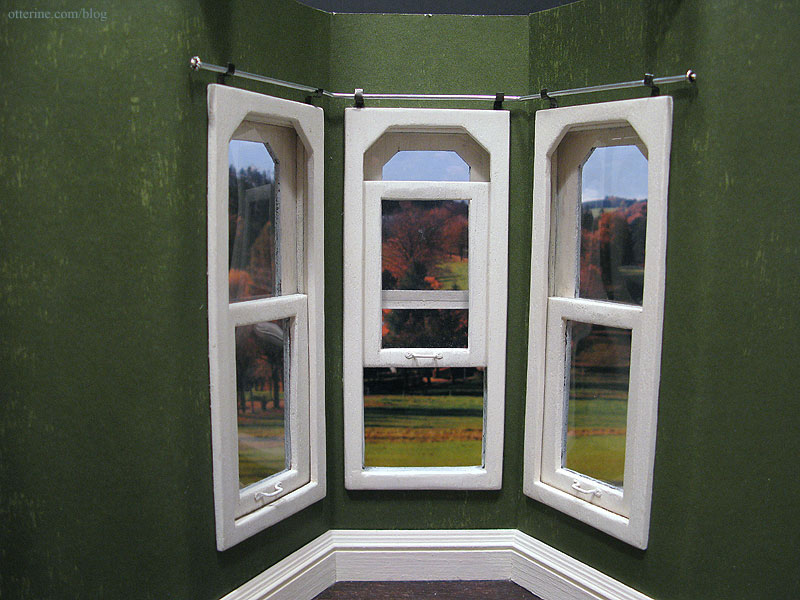
I decided to leave the pelmets off the bay windows since they weren’t as complementary with the green paper. I didn’t want to add another fabric into the mix or obscure the nice detailing of the interior bay window trim. It’s also a limited space with the table, chairs and chandelier already taking up a lot of actual and visual space. My first impression was to leave the space open. If I add anything at all to this space, it will be plain white curtains on metal rods.
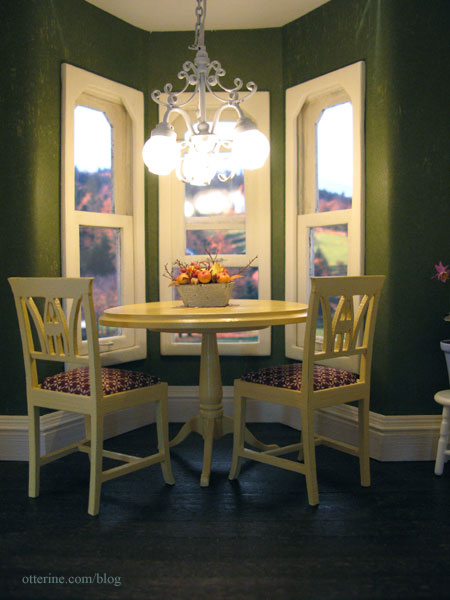
The easiest way to try things out is with paper mockups. A few folds in plain white paper give the same impression as pinned and shaped curtains. I propped the mockups in place and was surprised by how much I liked them. It really dressed up the space.
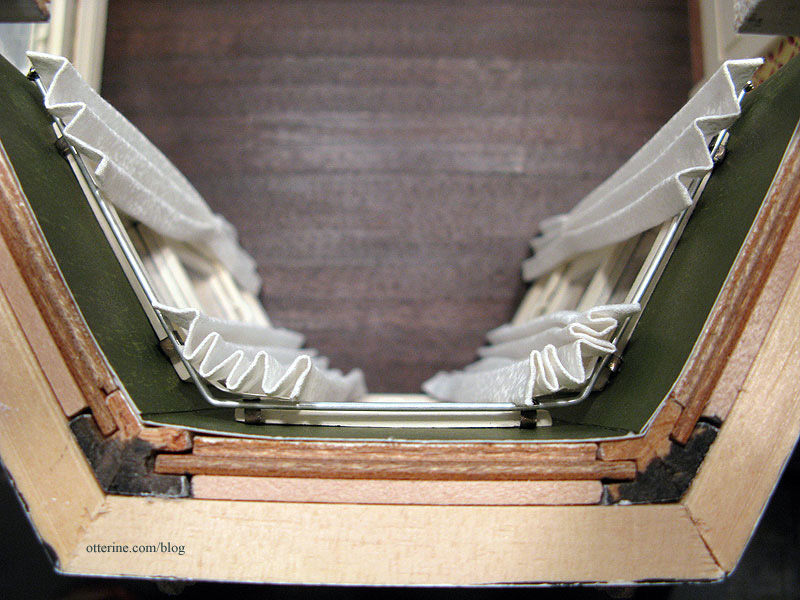
Awhile ago, I acquired a Millie August Magic Mini pleating tool. It creates pleats too large to use on the curtains with pelmet tops, but I decided to give it a try on the free-standing drapery. The instructions indicate you should wrap the fabric around the metal slats, steam iron and then let dry inside the pleater.
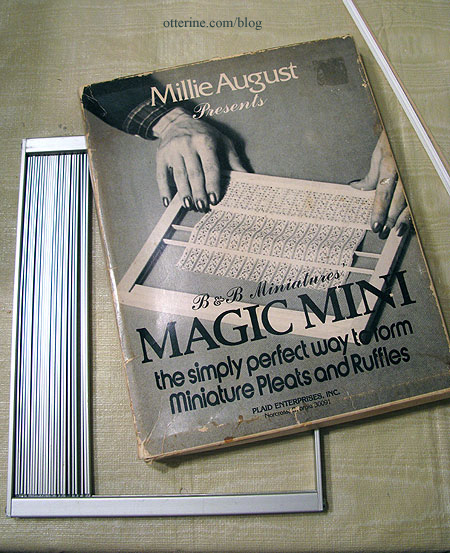
I wanted a bit more movement to my draperies, so I wrapped the fabric and steamed the pleats as indicated but then removed the fabric right away and pressed the drapes by hand. It made the pleats uneven and softer, more realistic in my opinion. These aren’t meant to be formal, starched panels.
I propped the fabric in place to see if I liked the look of it the way I had the paper mockups. Yeah, they’re pretty great! :D
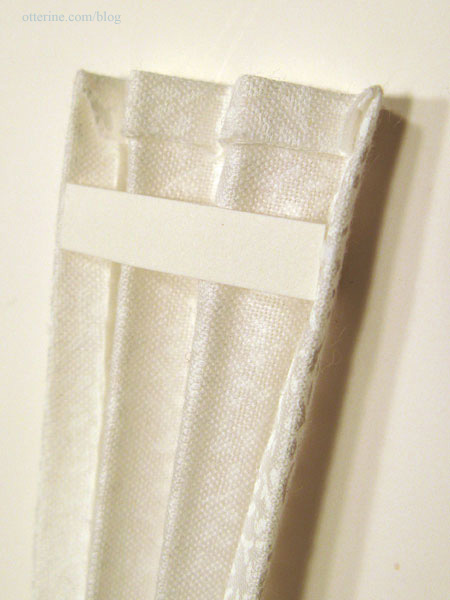
With the drapery pleated, I needed to get the panels ready for installation. To keep the drapery in shape and contained to the proper width, I glued strips of paper at the tops.
Next, I had to address the curtain rods. I left them out of the pelmet topped windows since they wouldn’t show anyway. For the support brackets, I cut the backs from some metal brads and shaped them to hold the curtain rod.
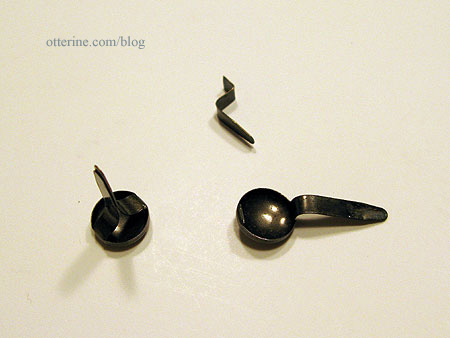
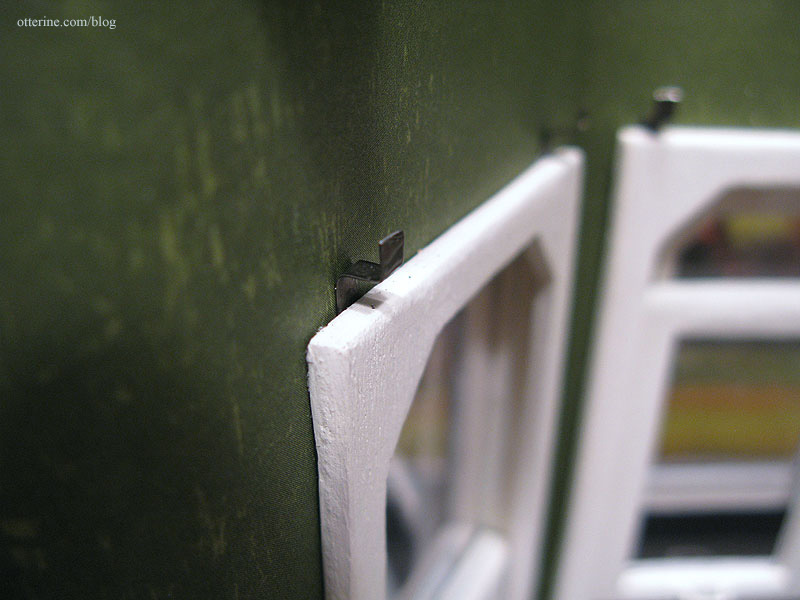
They are fastened with glue as well as being placed between the window trim and the wall for stability. I chose darker metal than the rod just in case they show after the curtains are in place. The darker metal wouldn’t attract your eye the way silver metal would.
I used aluminum tubing that you can find at most hobby stores and shaped it to fit the bay window brackets. I added some super glue gel to keep the rod from shifting or coming loose from the brackets. For the ends, I glued in decorative jewelry headpins.
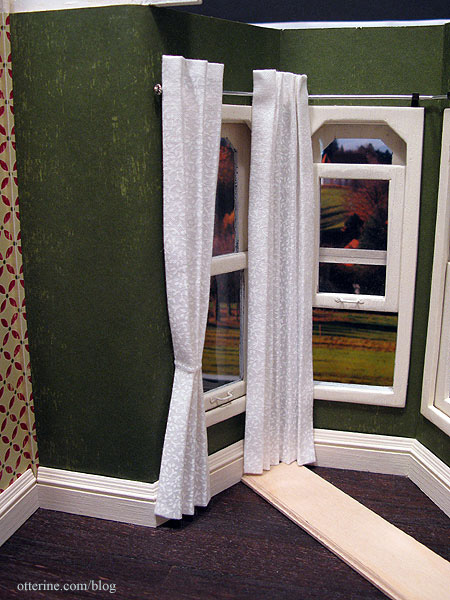
I glued the curtains to the rods along the paper reinforcements.
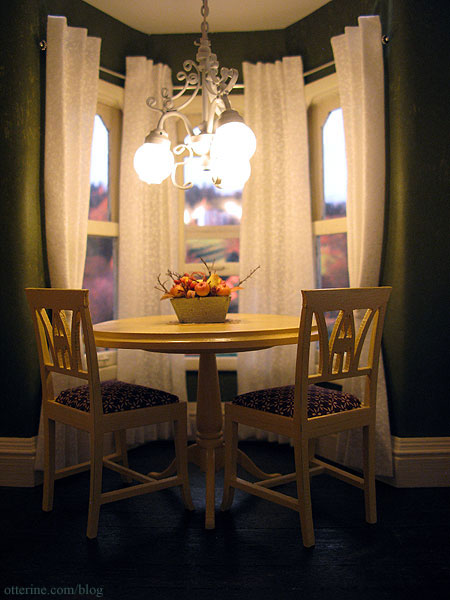
To have the curtains raised off the floor just a little, I slid a scrap of plywood under the bottoms for support while the glue dried. I used fairy lace tiebacks on the outer panels but I liked the look of the inner panels left straight. This way, grandma doesn’t have to reach over the table to untie them every time she wants a little privacy. ;D
Love!
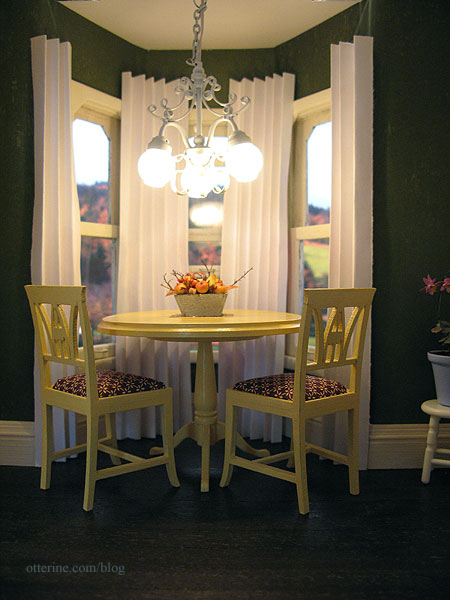
With the table and chairs in place, it really sets the mood. First, with the curtains in focus.

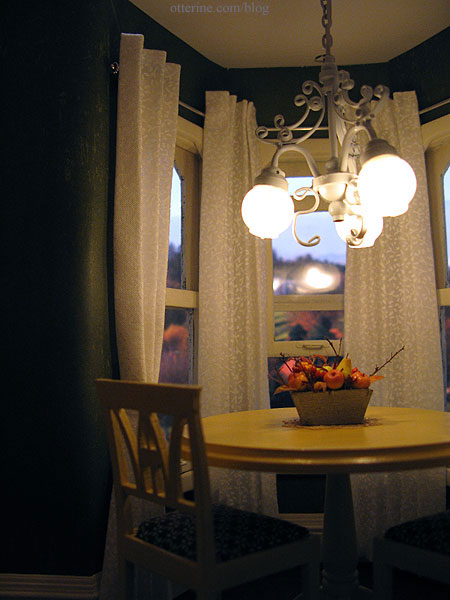
And, then with the furniture in focus.
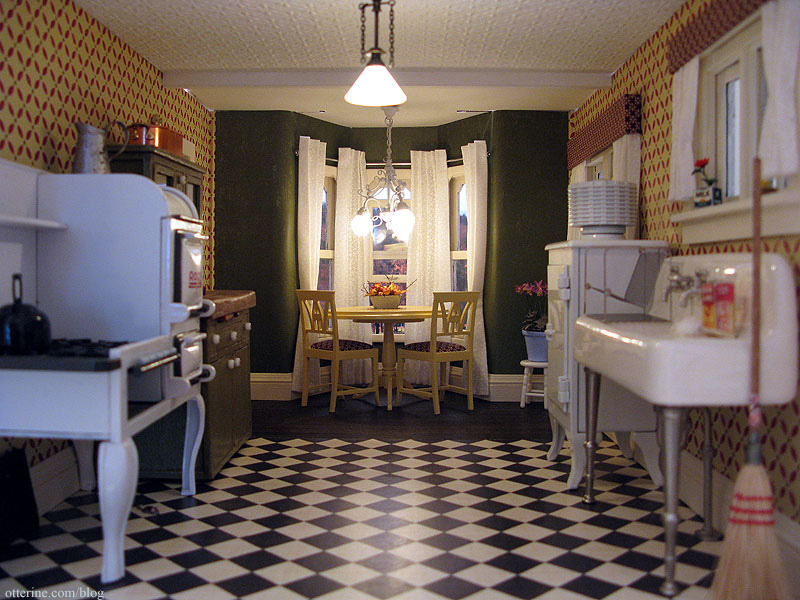
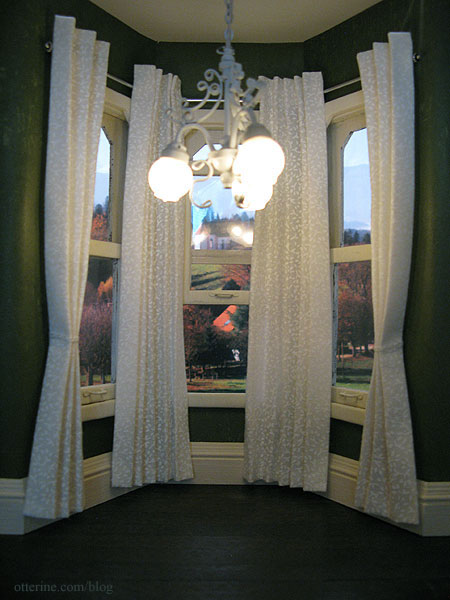
It really adds so much warmth and softness to the kitchen.
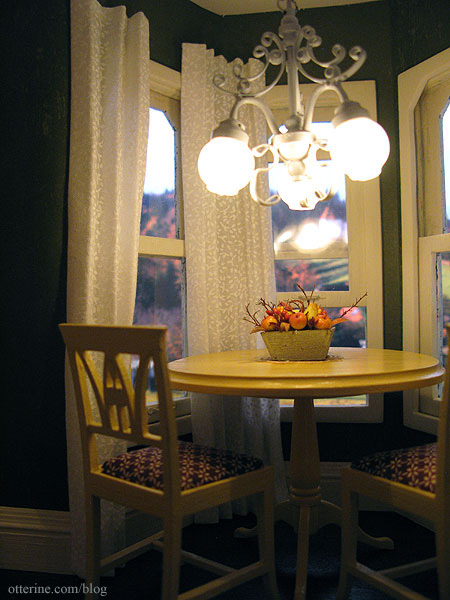
While taking photos, I finally captured a nice shot of the dining area chandelier.
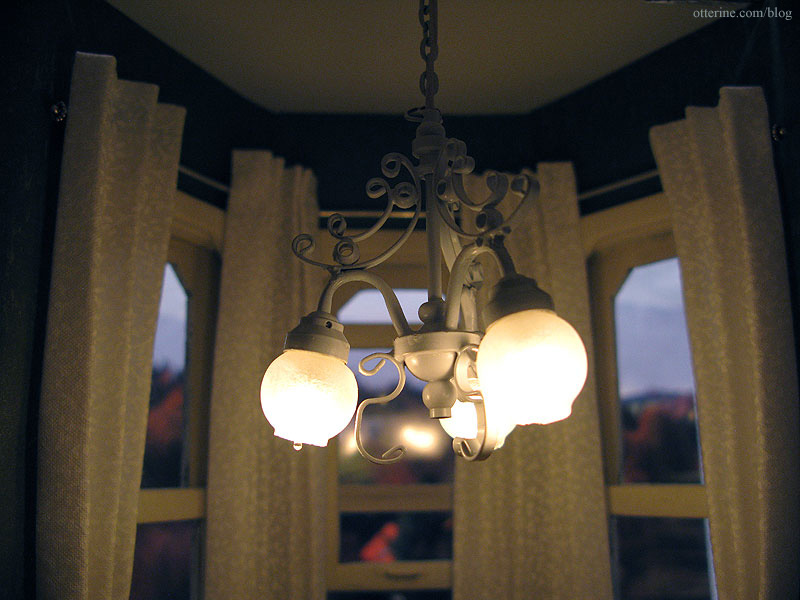
Okay, I am just about ready to put the kitchen ceiling on permanently. :D