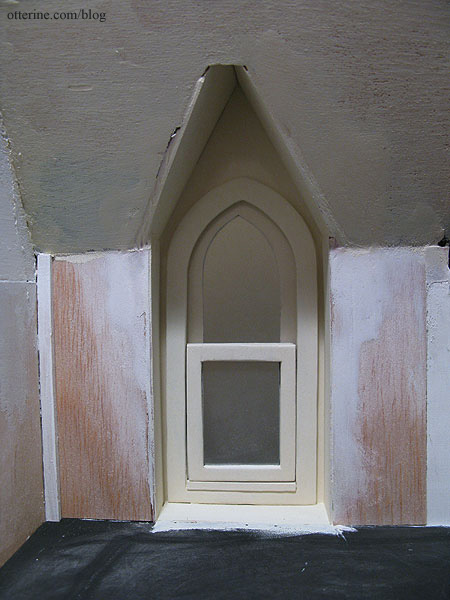
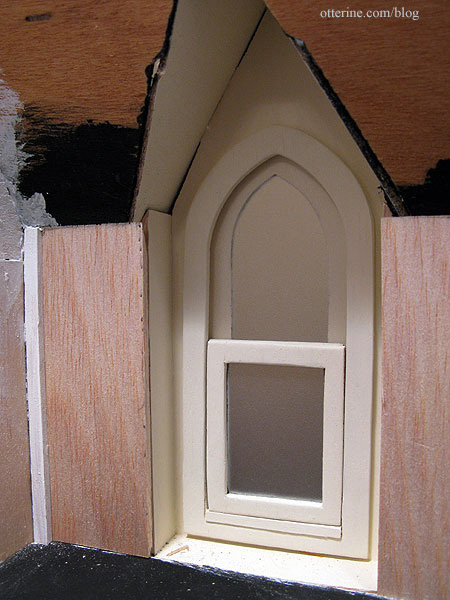
The front dormer window is half kit parts and half scratch build, and as such, it didn’t fit seamlessly. I doubt it would have fit seamlessly even if I had used all kit parts. I padded the lower portion of the front wall to build up the wall for the beadboard treatment I have planned for this room. But, that still left gaps in and around the front dormer window.
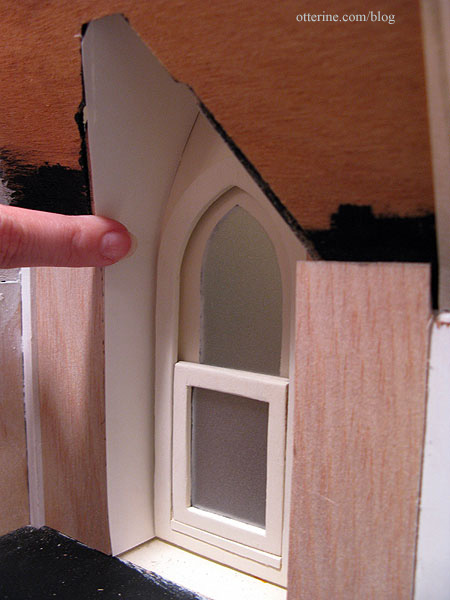
To finish the inside of the dormer window, I decided to add a thin veneer layer to mask the gaps. I first made a paper template of the entire side wall.
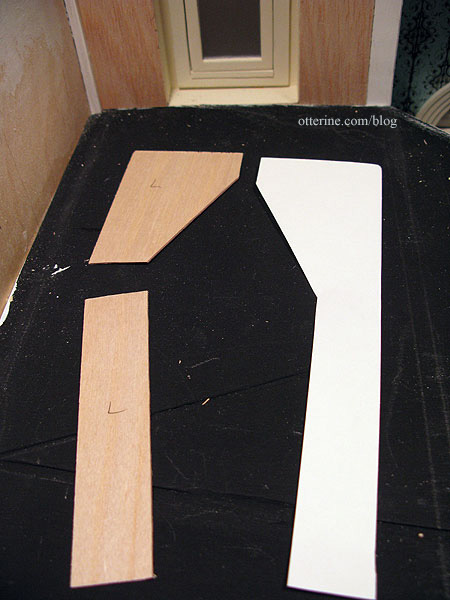
I used that template to cut the pieces of wood veneer.

It took a double layer in a few areas, but I was able to even out the walls and eliminate the gaps. I also filled in the floor of the dormer window with a layer of balsa. Since the window is a little crooked, I’ve decided to just paint this area instead of tiling to the outer window wall.

I used spackling to fill in and smooth the joins. It’s roughly done since the main wall will be covered by wallpaper.

I sanded the area, painted the window and primed the remaining front wall. Once this layer dries, I’ll sand again and paint the final layer.