Continuing work on the bathroom. I had applied the wallpaper on the interior wall quite awhile ago, and I fully admit to procrastinating on the other two walls. I had never wallpapered around off angles like the one created by the interior chimney extension.
I had cut plain paper templates previously, so I used those to work on a new template to fit around the chimney extension.
I had one long piece for the wall and one smaller piece for the chimney.
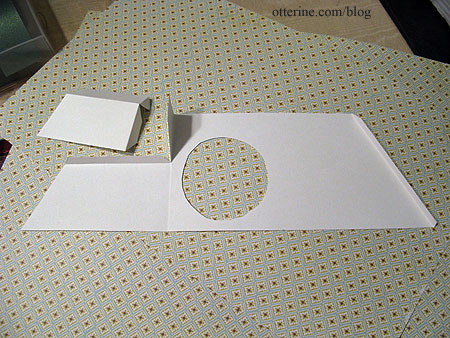
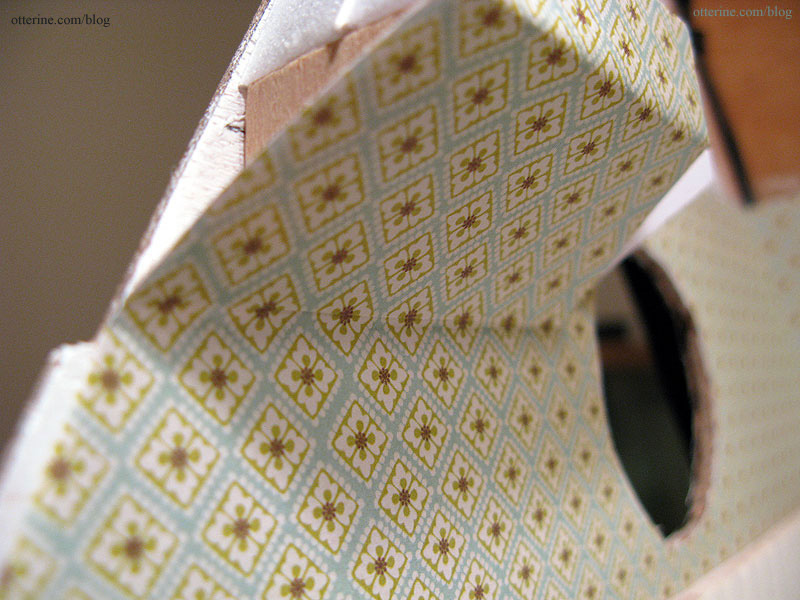
I first cut the long piece from the scrapbook paper – Cute Little Diamonds by The Paper Company – and applied it to the wall with Yes paste, leaving the small piece on the inner side of the chimney loose. (Note: I no longer recommend Yes paste – I use Wallpaper Mucilage instead. Yes paste has problems with longevity.)
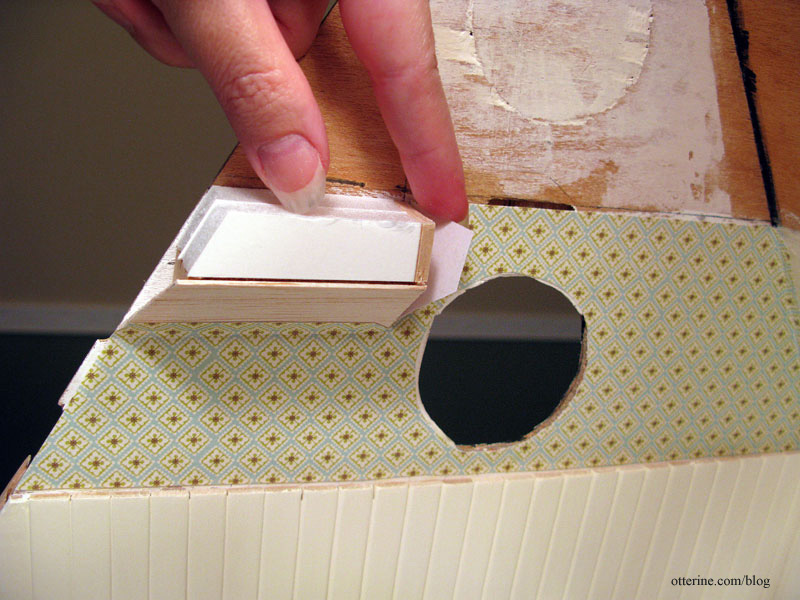
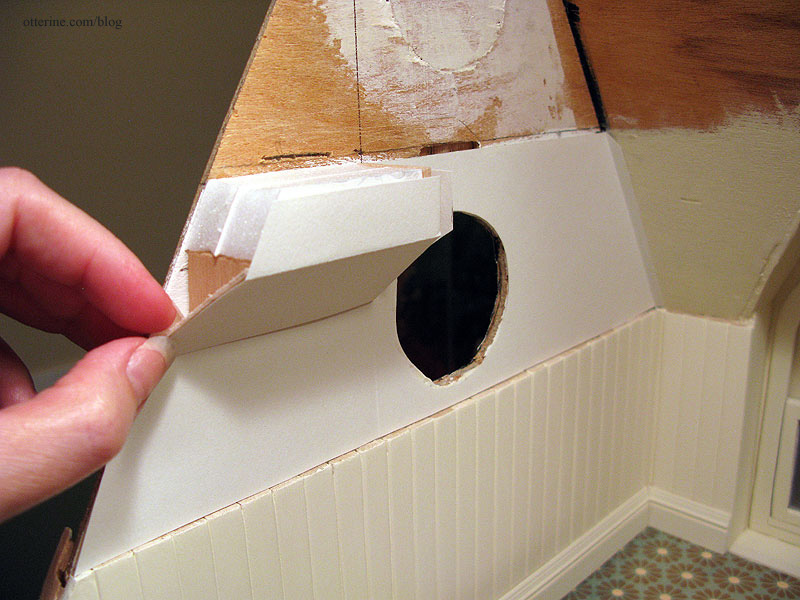
I pasted the wallpaper onto the front wall and then glued the smaller piece to the chimney. Now, that’s a nice seam, don’t you think? :D I’m rather proud of it! I guess all those years of sewing come in handy for pattern matching.
I glued the small flap from the main wallpaper piece in place. It’s not a perfect fit there, but the entire wall is covered and this side won’t be seen.
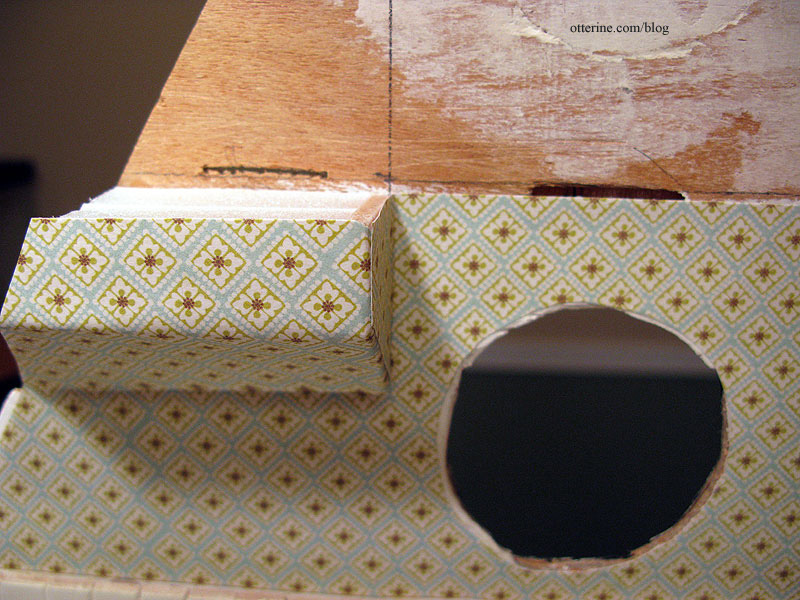
I already knew there would be sizing issues around the ceiling tab and on the front wall, but I plan to add some trim around the ceiling to hide these gaps.
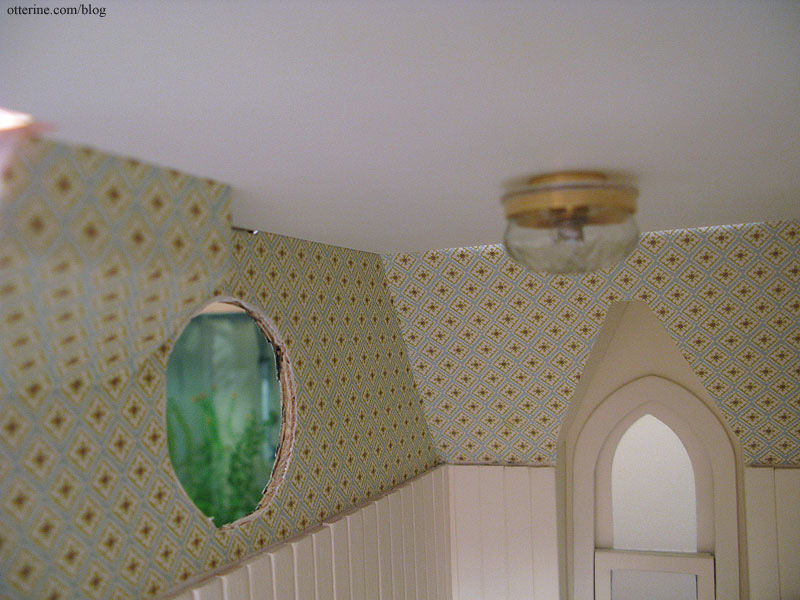
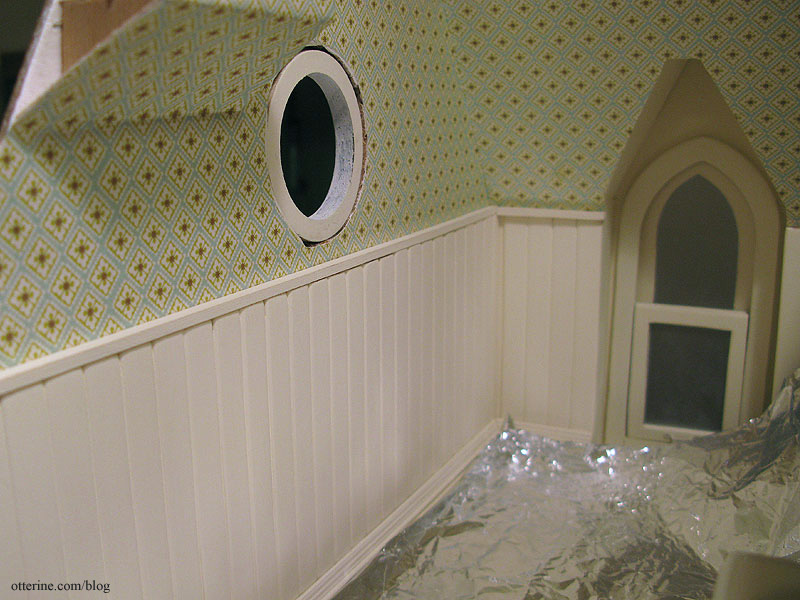
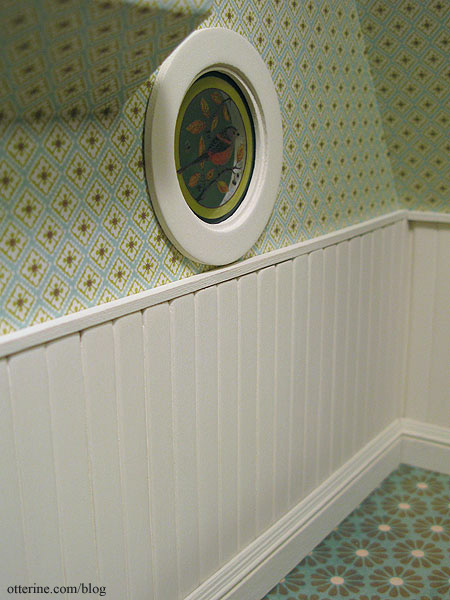
Once the wall treatments were complete, I installed the outer window. I added a thin strip of wood to finish the beadboard, painted to match.
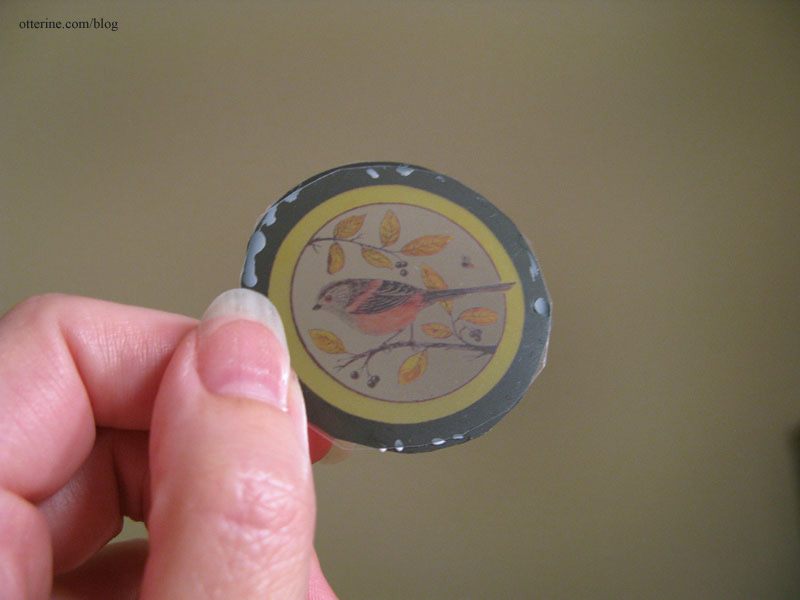
Since the back of the bird and bee window transparency print is dull, I cut a piece of clear acetate to act as the outside surface. I dabbed Aleene’s Quick Dry glue around the edges just to hold the two pieces together. (Bird and bee image by Flora used with permission.)
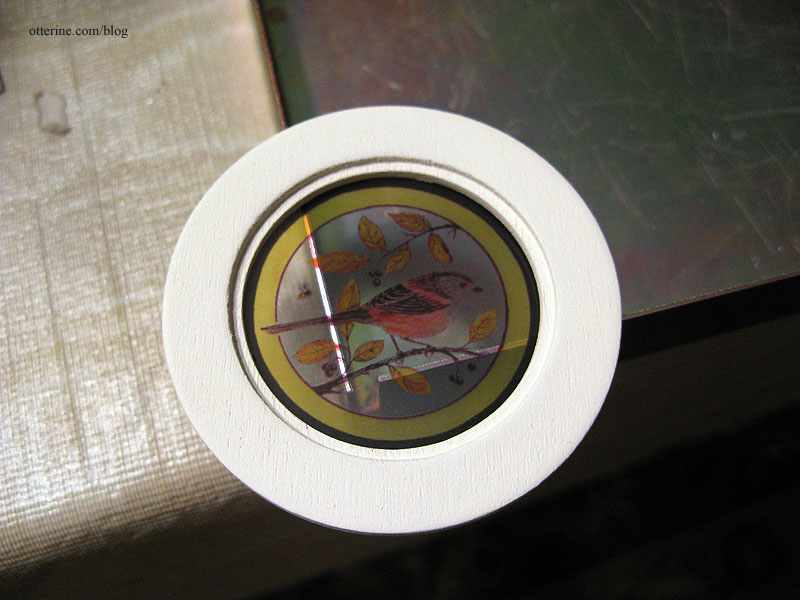
I dabbed glue around the edge of the assembled films and centered the interior trim over the image.

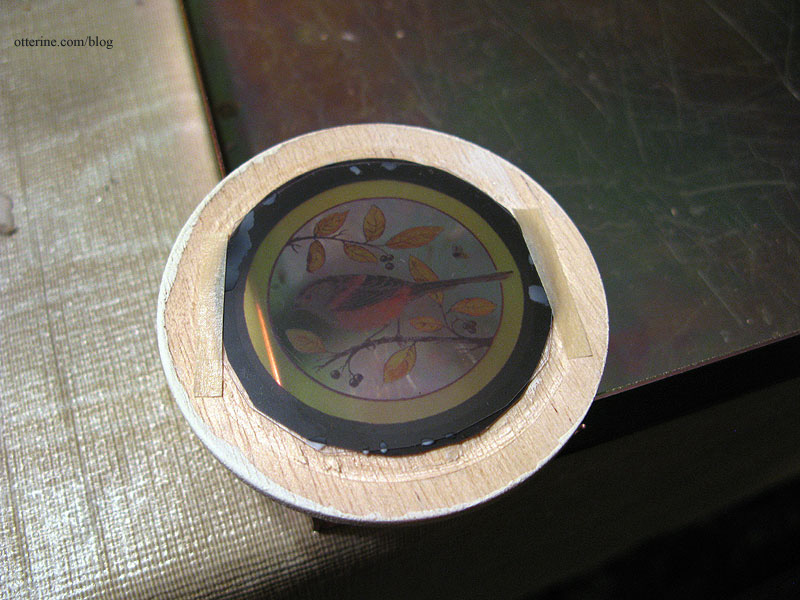
To keep the window from shifting in case the glue fails, I added two thin strips of masking tape.
I then glued the window to the wall. Lovely. :D
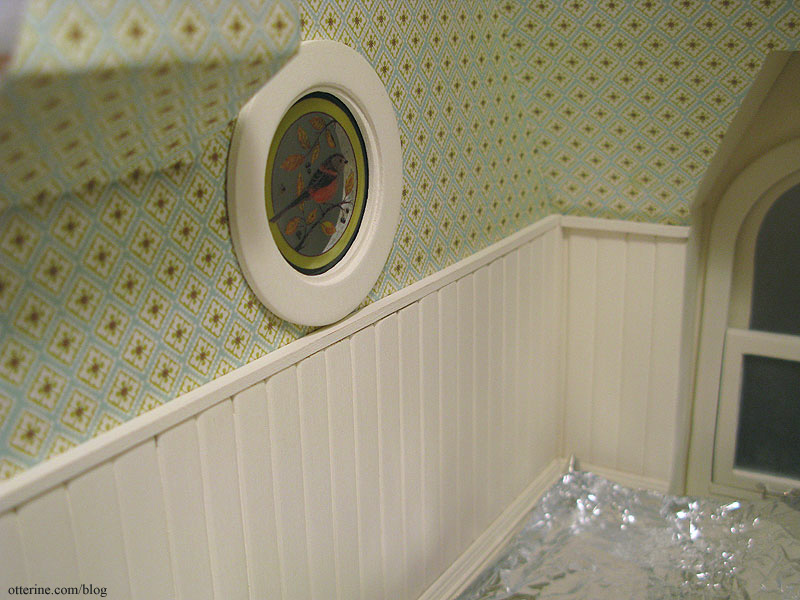
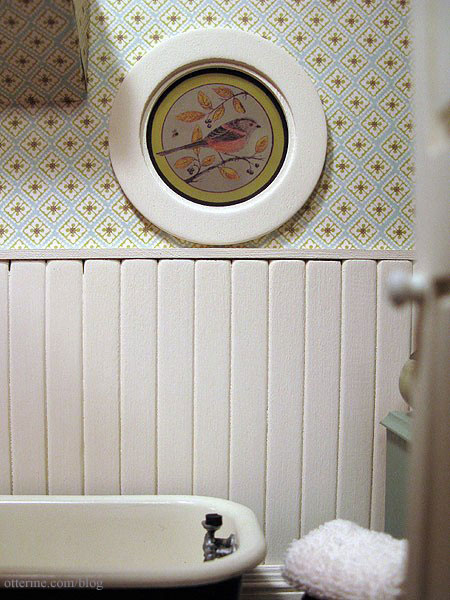
This room is just about complete.
Here’s the window with the furniture and bathtub in place. :D