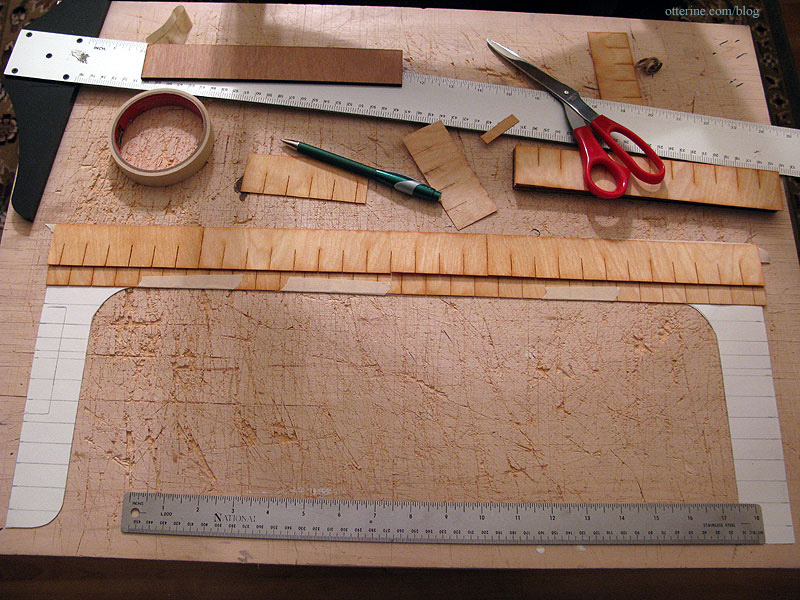
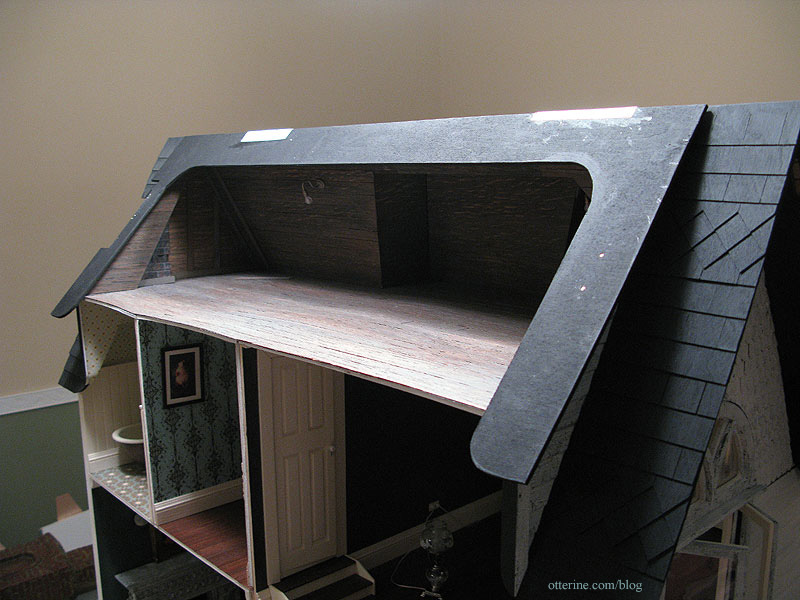
Continuing work on the back roof dormer. I glued on the flat roof and while that was drying, I cut the shingles for the new back roof using a paper template. I had to work from the top down so the shingles would align correctly over the open back and along each side section.
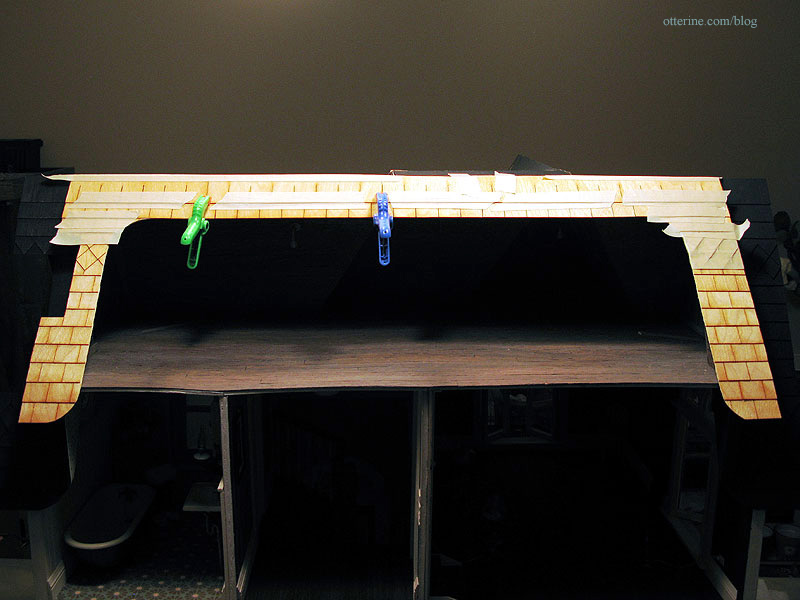
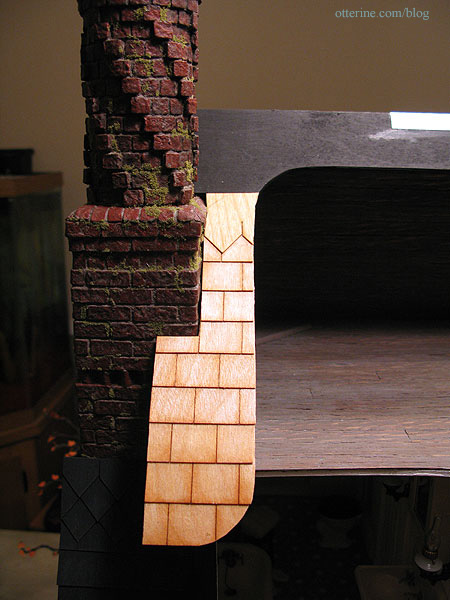
I taped the completed template onto the house to see if the layout works well. The back roof isn’t as long top to bottom as the other roof pieces, so the shingle pattern had to be adjusted slightly as well. I omitted the bottom diamond section but kept the top one. The chimney notch will be adjusted when I shingle the final roof piece, but I’ve left those pieces long for now.
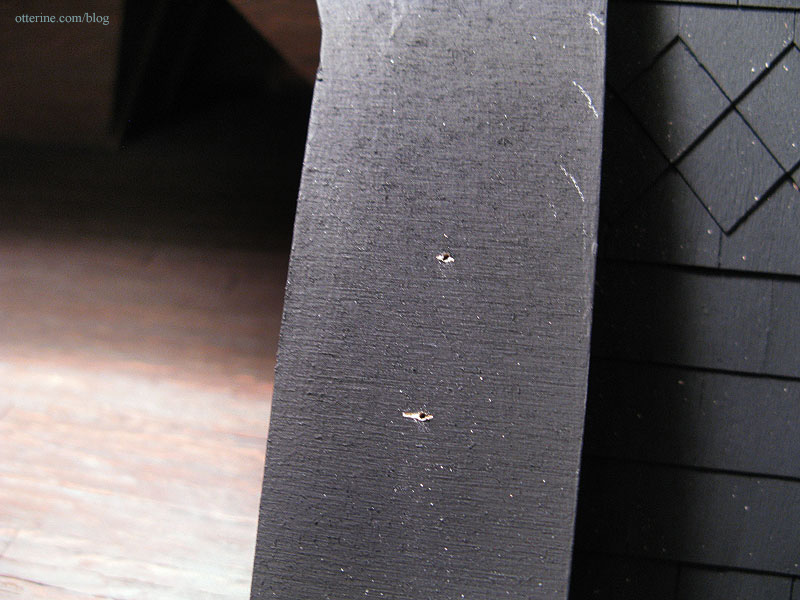
Before gluing on the new back roof, I drilled pilot holes for pins to reinforce the joins.
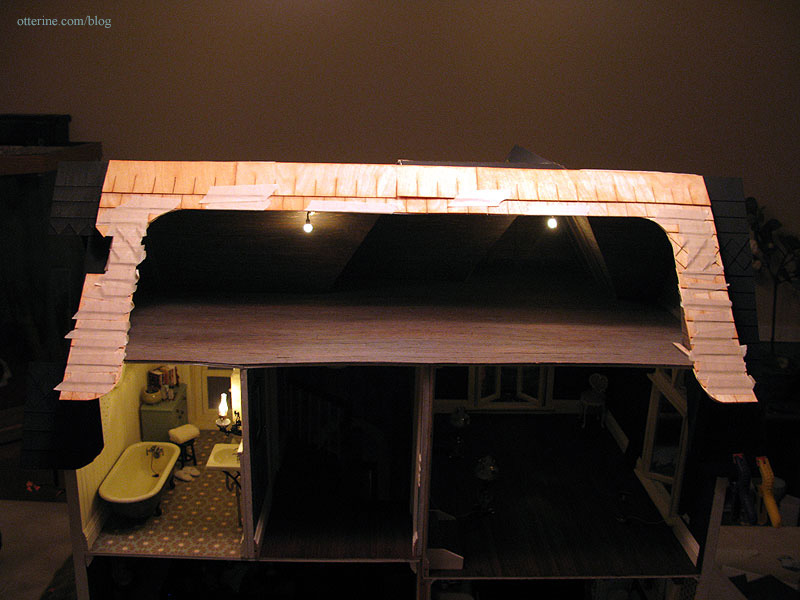
I glued on the new back roof, adding Tyvek reinforcement over the roof ridge. The final finishing of the roof ridge will cover it.
I shingled the new back roof, adjusting the shingles I had cut using the template. Here is the right side.

And, the left side. The chimney is still removable.
There are two long rows of shingles to complete the top. Before gluing on the top row, I taped it in place and marked where the roof ridge hit behind them. I cut the shingle strips along that line and glued them in place.
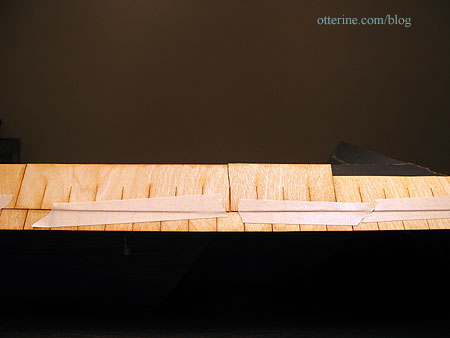
I taped and clamped the shingles to dry overnight.