Continuing work on the back roof dormer. Since I last posted about the dormer walls, I’ve added the aged paint treatment to them.
Before gluing the roof addition wall onto the roof, I adjusted the template for the shingles. I can’t place any thickness under the chimney portion, so I marked where the shingles will be. This is going to be an interesting bit of shingling.
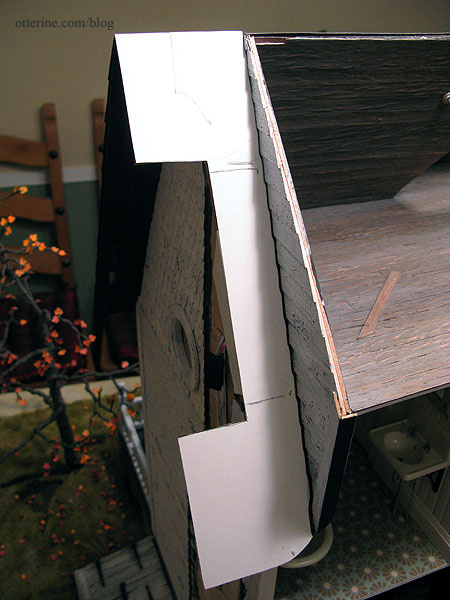
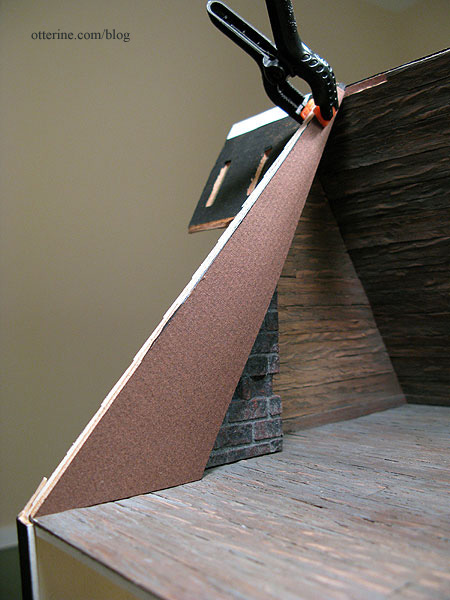
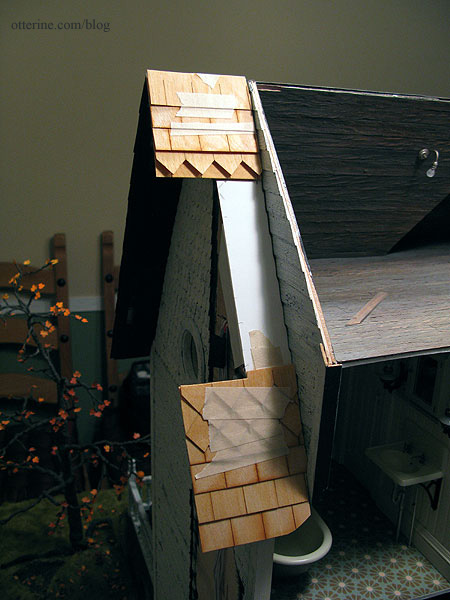
The lower portion of the left side roof addition completes the bathroom outer wall and the upper part is an attic wall. I primed the top black and the bottom white. A warp in the bathroom ceiling board developed on this corner when I installed the attic flooring. I held the ceiling board down with masking tape while I mapped out my plan.
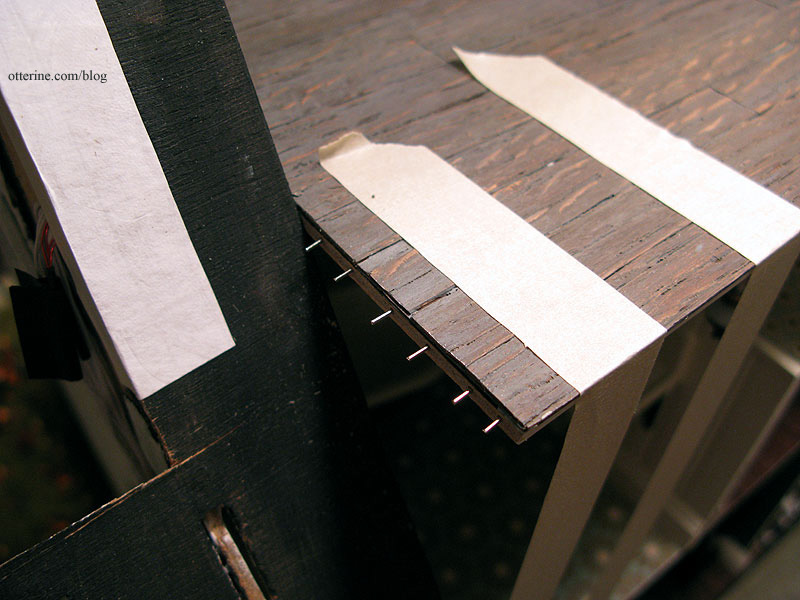
First, I drilled a bunch of holes in the ceiling board where it would be glued to the roof addition wall. I cut the ends from straight pins to make headless pins and glued them into the drilled holes.
To mark the same spots on the roof addition wall, I dabbed some black paint onto the end of each pin and lightly pressed it to the wall. I drilled holes to match and tested the fit but didn’t get a photo.
I drilled three holes in the roof board to stabilize the join with the roof addition wall. I marked where these would be along the wall and drilled holes into the roof addition wall. I cut the pins to fit.
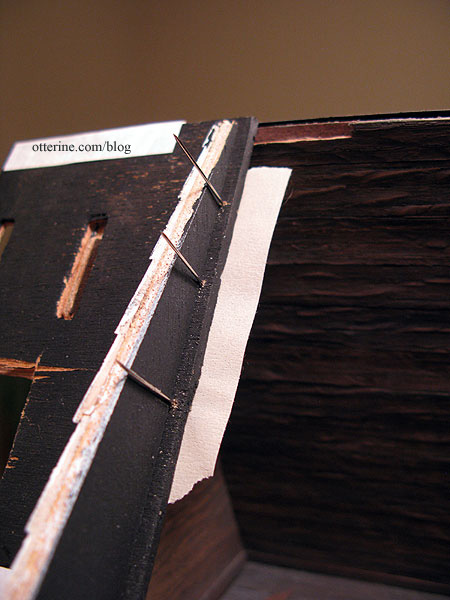
I added another pin in the bathroom along the roof board. I removed the longer pins from the roof board and spread glue where the pieces would meet. I pressed the wall into place along the short pins in the ceiling board. I then inserted the longer roof pins into the predrilled holes. This wall is solid!!! Hooray! :D
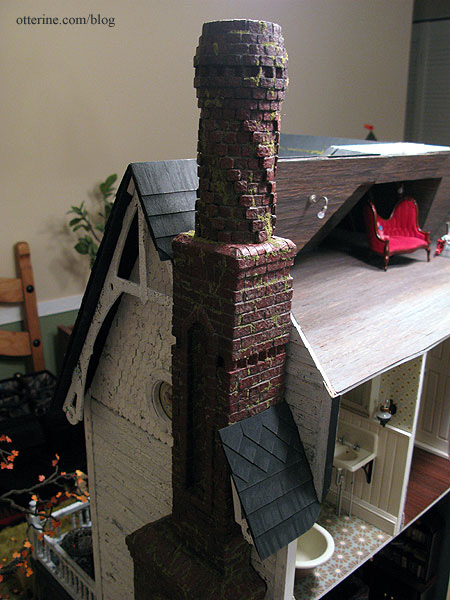
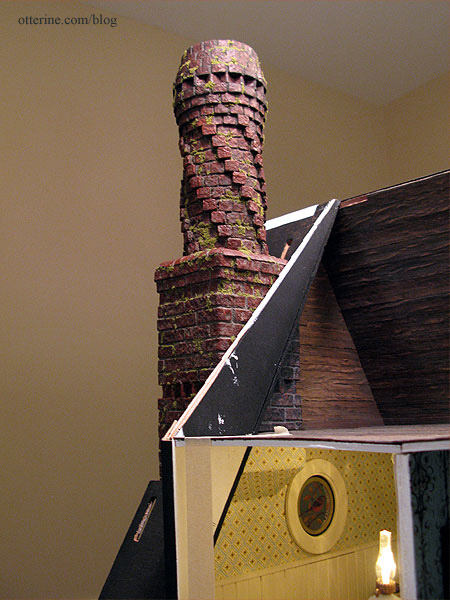
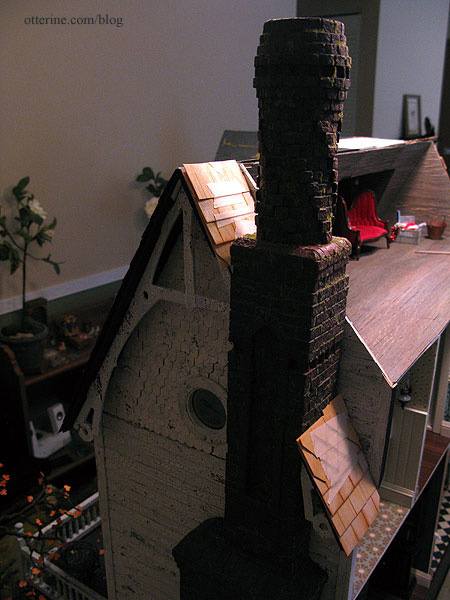
The below photo shows the exterior main chimney, the attic chimney and the covered chimney section in the bathroom. When viewed together, they create the illusion that the chimney is a solid structure with the house built around it.
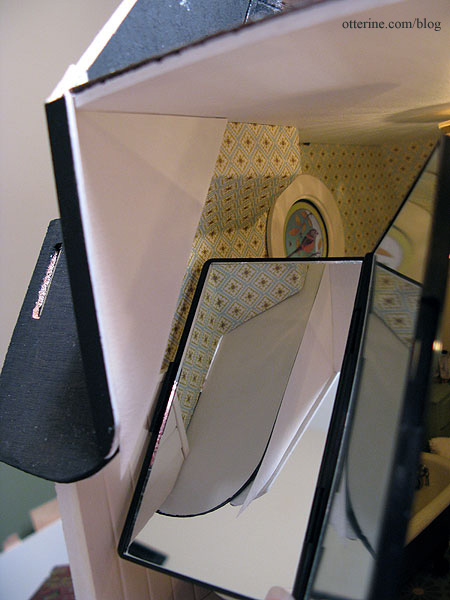
I made templates for the two areas where the roof board and the roof addition wall show in the bathroom. I had to check the fit of the interior one with a mirror because there is no way to see in there otherwise. I also used the mini bathroom lights as work lights. :D
I then made a template for the attic wall. This will have the same slat treatment as the rest of the attic.
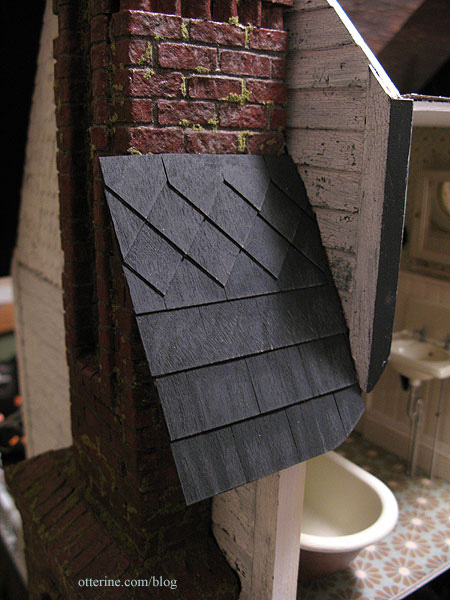
Back to the roof template for shingling. I started at the bottom and followed the same square and diamond pattern I had done for the front roof. Once that section was cut and fitted around the chimney, I clipped it to the front roof to mark where the shingles would align.
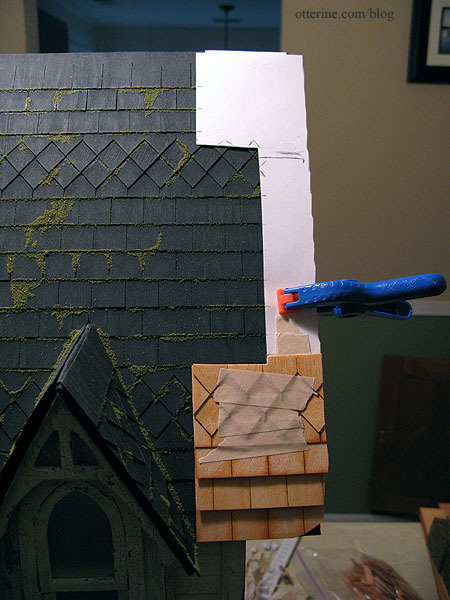
I finished the shingling and fitting on the template following these markings. I’ll adjust that top row of diamond shingles on the lower half to be straight across when I do the final shingling.
Looks like it worked! :D
After gluing the shingles to the roof board, I painted the new roof with a blend of black and grey, then sanded the surface slightly to wear down the finish.
I still need to add the moss and address the flashing on the chimney, too. (From my limited research, I believe chimney flashing is usually under the shingles on the sides, but we’ll just ignore that.)