
I’ve been rather busy the past couple of weekends socially and have another busy one ahead, but I am mulling ideas and of course buying minis behind the scenes. I even got a NEW CAR (now I have The Price is Right theme song in my head).
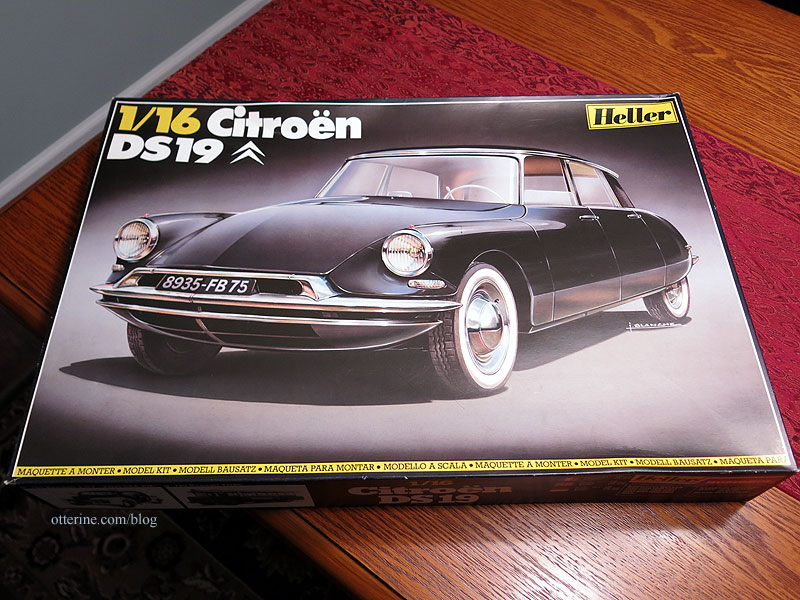
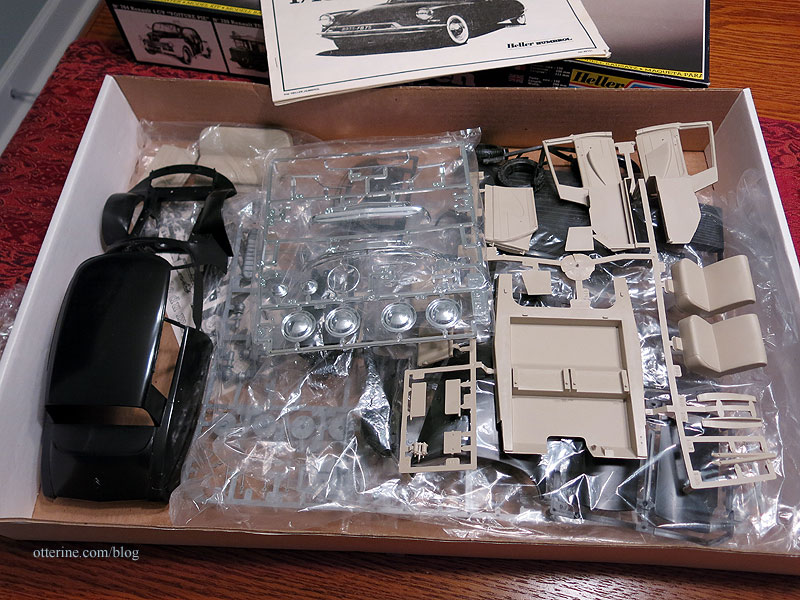
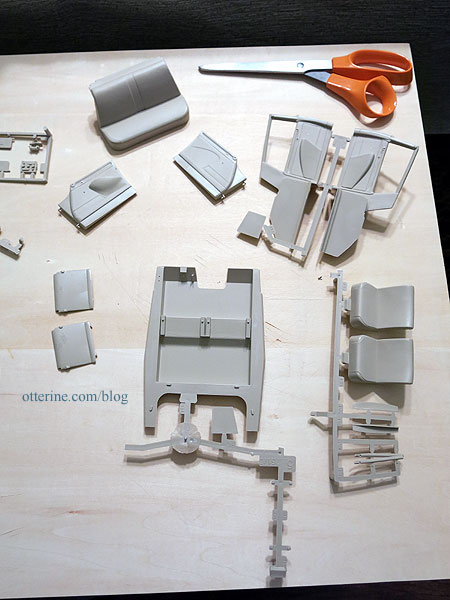
Errmmm, some assembly required. The Citroën DS19 is one of my favorite vintage autos, and I know I’m not alone.
It’s 1/16 scale like the Model T Van, but it’s longer still. Who knew? :]

The reviews on this kit range from “if you’re an experienced builder, you can get a decent result with a lot of work” all the way to “I threw it in the trash and said ‘see you in hell!'” So, we shall see. But, the car keys from Whimsy Cottage Minis are fabulous anyway even if they end up belonging to a different car.

A new model car, especially one with cautionary reviews, always starts with extensive research. I look at many forums, blogs and online photo albums from people who have built, or attempted to build, the same kit. I even look at other scales of the same car for ideas on additional detailing and color schemes. While I do look at real life examples and vintage literature, sometimes it’s nice to build a car without adhering to the limitations of the real life examples. This modeler built one to completion, and it’s gorgeous. If I can get even close to this result, I will call it a success. :D
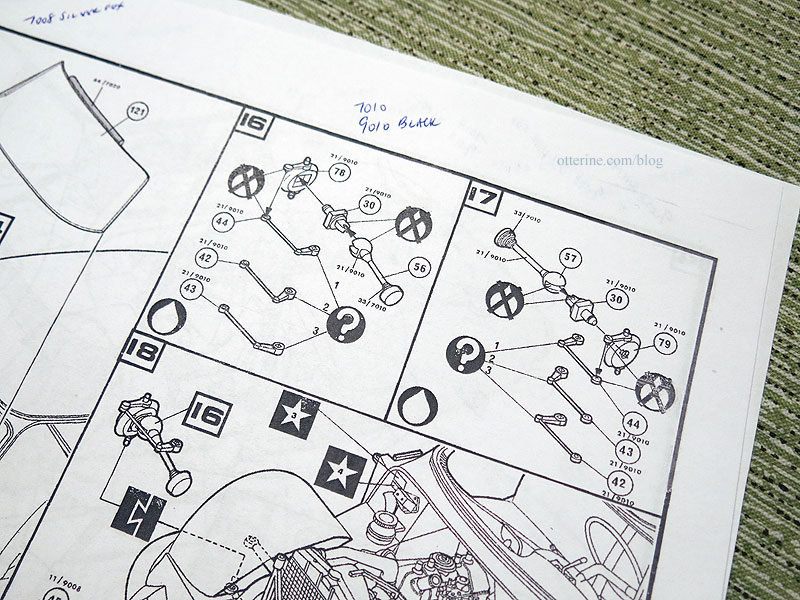
The other thing I do is make a copy of the instructions to mark up along the way. These particular instructions have symbols, arrows and numbers, none of which are indicated in any legend so there’s some guesswork to be done. Fat teardrop is likely glue; fat teardrop with X through it is likely “don’t” glue. Squares with stars are decals; circled numbers are part numbers, though there will still be a lot of hunting around.
The tiny numbers are paint indicators, which meant nothing until I found an online post that I printed out for desk reference and marked up the directions for ease of keeping it all straight. I don’t know why some are 70 numbers and some are 90 numbers when they indicate the same color, i.e., 7010 and 9010 are both black. =shrug= I googled the other colors to see if I could find an approximation online so I could make an educated substitution from my existing stash of paints (or shop for new ones).
The other thing to do is figure out which sprues or parts of sprues will be primed in which color. Spraying primer on an intact sprue always makes for an easiest start. You can scrape paint for gluing parts and touch up a lot easier with a good base coat. Sometimes you have loose parts that you’re better off removing cleanly so they don’t end up in the grass when you’re spray painting outside.
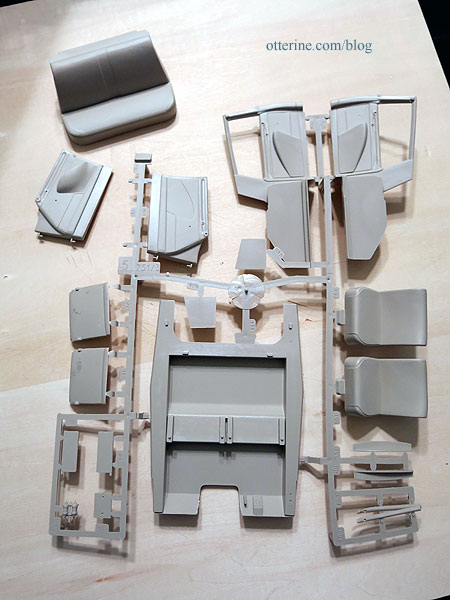
Large sprues can be unwieldy and make parts prone to overspray from one side to the next, so I cut those down, too. There aren’t a whole lot of pieces to this model, so for the larger parts I might end up with a lot of popsicle stick mounts and spray them individually for even better paint control.
Of course, sometimes you need to fill in injection marks (or sand them down). I try to determine early on which are worth doing and which won’t be seen later on anyway. Why do the work if it won’t show? At first glance, this one doesn’t seem to have many unruly spots, just a few scratches to buff and a bubble or two to sand and fill.
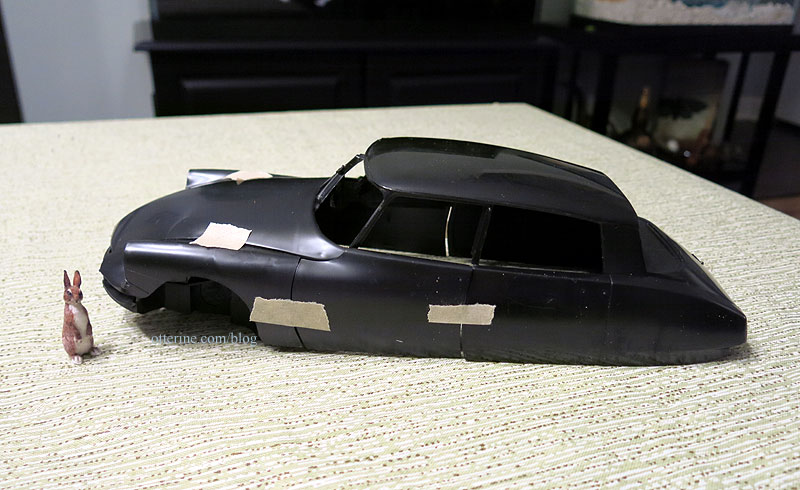
Dry fitting parts also makes a lot of sense for a car touted as being difficult, though you want to remove tape right away to keep the residue from marring the surfaces. This one does appear to have a bit of gap-itis, so I will likely follow suit of the builder who glued the doors in place from the beginning. I want “pretty to look at” over functional at this point. And, no, this will not stay a black car in the end. While black looks sleek, it’s a pain to photograph and keep clean. :\
The last part of the initial process is to give yourself permission to launch the project into high speed traffic if it truly becomes a bear that you just know you can’t tackle any longer. :]


