
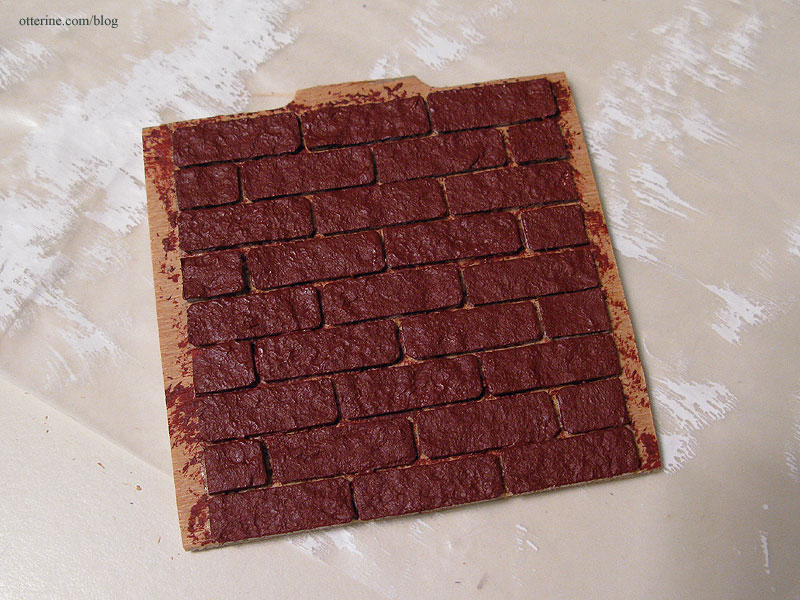
The bricks for my Heritage foundation are 1/4″ x 3/4″ except for the corner bricks, which measure 1″ in length. I also did a special treatment around the arch windows of the cellar, which I detailed earlier.
Once all of the bricks were in place, I dabbed on Liquitex Burnt Sienna. This is a thicker artist color acrylic, but it is a wonderful brick red color and has a great texture when stippled on with a stencil brush (two coats).
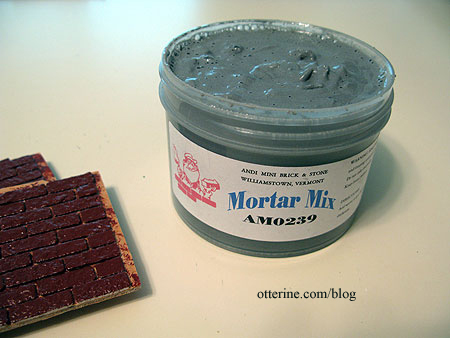
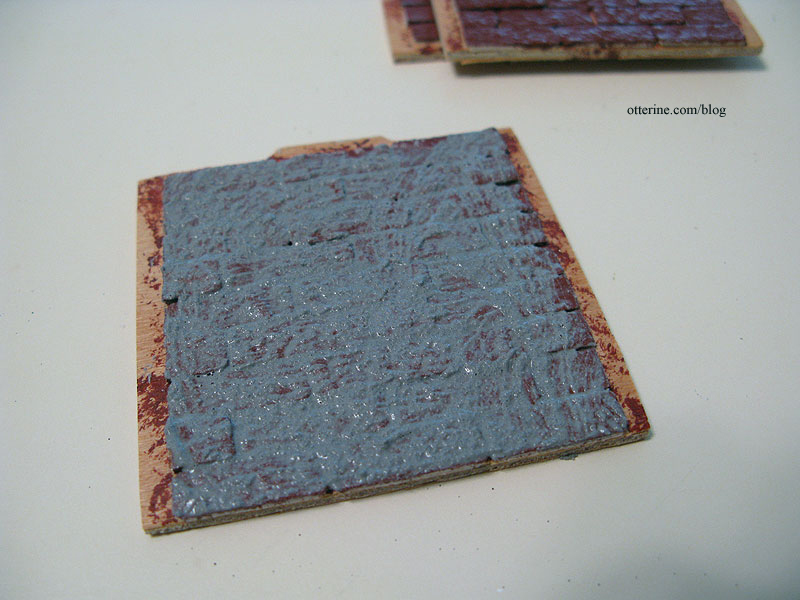
I let it dry overnight before grouting. I usually use Andi Mini Brick and Stone Mortar Mix for the grout since it has a good consistency and gives great results. If it gets thick, you can also soften with water.
First, I spread on a little bit at a time with my fingers, pushing into the gaps between the bricks. I use my middle finger so I can apply with lesser pressure than I would with my index finger. The grout is abrasive and can mar the surface. Please forgive the blurry photos; I was trying to photograph with my left hand while working. :D
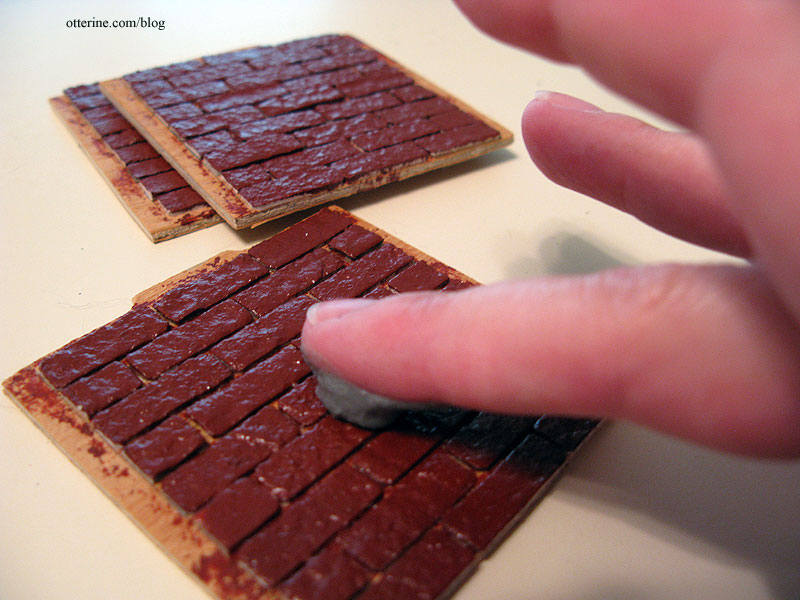
I try to keep the amount to just enough to fill the gaps without being too heavy on the surface. The more excess, the more you have to remove.
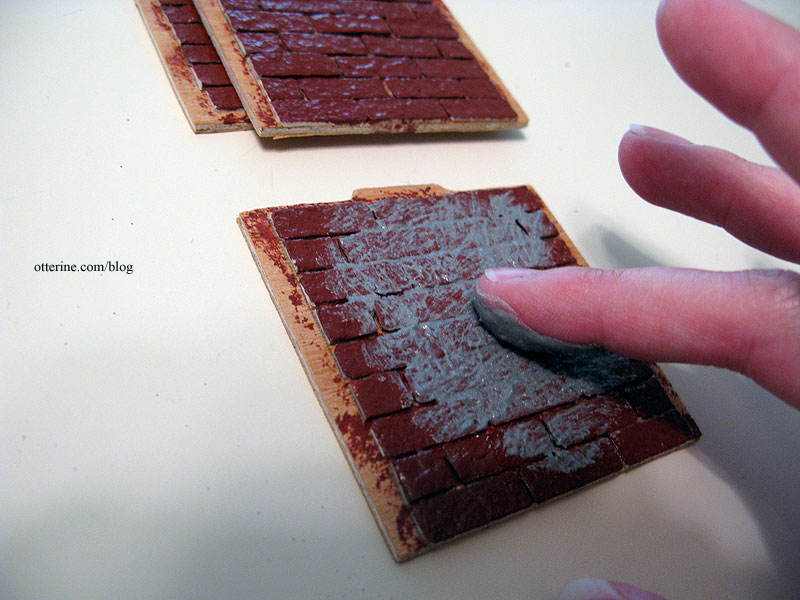
I do a section at a time and then take a wet towel and wipe away the excess. I do use a fair amount of water, which can lift some of the bricks and warp wood if I’m not careful. The key is to let the water do the work and not scrub the excess grout off. Doing so will lift not only the paint but in some places the entire paper surface of the egg carton bricks. This can be fixed, but why mess it up to begin with if you can avoid it? :D
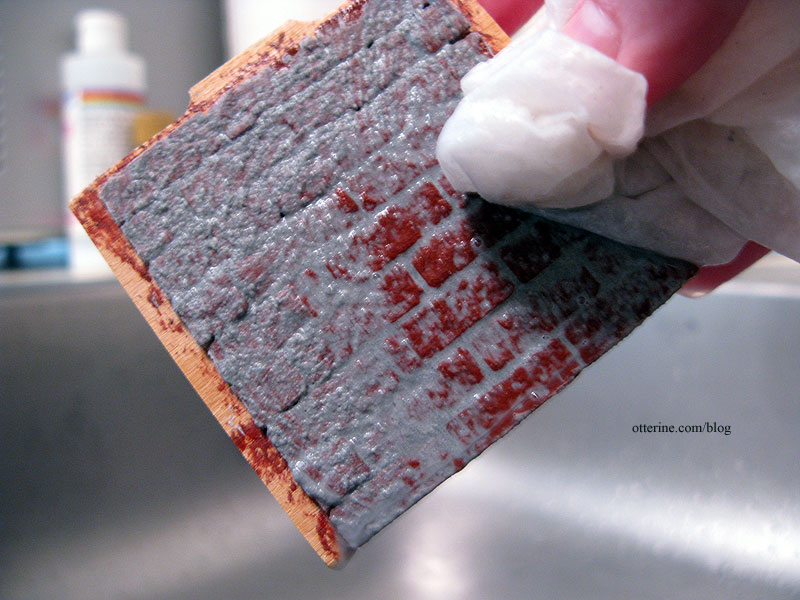
I leave some in the indentations of the bricks since I find it looks more realistic in the end.
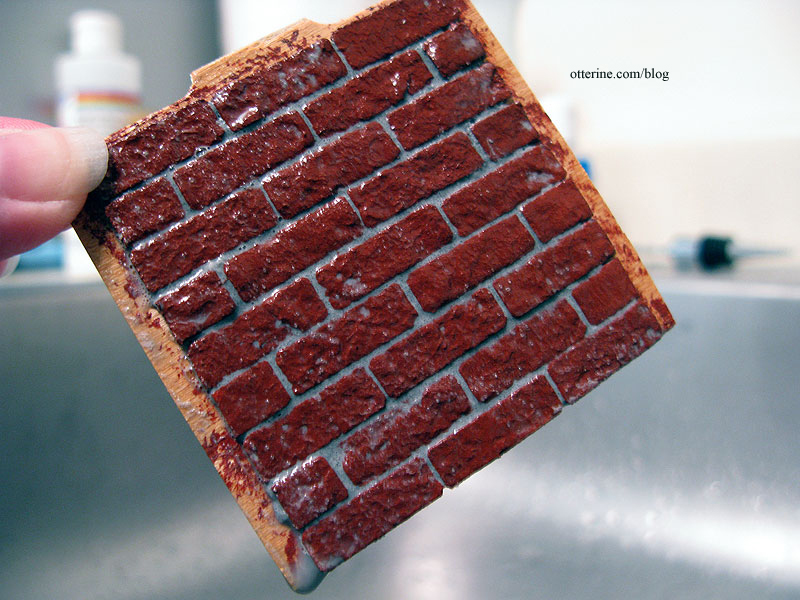
I then pat the bricks and surrounding wood dry.

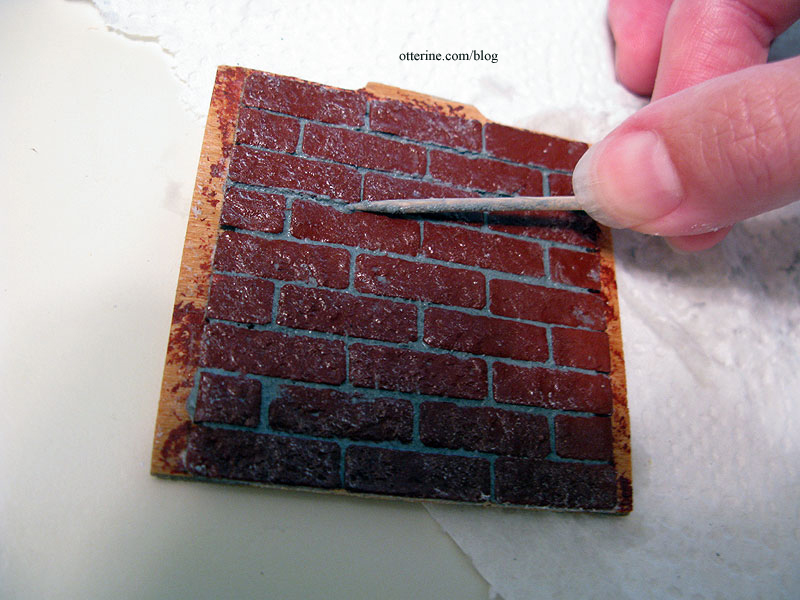
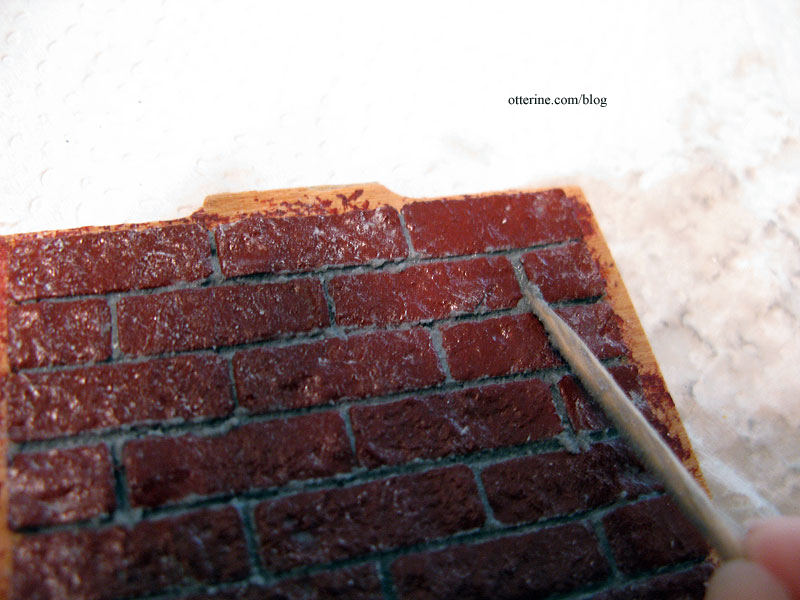
The next step is to pull a toothpick across the grout and then down each separation for a more realistic finish. Since I want to end up with a more weathered look, I did gouge out a few areas and wasn’t especially careful when tracing the lines.
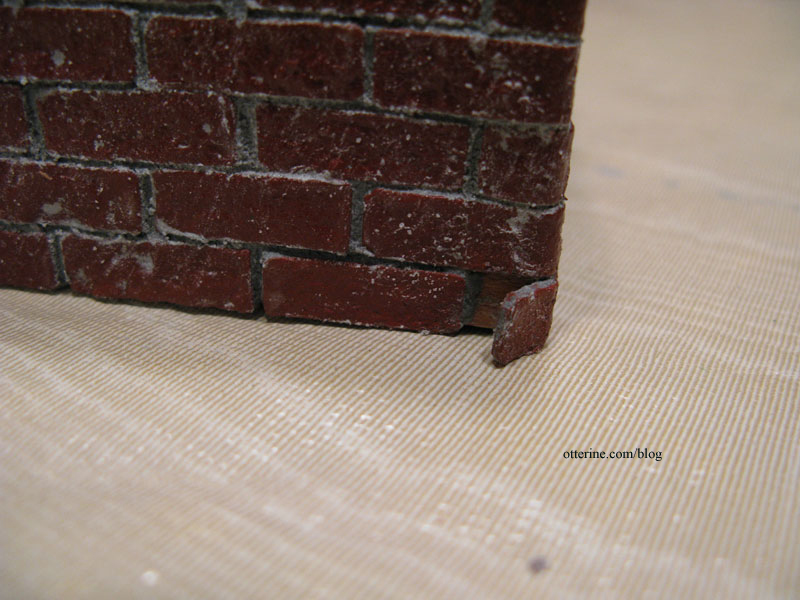
I sprayed on a light coat of matte sealer to finish and then let the whole thing dry. As it dries, the grout lightens a bit and any excess loose sand and dust can be brushed away. After drying completely, some bricks may need to be glued back down where they have lifted from the surface.
This is pretty shiny and new for my purposes, so I will age it more with paint and moss later on.
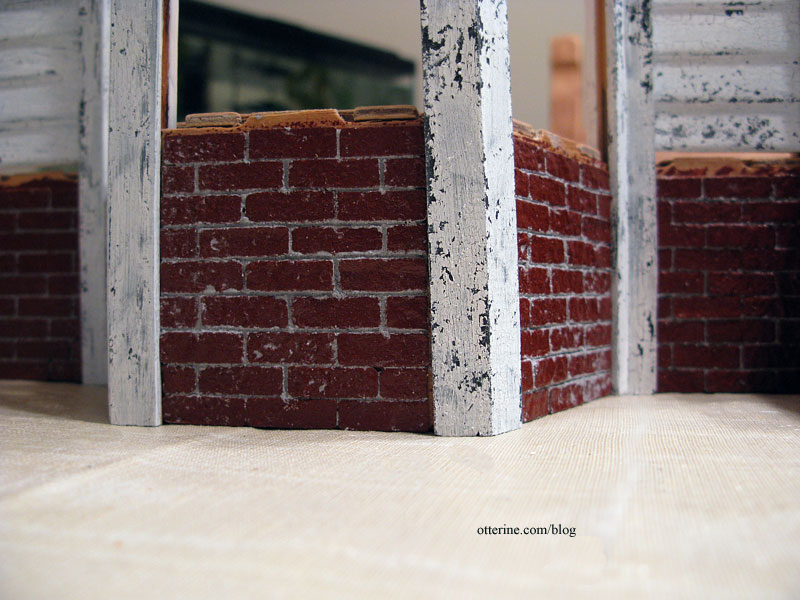
Update: see this post for the aging and moss application.


