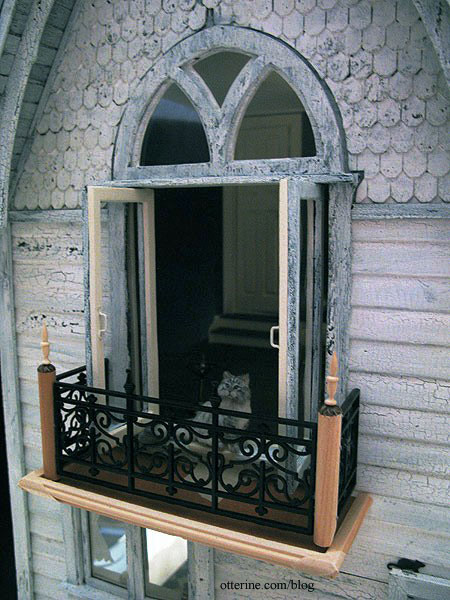
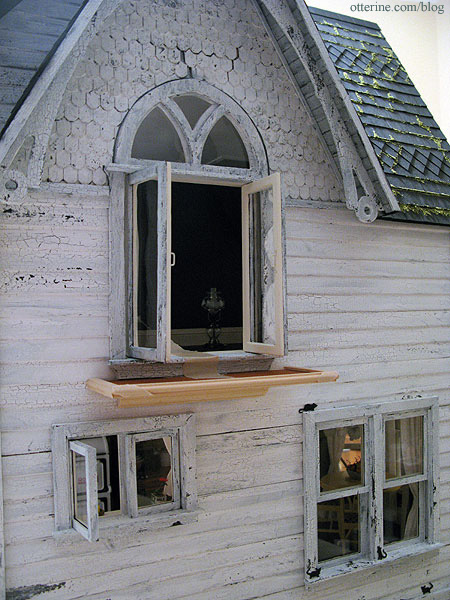
Since the swinging windows are floor-to-ceiling openings and we don’t want grandma toppling out the side window, I decided to add a Juliet balcony. Here’s the rough mockup I had made back in March 2012 that shows the general idea.
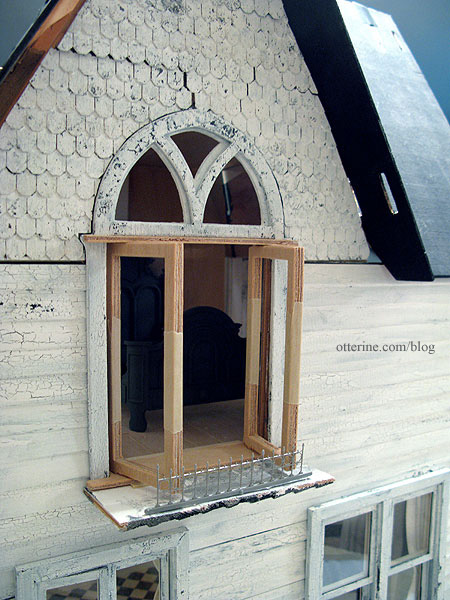
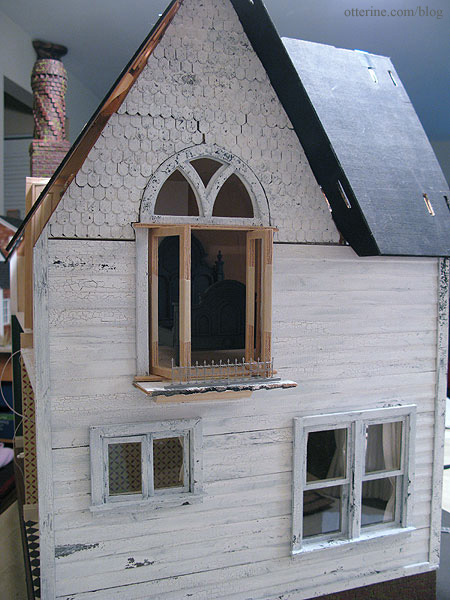
There isn’t a whole lot of room for the necessary support structure due to the first floor casement window if the bedroom windows are to swing out but it’s workable. Adding the balcony won’t detract from the interior view and it seems the most realistic and interesting to me.
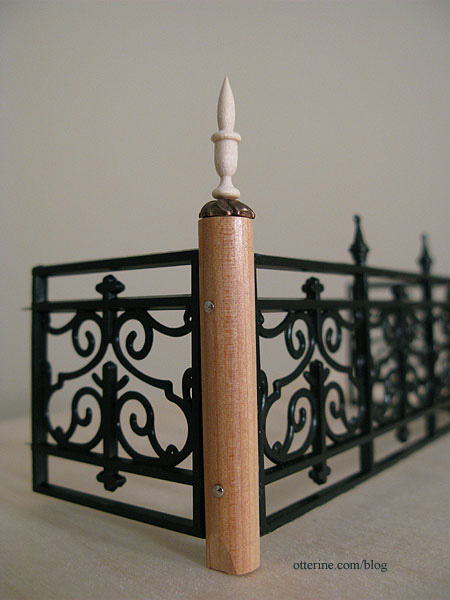
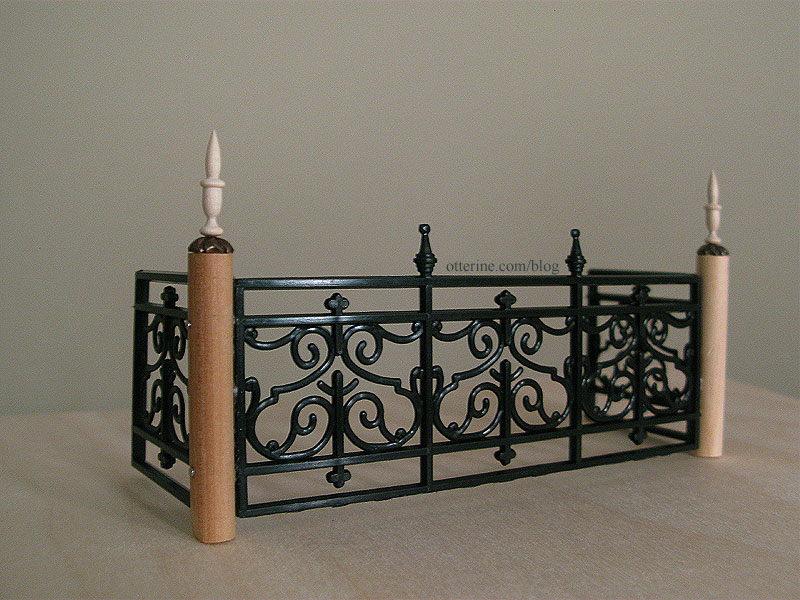
The tiny widow’s walk railing I used on the bay balcony doesn’t provide much in the way of safety, so I used plastic railings from The Dolls House Emporium. I used a large piece of fencing to make the longer span in the middle.
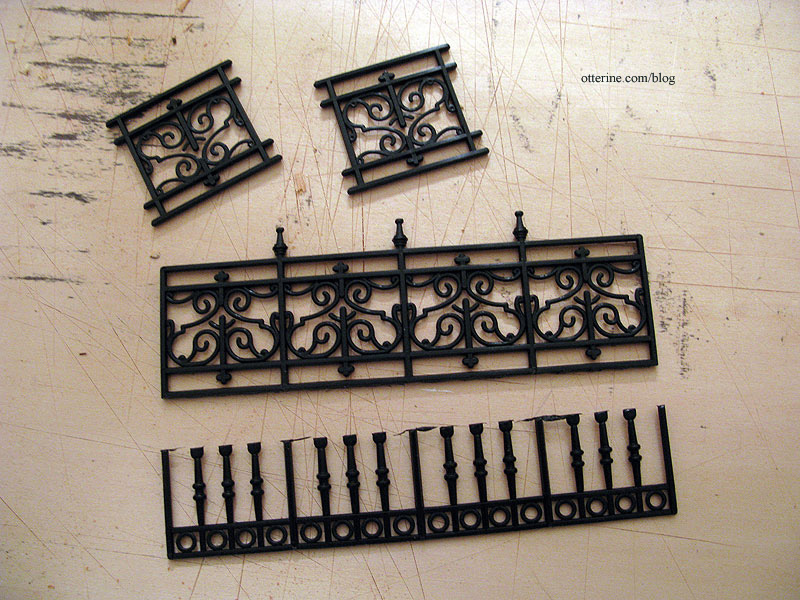
For the posts in between, I used 5/16″ diameter rods cut to 2″ in length. These were in a bag of random Dura-Craft parts from my long lost kit from the late 80s. I cut the tips from the ends of the plastic railings and drilled holes for pins.
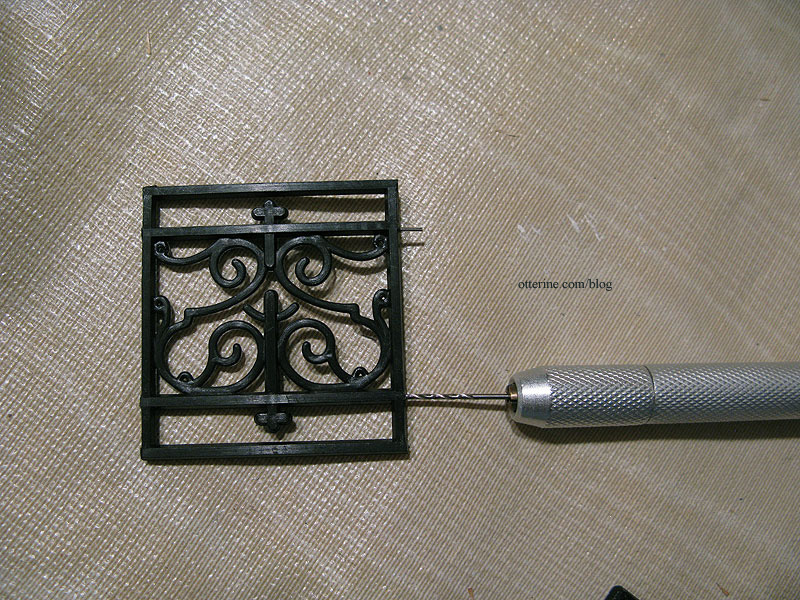
I drilled coordinating holes into the dowels.
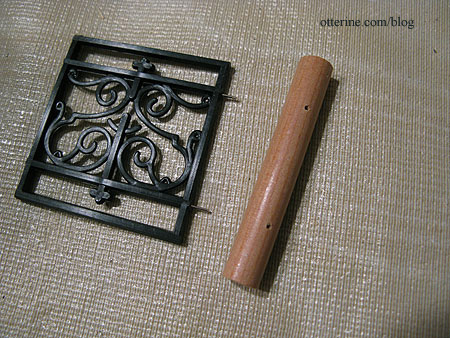
I glued the railings to the dowels using the pins for stability.
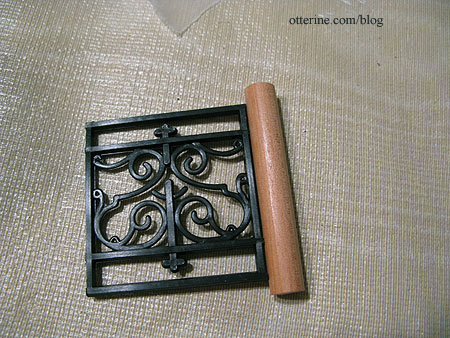
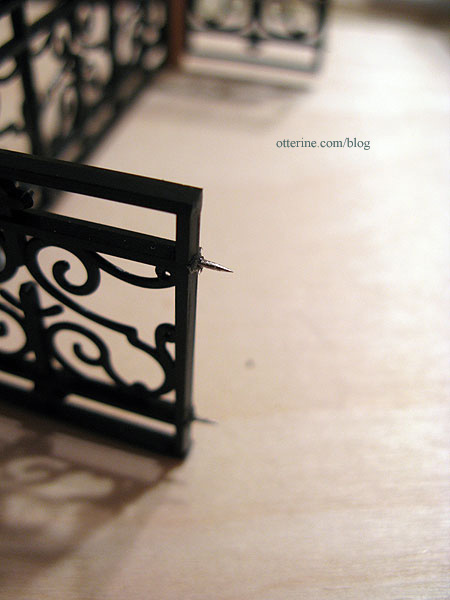
I added pins to the back sides of the plastic railings. These will attach to the house siding.
Next, a wood base from 1/16″ thick basswood. Anyone else hate the stickers they put on sheet wood? :\
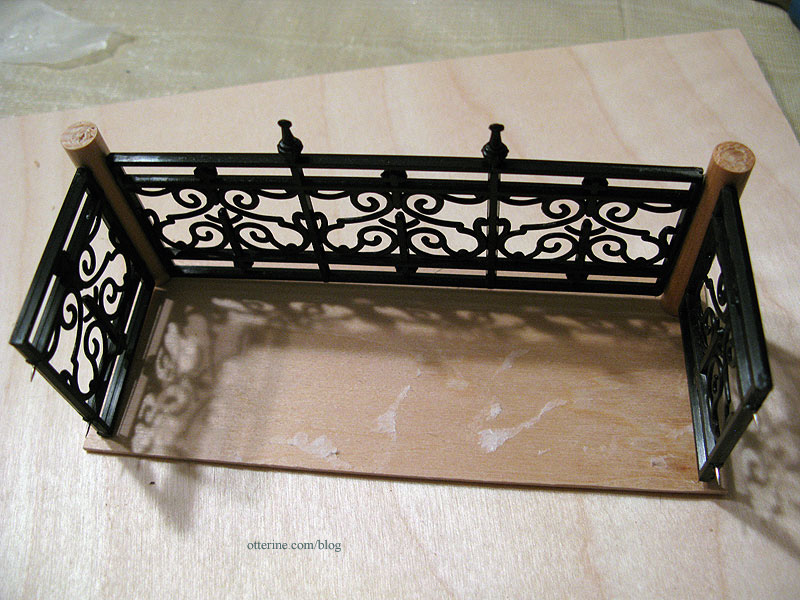
I was concerned with warping on such a relatively thin piece of wood, and I wanted to finish the edges in a way that made it seemed like a decorative and planned part of the house. A quick search through my stash of trims produced the unused stair railings from the narrow staircase kit. I had replaced the railing stock when I replaced the spindles.
Here on the balcony, the railing serves as both channel molding to keep the structure square and as decorative trim for a fancy edge treatment. A thin layer of sandpaper will cover the sticker residue and finish the upper surface of the balcony.
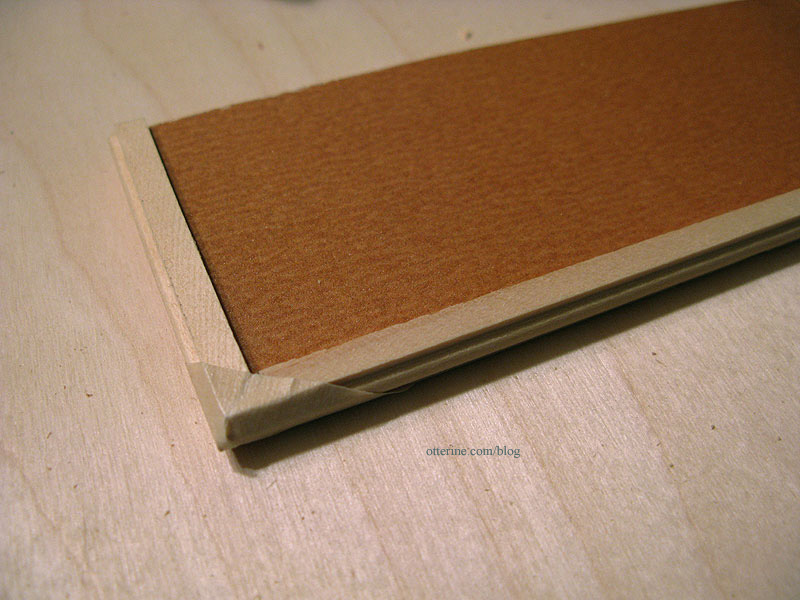
At this point, I would normally fill in any gaps with spackling and sand smooth. It’s an old house, so I left the gaps.
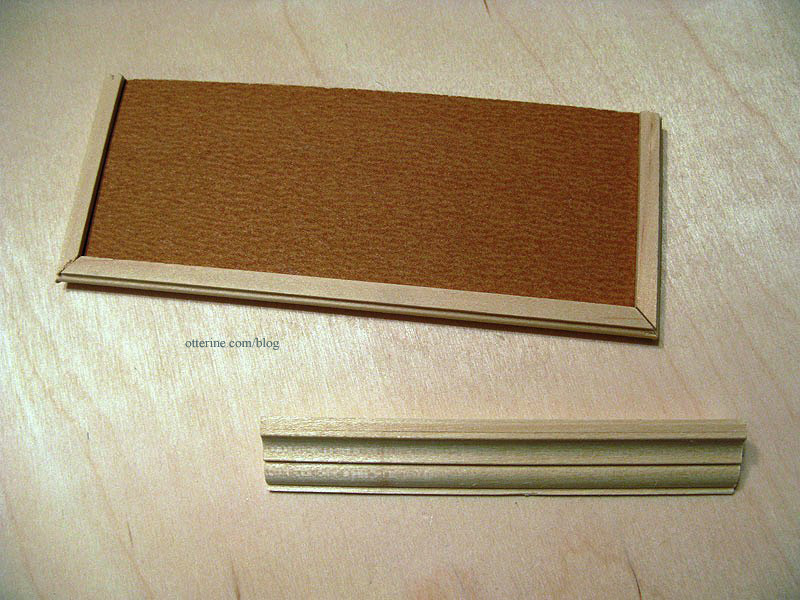
I used a sample piece of molding from Manchester Woodworks as a lower support.
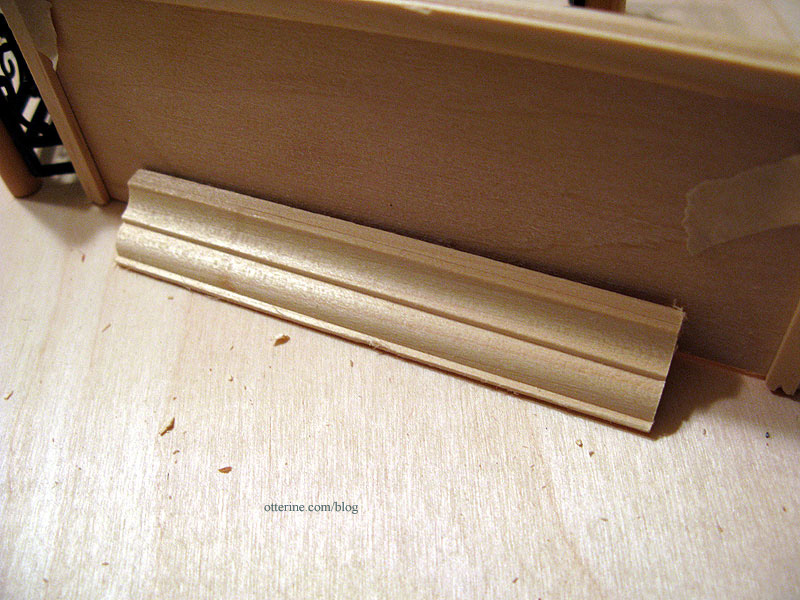
I checked the fit on the side of the house…all good! :D
I topped the posts with copper bead caps and added Houseworks finials. I used flat head pins to decorate the outer edges of the dowels. I had to shave a little from the bottom of the dowels for fitting since my measurements were a little off. Once it’s all painted, you’ll never notice.
I need to wait for a decent weather day to spray paint the assembly. I will spray it flat black and then age it with acrylic paints.
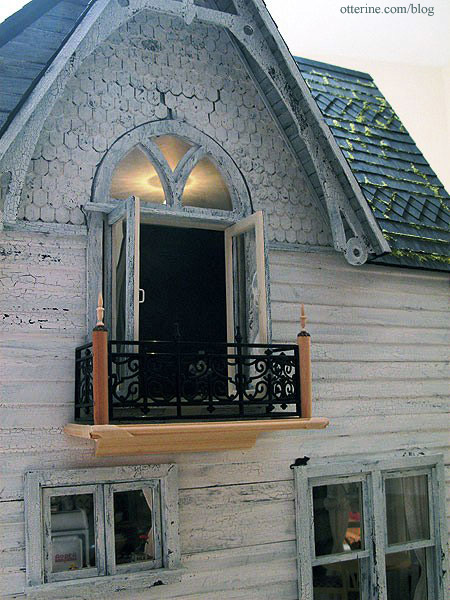
I finished the dry fit to see how it will look overall. It’s leaning a little because tape can only do so much. The base and support bracket will be painted to match the house. The sandpaper will be painted black and aged to match the front bay window roof.
I think Ophelia likes it! :D
