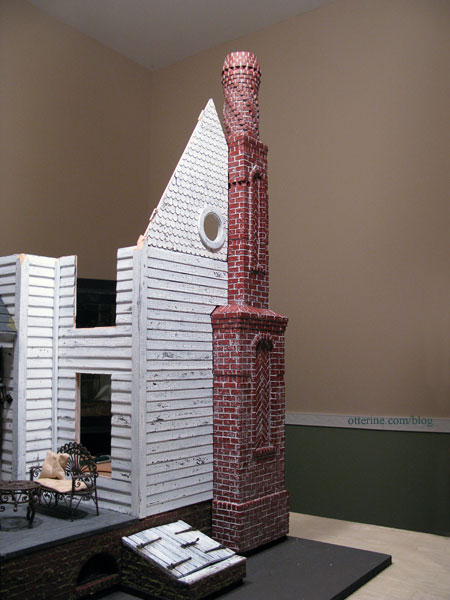
Continuing work on the chimney. After completing the chimney construction, I sealed the bricks with satin varnish to protect the paint. I then used Andi Mini Mortar to grout the chimney in the usual manner. Just this simple step already changes the feel of it and brings out the herringbone patterns and the dimensional portions. :D

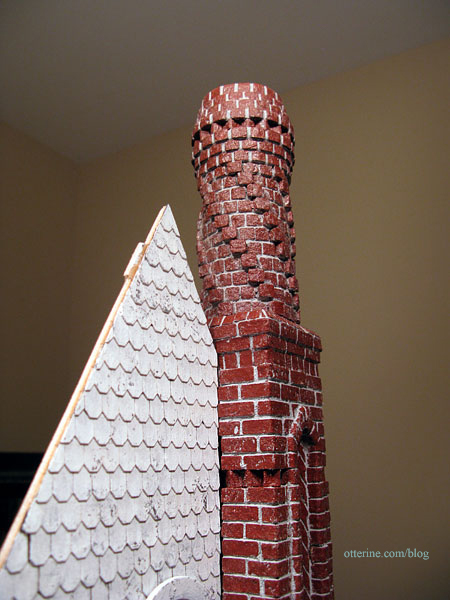
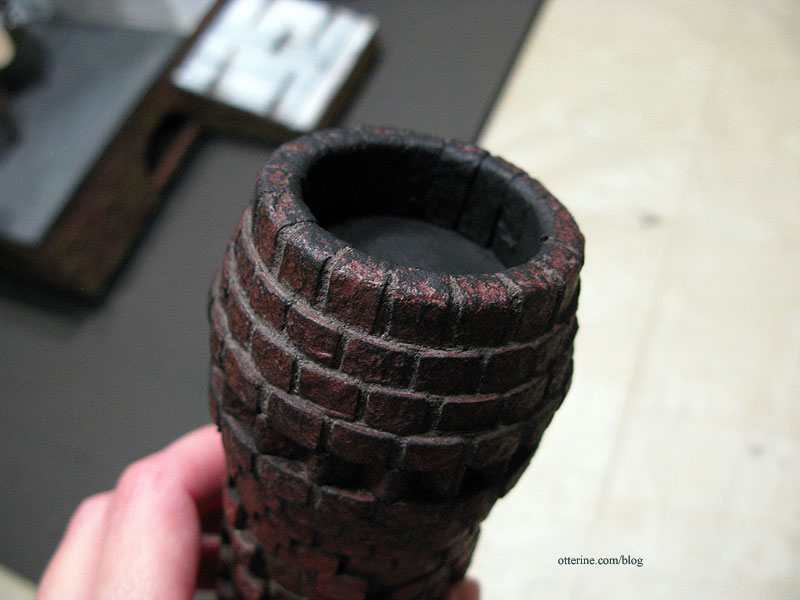
As expected, the topper was more challenging to grout but not as bad as I thought it would be. I rubbed the grout (spackling) into the spaces with my finger on the very top and on the flat surfaces between the spirals. After wiping away the excess, I went back in with a toothpick to remove any excess from the corners around the spiral bricks. I also pushed extra grout into the lines I couldn’t reach with my finger. I used a wet brush to clean the sides of the spiral bricks as well.
All in all, it worked well. There is a bit more excess grout on the topper surfaces but a dark paint wash will significantly tone down the light grey residue.
I love how much solidity the grout adds to the whole structure.
For final finishing, I first aged it with a wash of black, brown and grey paints.
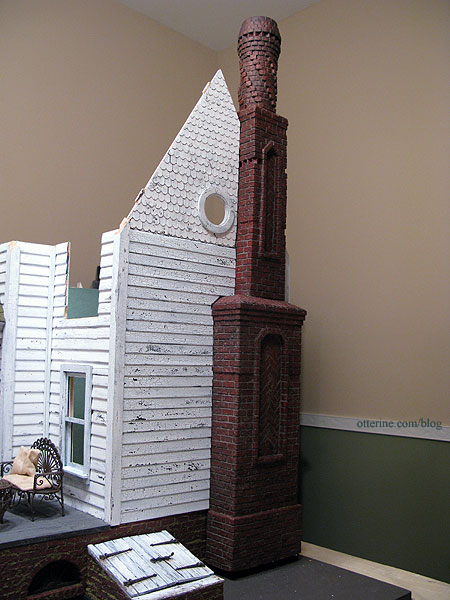
It darkened the grout and gave a more realistic coloration to the brick.
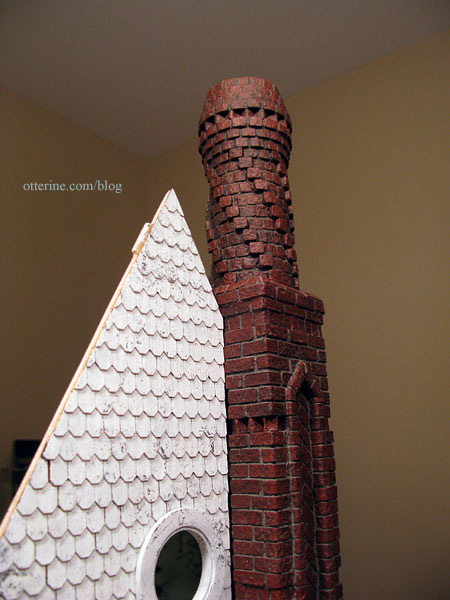
I painted the inside of the topper black and dry brushed black paint on the top lip and over the upper rows of bricks. Grandma needs to call the chimney sweep! :O
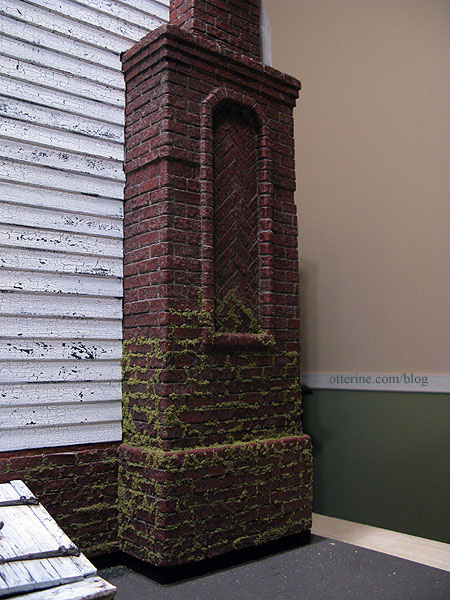
Then it was time to apply the moss: Fine Turf, Burnt Grass by Woodland Scenics. This time I used a glue syringe to apply Aleene’s clear gel tacky glue. It’s faster than applying it with a toothpick, especially when working on a larger area. I don’t apply it to all of the grout lines, just here and there, and on some portions of the face of the bricks. Makes it seem more realistic to me.
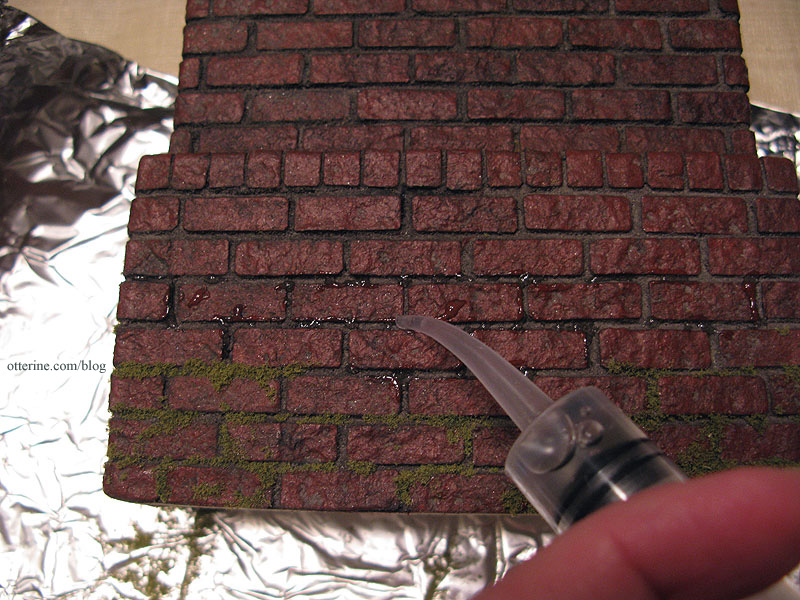
I like to use a plastic container to hold the moss as I work since the bag it comes in can create a lot of static, and you can’t really pour the excess back into the bag without making a huge mess. I also work on a sheet of foil to make it easier to catch the excess and put it in the storage container.
Using my fingers to disperse pinches of foam, I apply a liberal amount over the glue.
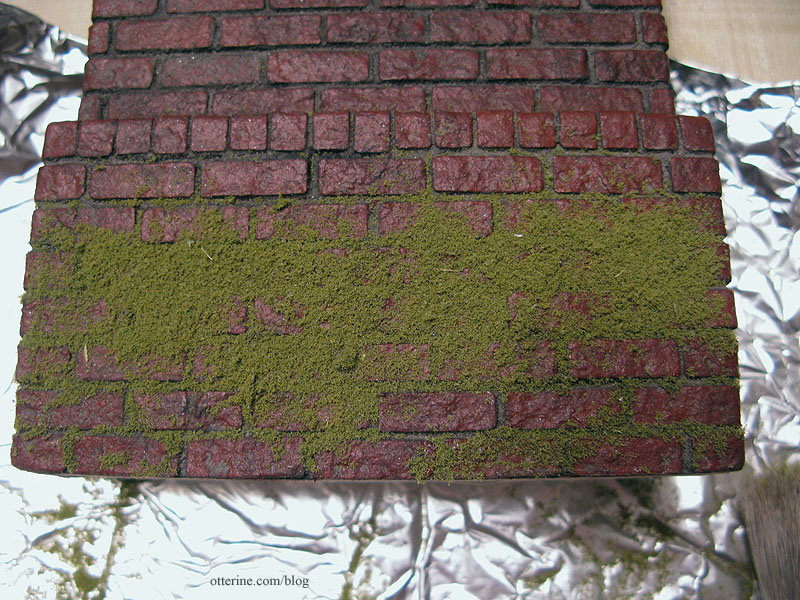
I press it in with my fingers and let it sit a few seconds before tipping the chimney and letting the excess fall back into the plastic container. I use a large soft brush to lightly remove the excess.
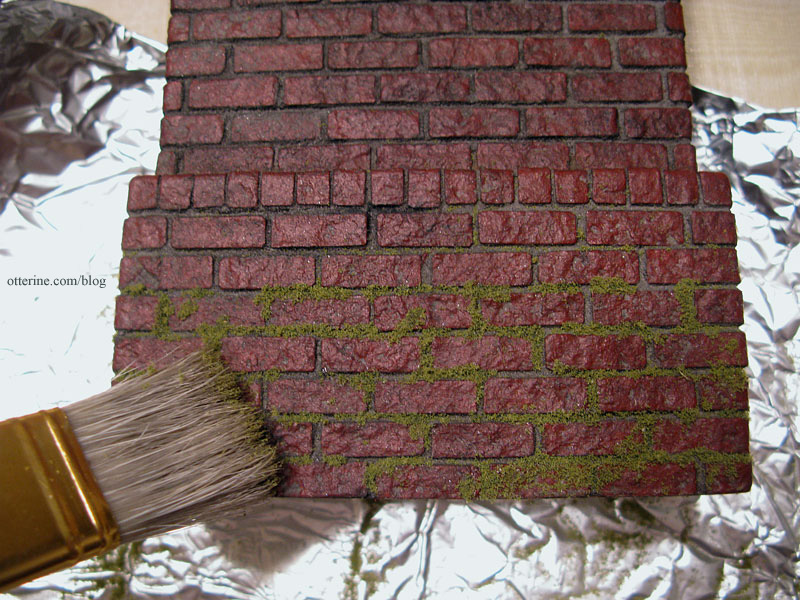
So far so good! Once the glue dries completely, I will brush the chimney more vigorously to remove more of the moss material. The plan is to also taper off the moss toward the top, with only patches here and there. Have to leave some brickwork exposed after all that work!
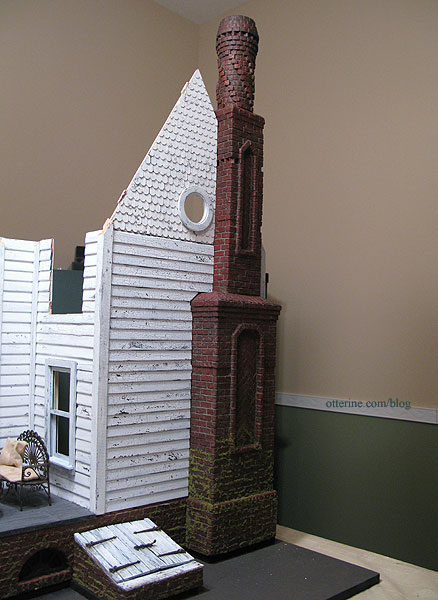
I added more moss along the connection with the house to disguise any minor gaps between the siding and the chimney. Once the chimney is permanently attached, I’ll add a bit more moss in the gaps to fill in. I’m also thinking a dried out old ivy vine would look marvelous!