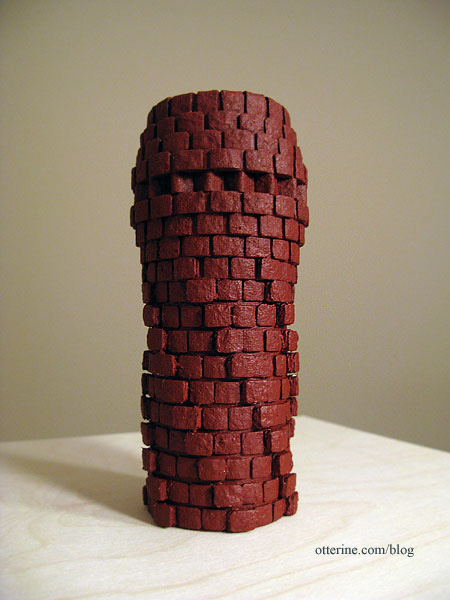
Continuing work on the chimney. After completing the topper, I had painted and set up some photos. After a few days of looking over the chimney and the photos, I still didn’t like the way the spirals were a little lost on my rendition. I added another later of egg carton bricks to the spirals to make them stand out more.
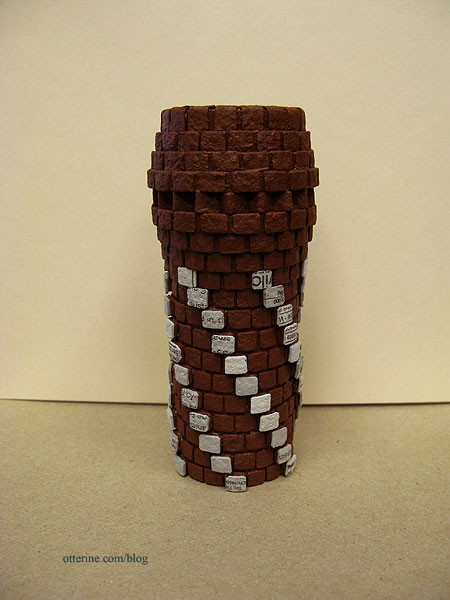
Once painted, I think the spirals look much better.
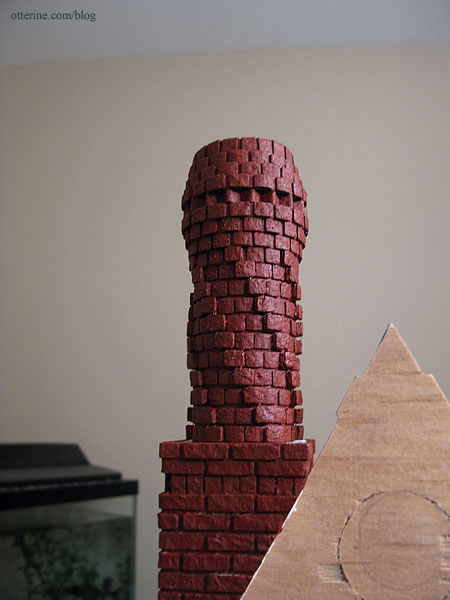
Since the sides show quite a bit, I filled in the gaps with spackling – using a toothpick to apply it.
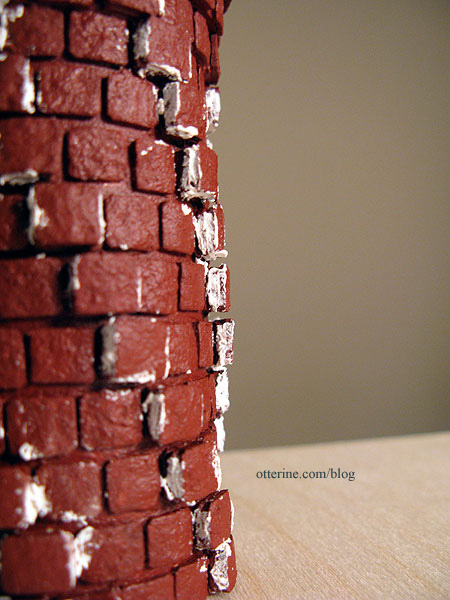
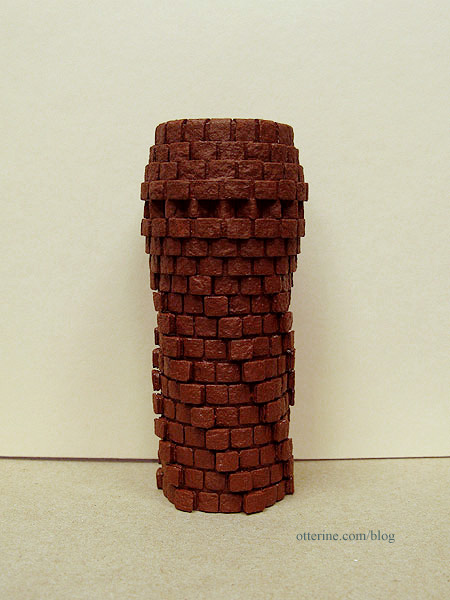
Once dry, I painted again and now the bricks look solid instead of layered.
The spirals stand out much better, and the effect will be even more pronounced after I grout and age the chimney (you were so right, Keli).
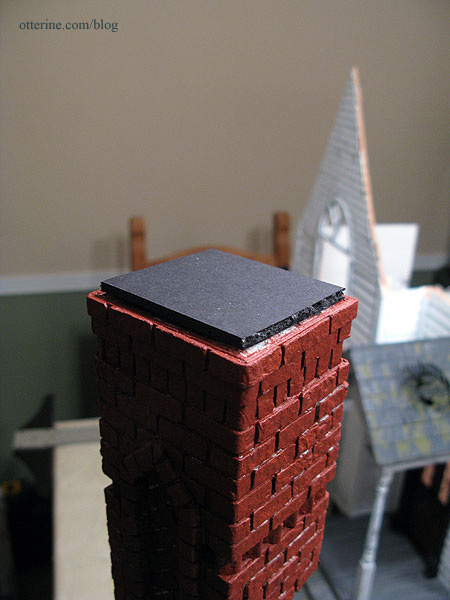
I also finished up the bridge between the topper and the middle section by adding a layer of 1/8″ foam core board.
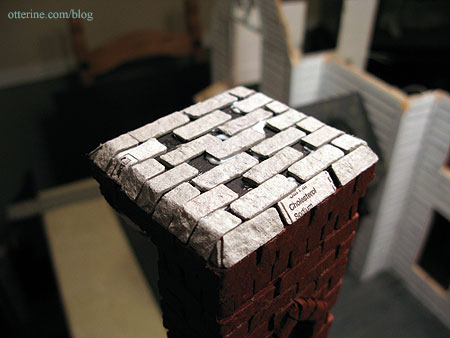
I covered this section with bricks. The large gaps will be covered by the topper.
The topper is still removable since that section will be the most challenging to grout.
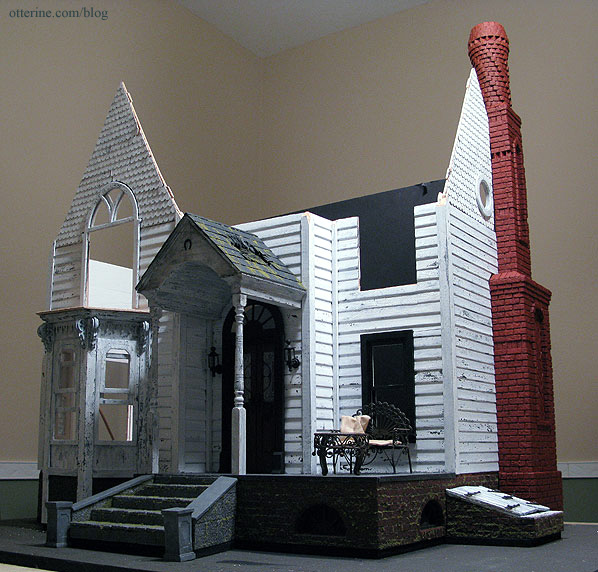
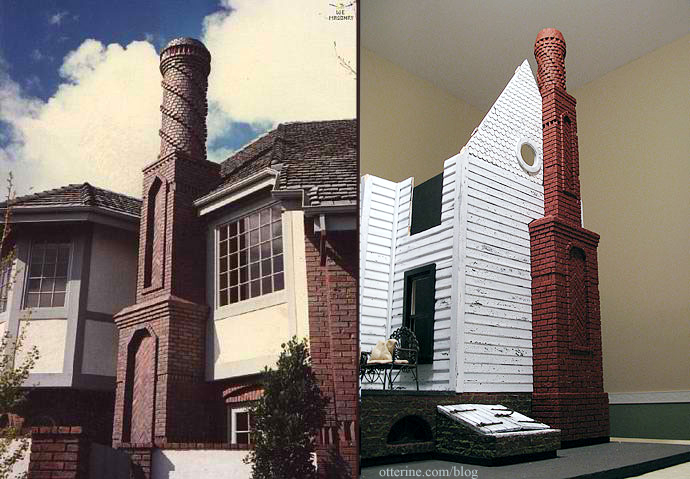
Here’s a new comparison shot with the W E Masonry original.
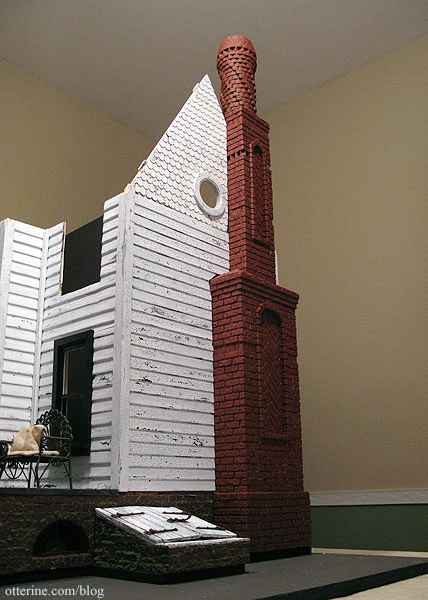
And, another overall shot. :D