
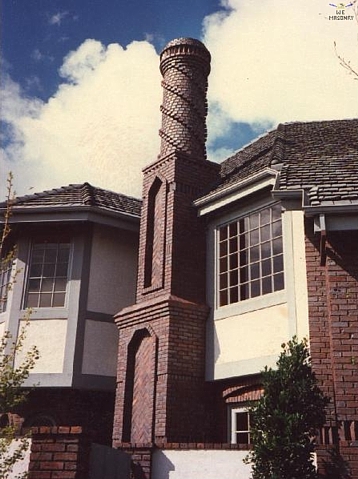
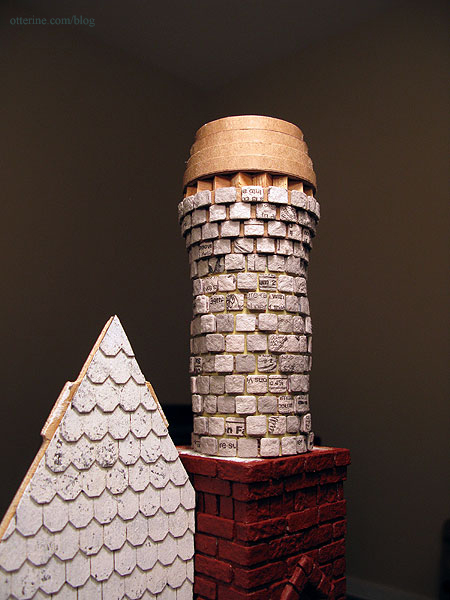
Continuing work on the chimney. Now that I’ve had plenty of practice with the lower and middle portions of my chimney, it is time to tackle the topper. The challenges include the fact that it is cylindrical, there are spirals of bricks around it, those bricks are smaller (the short ends) and there is a row built from bricks at an angle. :D
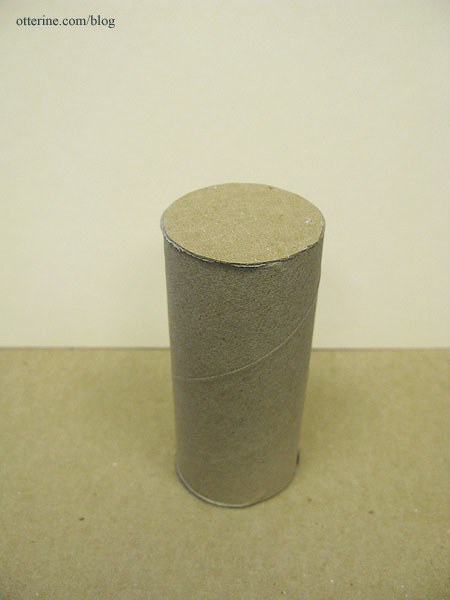
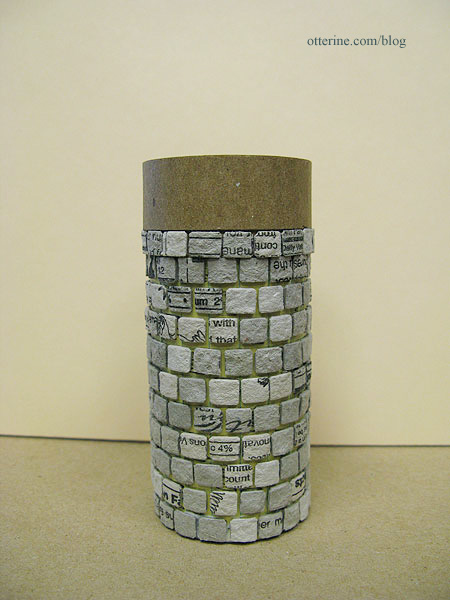
What to address first? The basic shape. In my mockup version, I had used drawing paper rolled into a tube since I didn’t have a toilet paper tube on hand. After saving a few for this project, I started with one at its full height of 4 3/32″. I then stuffed the inside with aluminum foil to keep the tube from being crushed as I worked on it, or after completion for that matter.

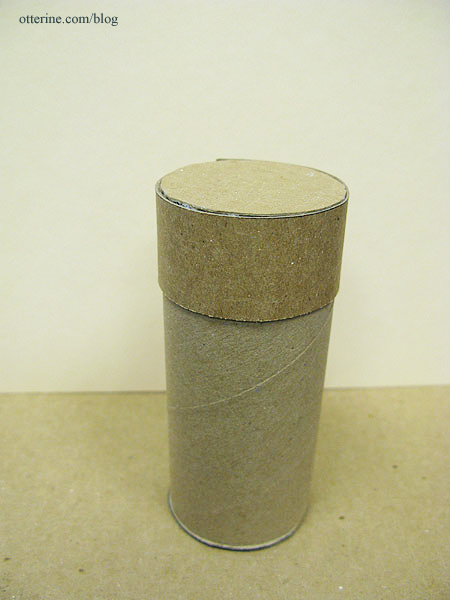
I planned to make the angled bricks a bit differently than I had for the middle section, where I had gouged out the foam core and used wood supports for the bricks. I would be using the same wood supports, but this time there was no foam to glue the supports into. I made a cardboard circle and glued that to the top end of the tube. The supports would be glued to this circle. Above that row of supports, I would construct the very top portion with another toilet paper tube cut down to size.
I started with main base for the dimensional rows just under the angled bricks. I built this layer up with cardboard as I had done for the lower and middle sections.
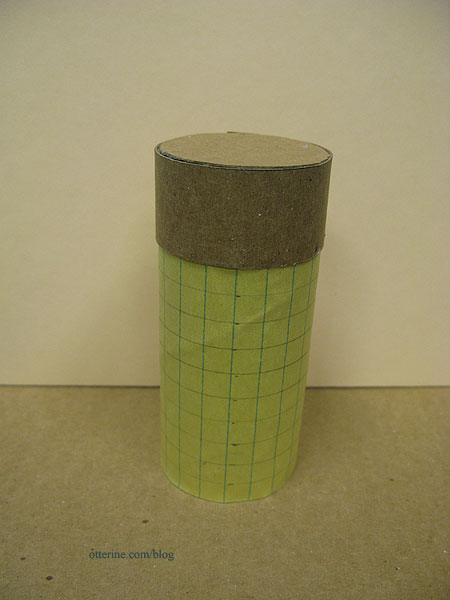
Using a paper tube provided a uniform support structure, but measuring evenly all around to draw guidelines wouldn’t be easy. Guess what has evenly spaced 5/16″ increments? Notebook paper! I cut a piece to size and drew the horizontal guidelines on it. It’s a rough guide not an exact pattern but it would help me keep things in line.
I thought about bricking on the flat paper and then gluing it to the tube, but I didn’t want to take the chance that I wouldn’t end up with a consistent and correct fit after putting in all the work. So, I glued the paper pattern to the tube before the brickwork.
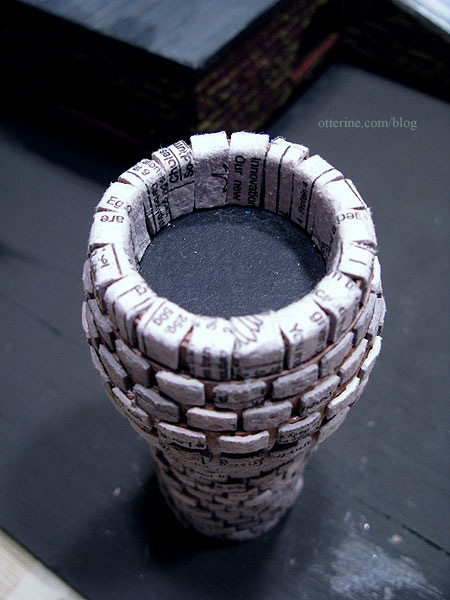
Since this portion was made from the “ends” of the bricks, I cut the bricks to just under 5/16″ in length. To make the egg carton bricks more cooperative, I bent each one to get it to curve slightly before gluing in place. These are a little tighter together than the rest of the chimney, but I think that works well for the design.
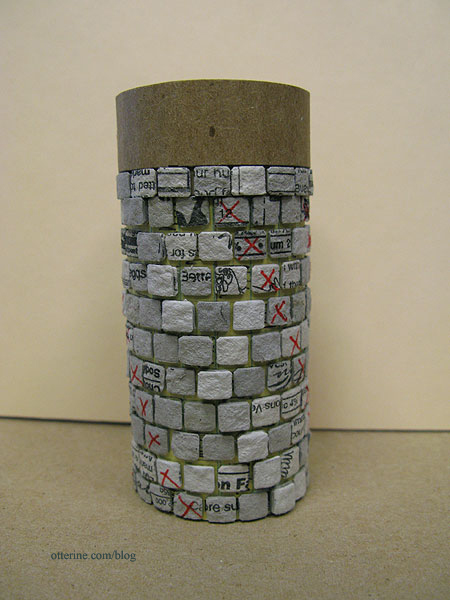
I marked the spiral brick pattern, ending up with six spirals. For the spiral design, I glued another brick on top of each brick in the pattern. The camera is flattening them out (there is one spiral completed in the photo below from top left to bottom right), but I think they’ll show up better once the chimney is painted and grouted (which is not going to be easy for this section). The spirals are more vertical than the original design, but I like them!
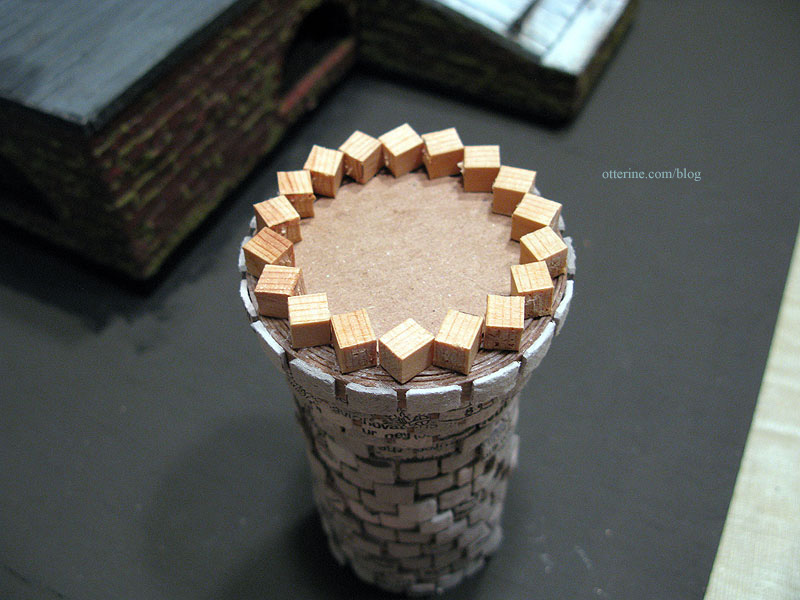
I finished up the bottom portion of the topper and ended up with a little castle turret. :D

To make the angled bricks, I cut 1/4″ strip wood into rough cubes and glued these to the top. Could I have purchased 1/4″ cubes to make things easier? Probably, but I was in my jammies at home and I already had a length of 1/4″ strip wood. :D
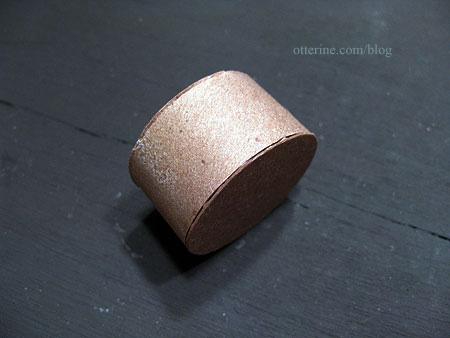
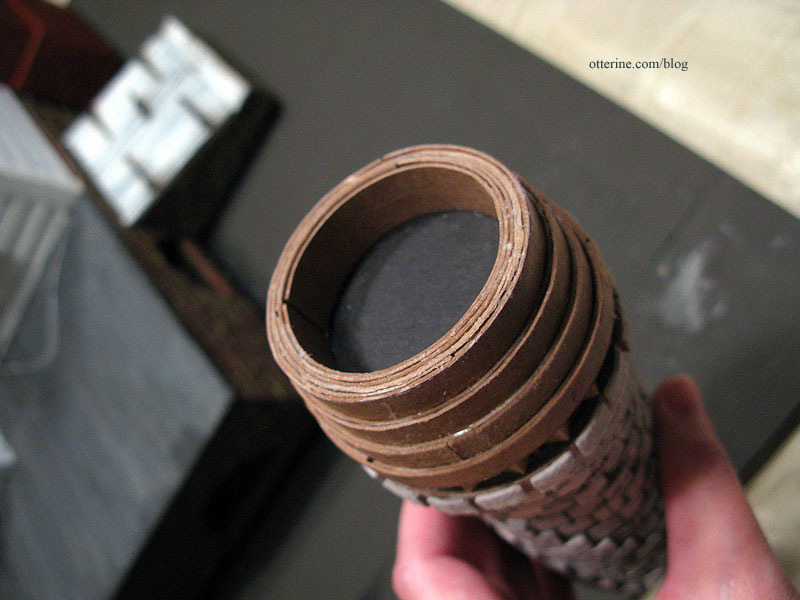
While these dried, I worked on the very top portion. I cut another toilet paper tube to 1″ tall and glued a cardboard circle to the bottom. This portion will be a mirror image of the rows below the angled bricks.
To finish the interior of the top, I cut three circles from 1/8″ black foam core board and glued them in place. This gave the top support as well.

Then came the cardboard layers before gluing the top onto the angled brick row.
I wound some more cardboard on the inside of the tube to build up the thickness of the chimney wall.
Once this assembly was secure, I glued on the tiny bricks trying to match the pattern of the rows below the angled bricks. Using egg carton pieces cut to fit, I covered the wood supports. I finished off the top of the chimney by folding the bricks over the top edge down to the foam core interior.
A quick coat of Liquitex Burnt Sienna and we’re starting to get somewhere! I still need to work on the bridge between the topper and middle section, but it will be of minimal visual impact.
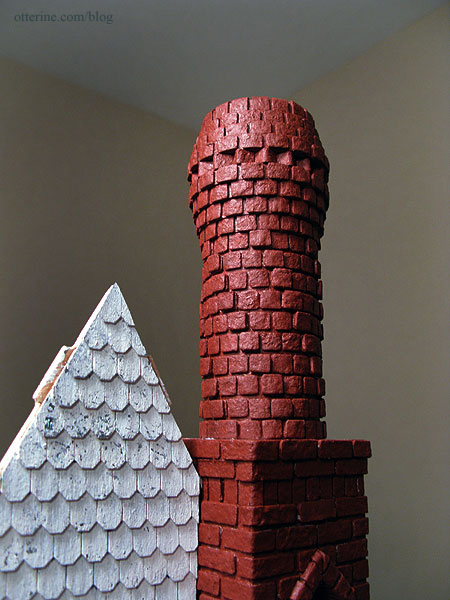
That’s one tall chimney — just under 28 1/2 inches high.
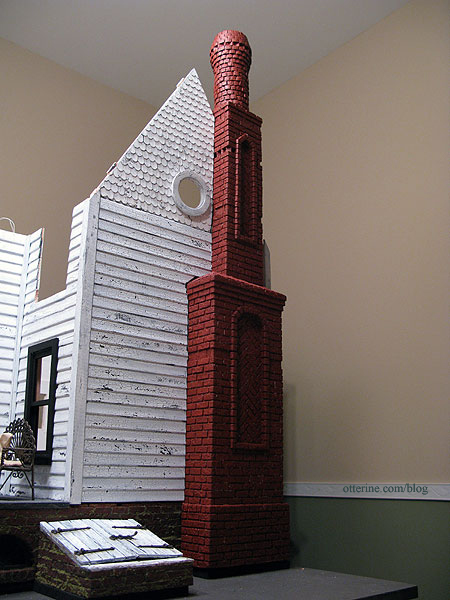
I was worried it was going to end up a smidge too tall but I think it works well.

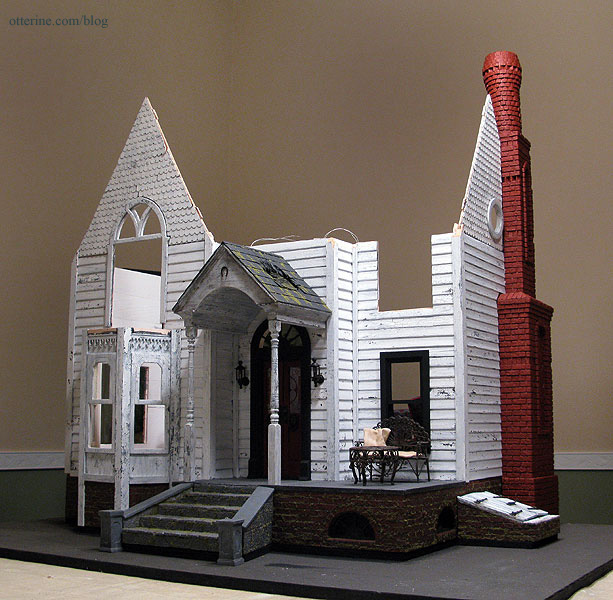
And, with the whole house as it is at the moment. :D Love!!!
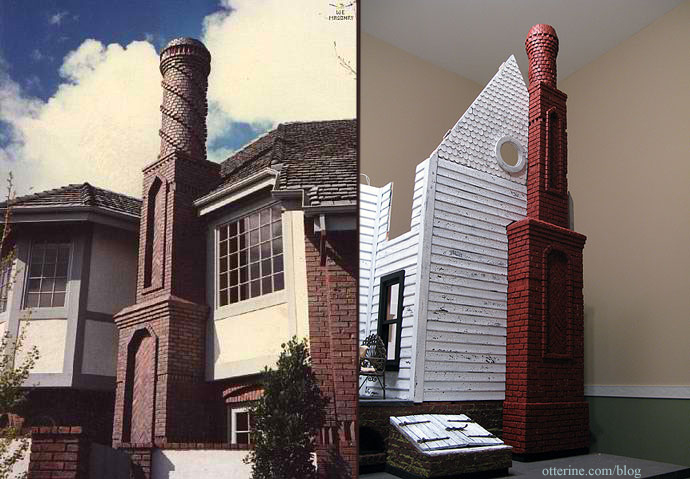
So, what do you think? Have I captured the essence of the original W E Masonry chimney? :D
Next up: finishing the bridge between the topper and middle section, painting touch-ups, sealing and grouting.


