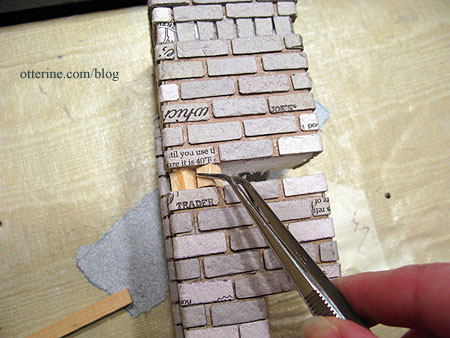
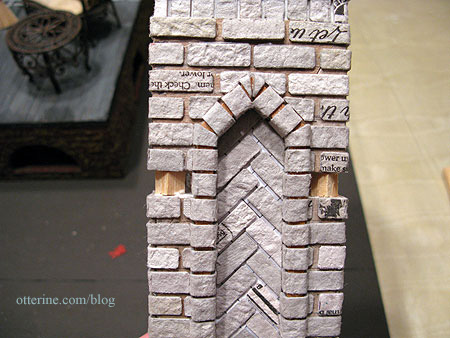
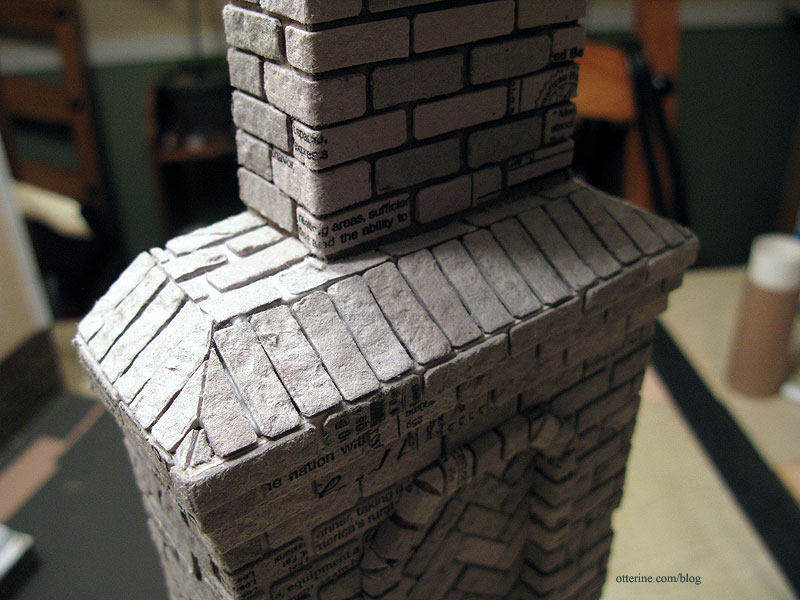
Continuing work on the chimney. I finished bricking the flat surfaces of the middle section and then had to address the row of angled bricks. The easiest way I figured I could manage the illusion of three-dimensional bricks stacked on an angle was with strip wood covered with egg carton on the exposed edge.
I used 1/4″ strip wood cut into pieces roughly 5/16″ tall. I glued these individual blocks into place with the corner pointing outward. I set them in just a bit to leave room for the egg carton and to offset them from the face of the brick, just in case I didn’t get them lined up perfectly, it wouldn’t show as much.
I was able to get the sides lined up evenly front to back, but there are gaps in the front and one in the back. I plan to either cut the faces long for these or put in straight half-bricks, whichever looks best.
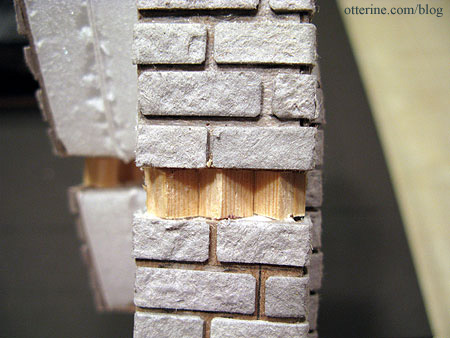
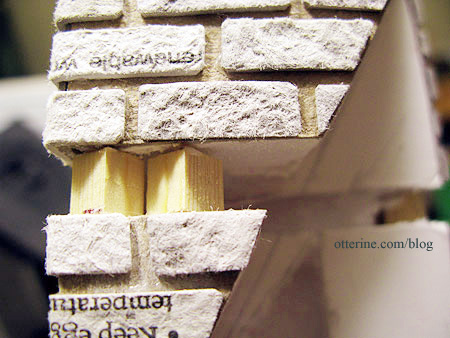
Once the glue holding these dries completely, I’ll add the egg carton faces. Right now, I think this just might work. :D
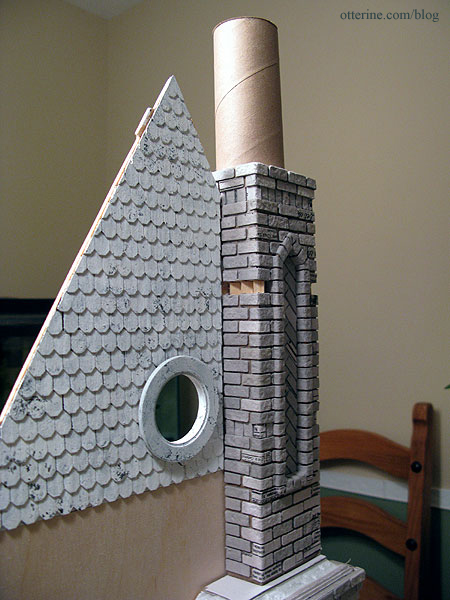
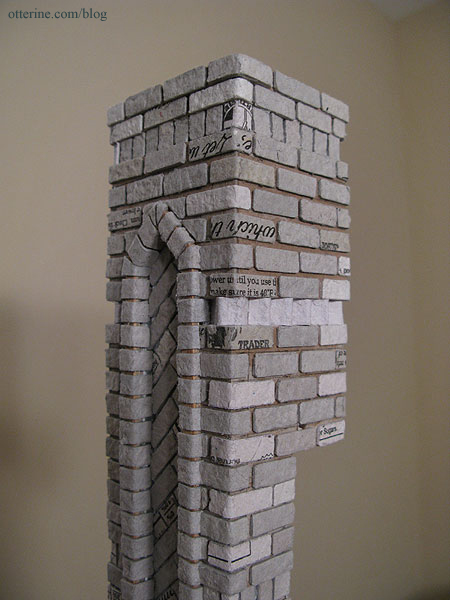
Yep, that’s a toilet paper tube on top. It might be just a little short, so I’ll likely end up using a paper towel tube cut down to the proper size.
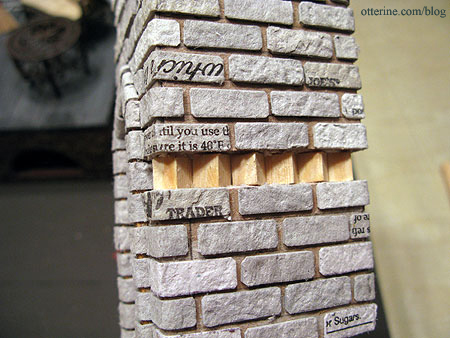
To finish the angled portion between the lower and middle portions of the chimney, I first added a row of vertical bricks all around. For this entire portion, I used a lot of glue to make sure the assembly remained secure. I finished the very top with flat bricks. The gap between the two sections seems a bit large now but once paint and grout are added this will be much less obvious.
I added the egg carton material to the angled wood supports.
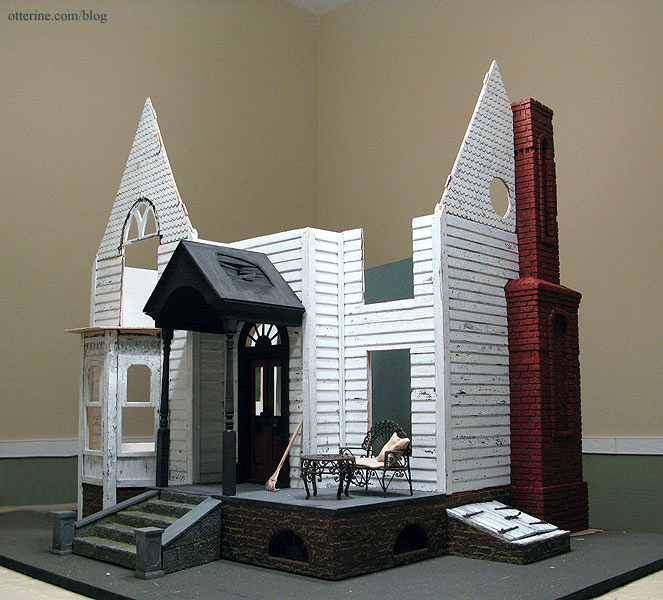
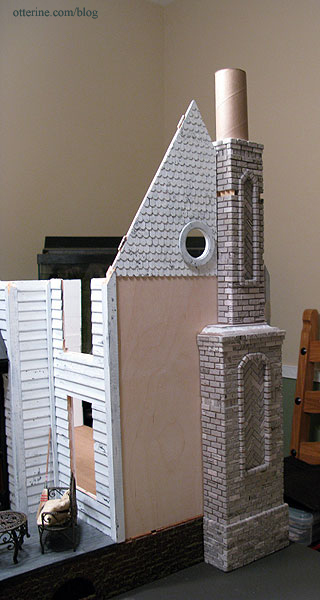
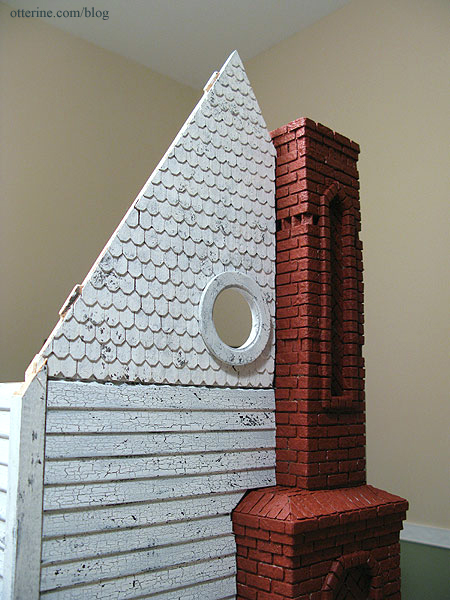
I painted the chimney Liquitex Burnt Sienna, even though I still have the topper to complete. Ok, the creep factor on this house just went through the roof! :O
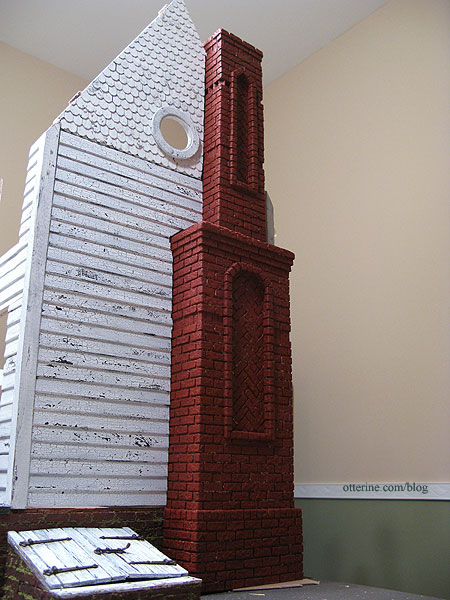
With the paint added, the dimensional bricks look a lot more realistic. I’m glad I took the time to figure out how to make them work.
It’s starting to come together! :D