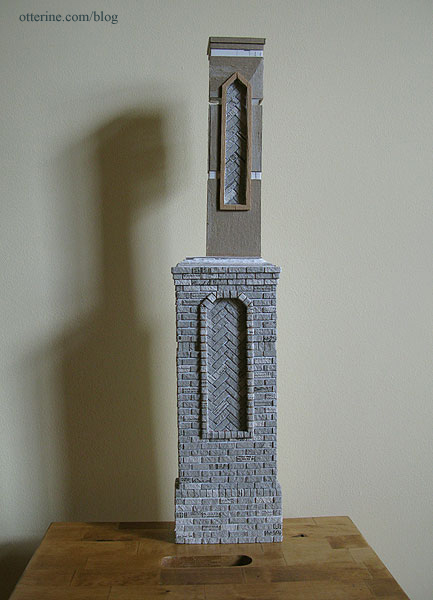
Continuing work on the chimney. I finished up the right side of the lower chimney previously but before continuing on the angled top portion of the lower section, I had to work on the middle section. The top of the lower section will be made to fit the bottom of the middle section.
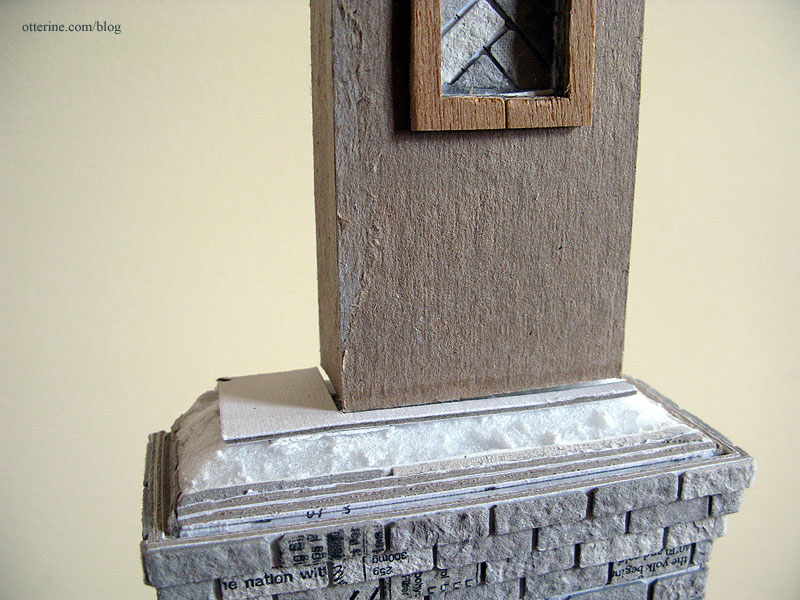
I applied cardboard layers to build up the dimensional surface and completed the smaller herringbone pattern for this middle piece.
Here’s the middle section of the original W E Masonry chimney as a reminder.
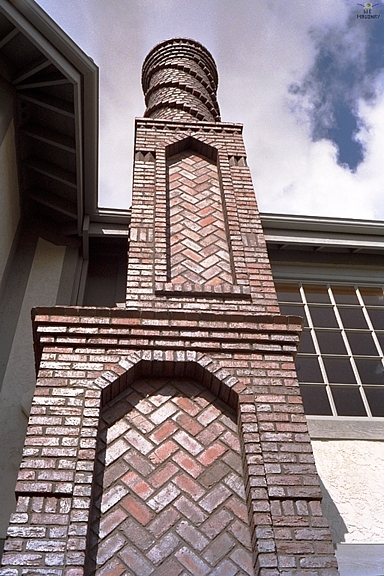
There were a few different challenges to this section, including a thinner herringbone patterned section as well as two rows of bricks set at an angle: one continuing on either side of the herringbone frame and one above it. These would be somewhat easy to do with actual bricks but not with two-dimensional egg carton bricks. I decided to replace the one on top with a plain vertical row instead of the angled bricks mainly because this row hits right at the roof line and I didn’t want to risk the stability of the top.
I gouged out the row on either side of the herringbone pattern and will fill this with the angled bricks later. This portion has wall support behind it and, once filled with the angled bricks, will be perfectly stable.
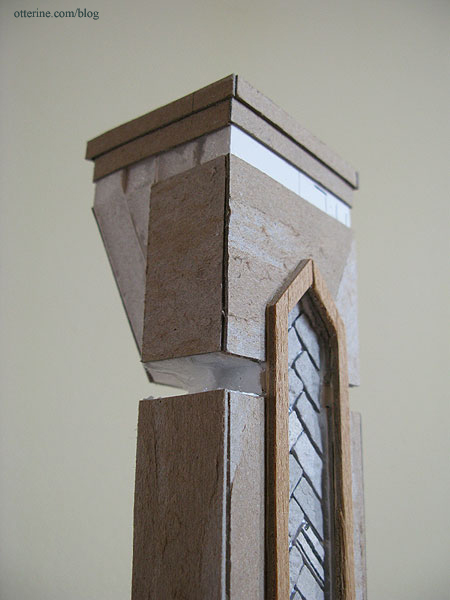
I added a flat piece of cardboard on top of the lower portion to even out the surface. The middle portion is still separate from the bottom portion. I’ll be gluing them together shortly but need to brace them against the outer house wall as the glue dries to ensure a good fit with the house.
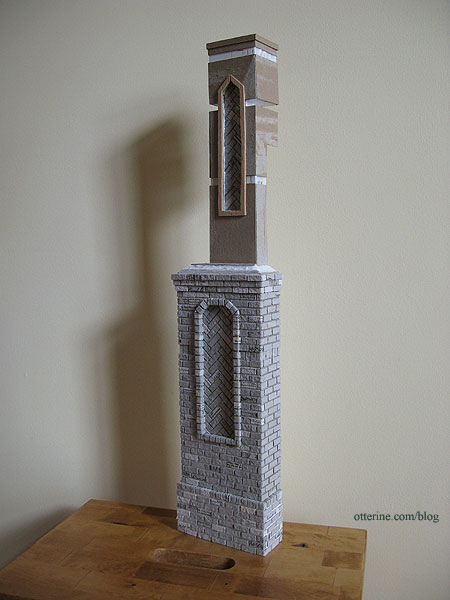
Now I am ready to brick this middle portion, then will come the topper.
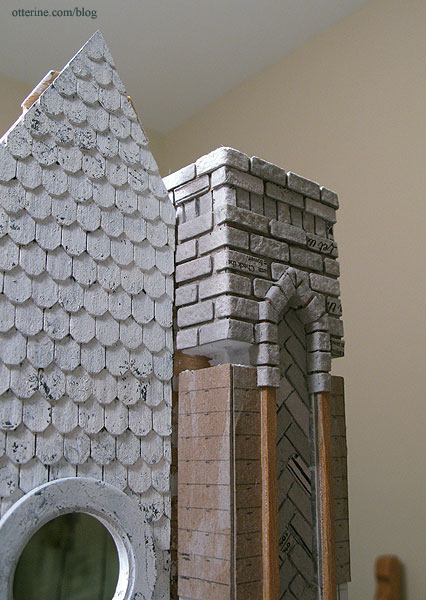
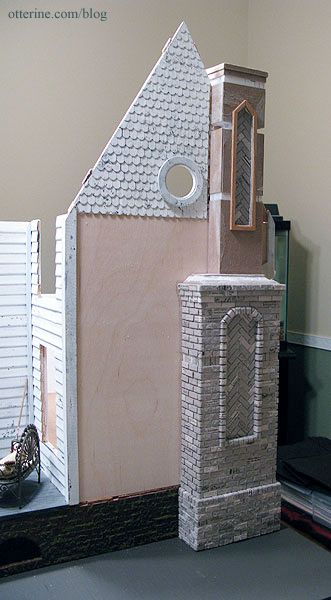
Here’s the chimney next to the house. I think it suits the house perfectly. :D
I’ve started bricking the top of the middle section. This small amount represents a few hours worth of work. Once I get through this portion, the rest should be much more straightforward.