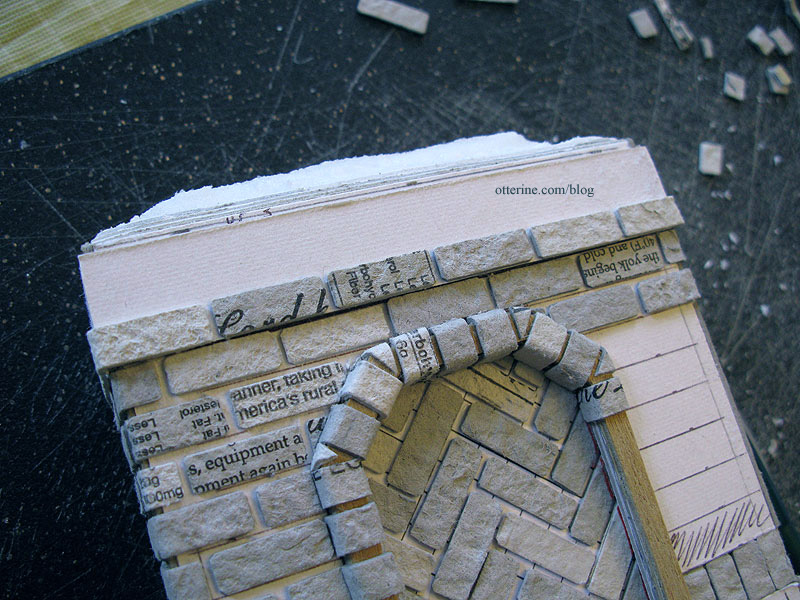
Continuing work on the chimney. As I was applying the bricks up to where the bricks start to build out from the main surface, I discovered that my vertical row was too short for the opening between horizontal bricks. I removed them, cut a wider opening and applied a new vertical row.
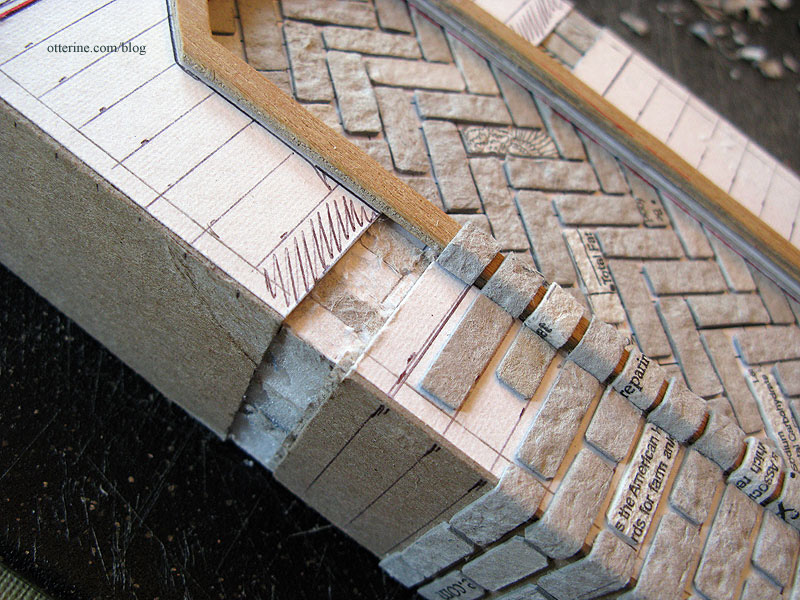
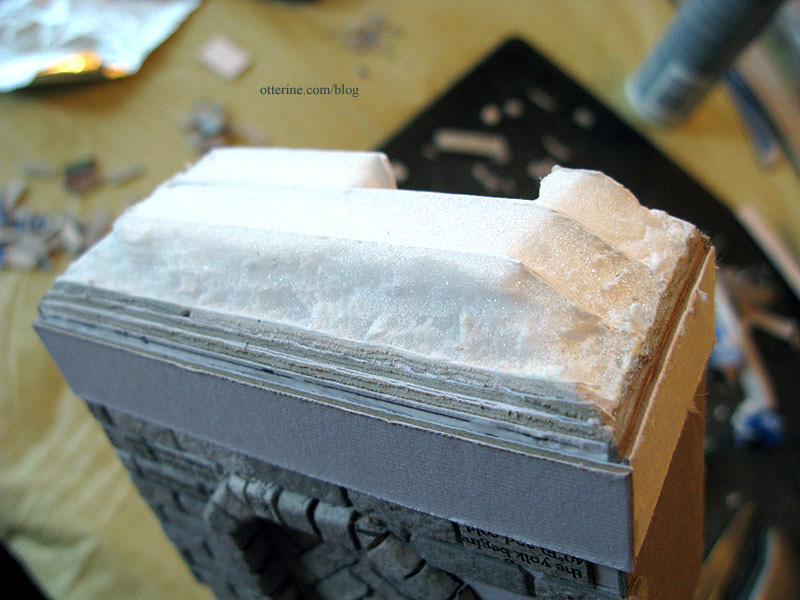
Once near the top, I cut the uppermost portion at an angle. This will be built up once I get the middle section of the chimney completed. To create the topper on the lower section, I added a 3/4″ wide strip of cardboard to the front and sides above the topmost row of bricks and then applied bricks to the bottom of the cardboard.
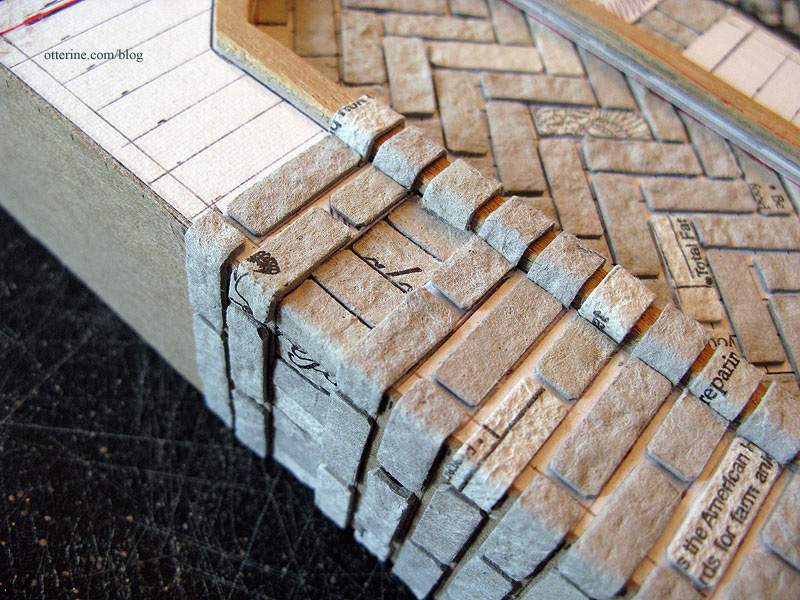
For the next row, I added a 1/2″ wide strip of cardboard to the front and sides above the last row of bricks.
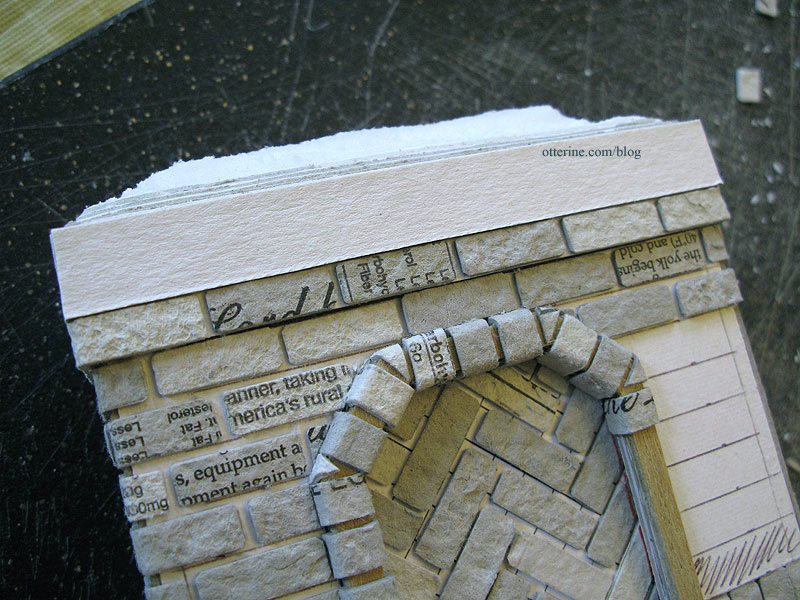
I then added bricks to the bottom of this piece. For the final row, I added a 1/4″ strip of cardboard to the front above that last row of bricks.
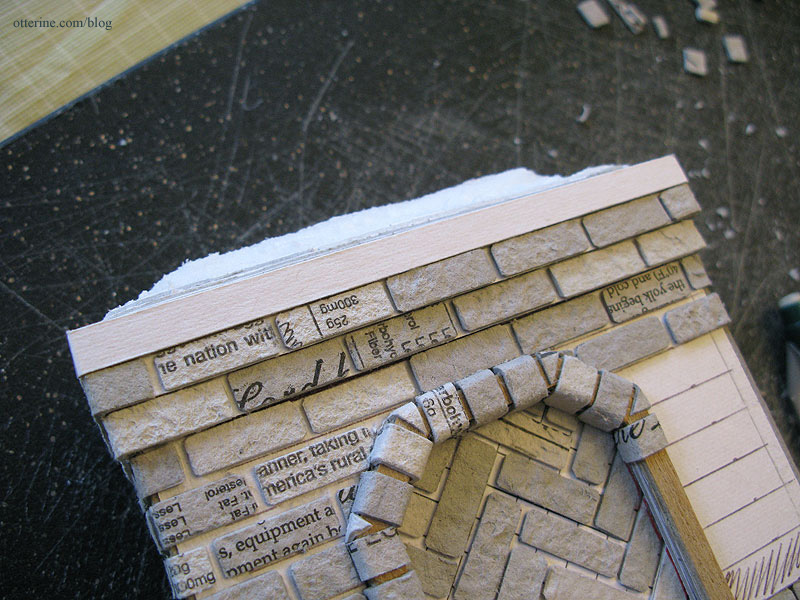
I added bricks to the 1/4″ strip to finish up the extension.

I then finished up the herringbone frame and part of the right side before running out of bricks. So, it’s back to the cutting board! :D