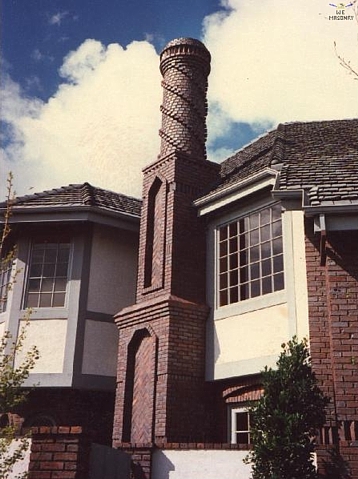
Continuing work on the chimney. Here’s a refresher on what the original looks like, by W E Masonry.
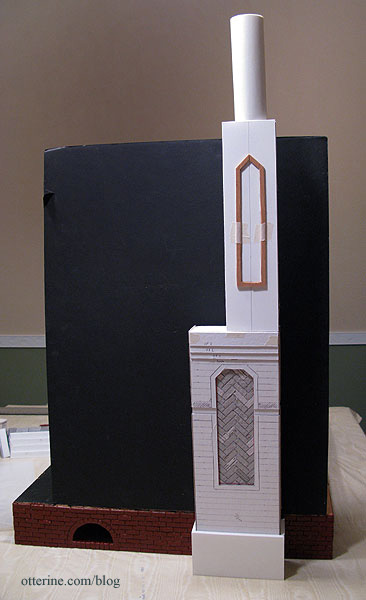
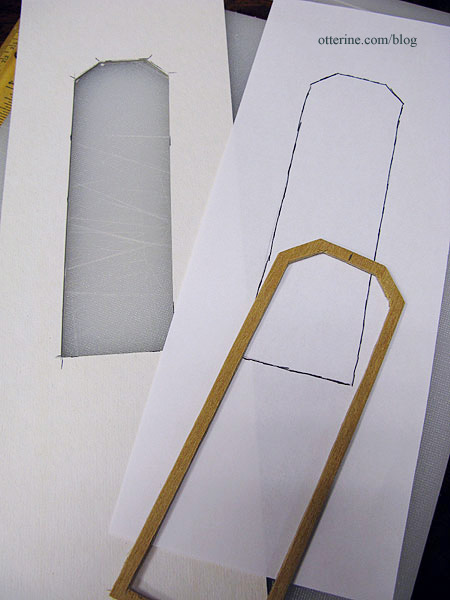
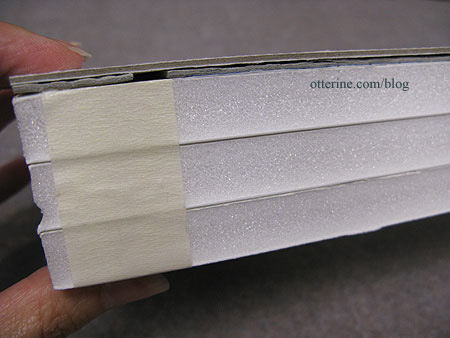
In order to get the same dimensional design with egg carton bricks as the original, I built up the foam core base with layers of cardboard. Using the wood pieces I had cut from the original kit’s bay window pieces as guides, I cut two whole front pieces from thick cardboard with the design portion removed. Once I am done building up the cardboard, the wood pieces will sit on top of the layers.
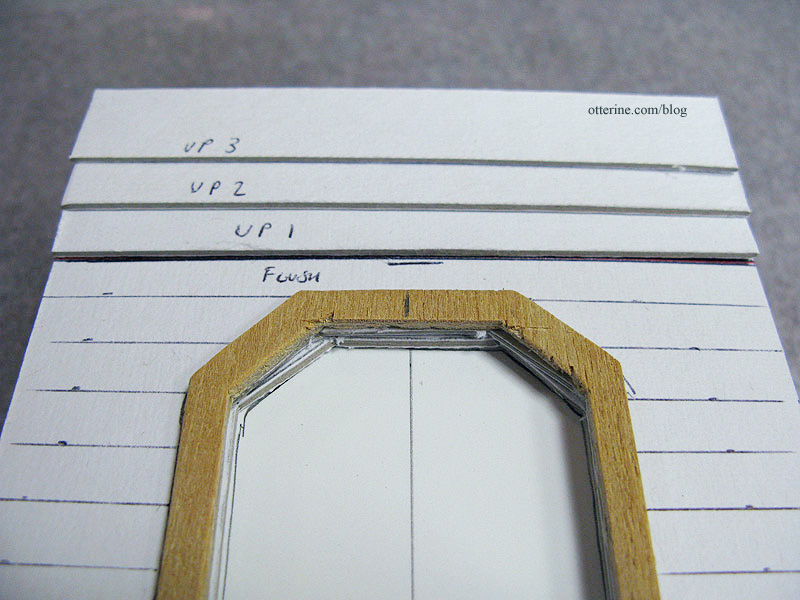
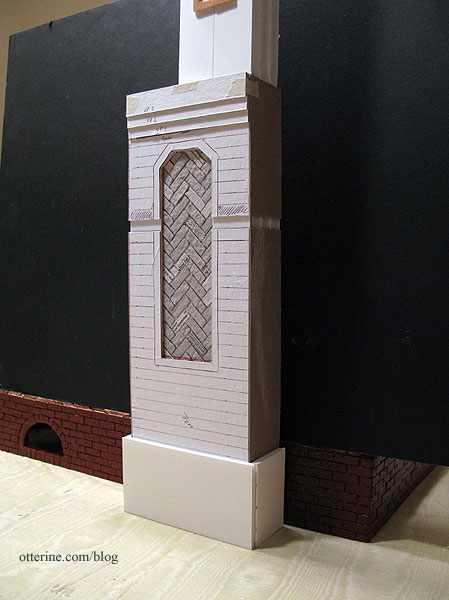
Unlike my normal process of just starting the bricks at the bottom and measuring evenly as I go, this time I opted for guidelines. The design requires different depths and I wanted to make sure I wasn’t going to end up with half bricks somewhere along the top where the pattern is most obvious. So, I started from the top and worked my way down.
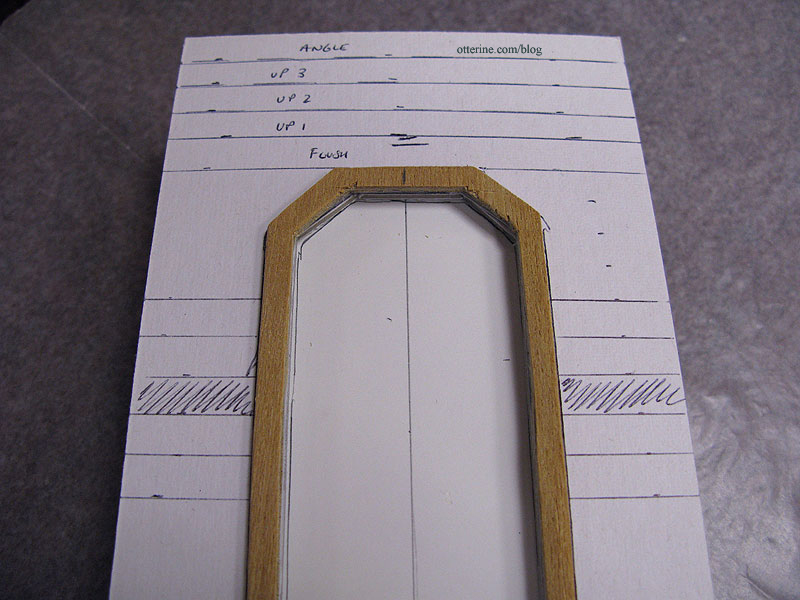
At the top of the lower section, I used strips of cardboard to build up the levels. These will not be glued in place until I start applying bricks. This way I have some room to move if my guidelines are off.
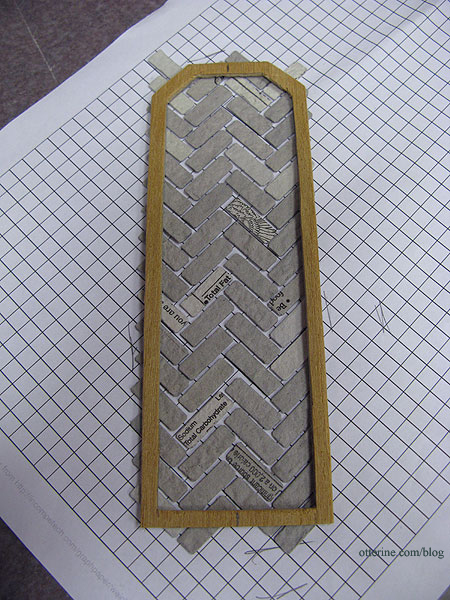
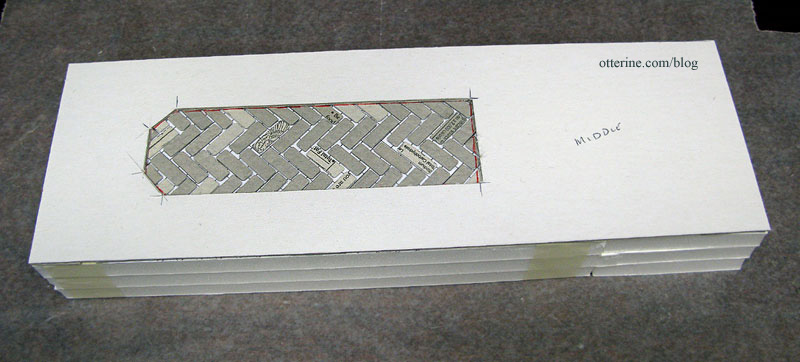
For the herringbone brickwork, I glued the 1/4″ by 3/4″ bricks to a piece of graph paper. I didn’t follow the boxes exactly, but the lines made it easier to keep a consistent pattern. By putting it on paper instead of directly on the foam core base, I was able to move the wood frame piece over the herringbone to find the best possible design.
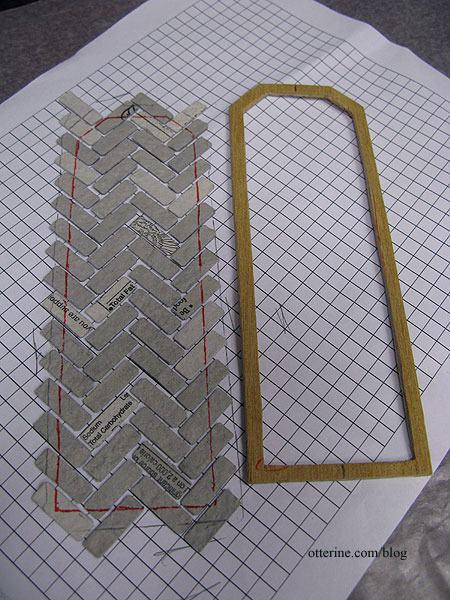
I traced the outline and then cut the herringbone piece to fit under the bottom layer of cardboard. I then glued that piece in place on the foam core frame.
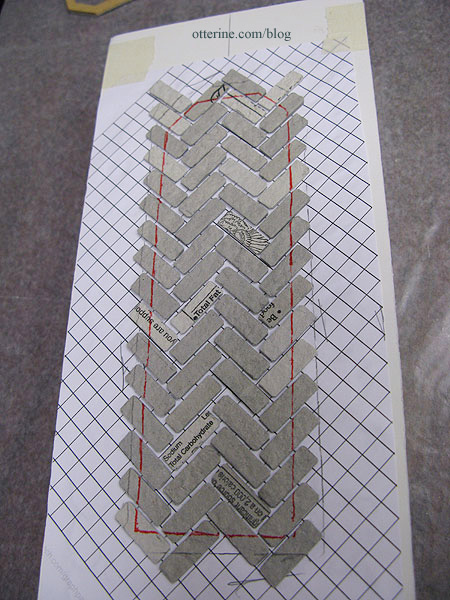
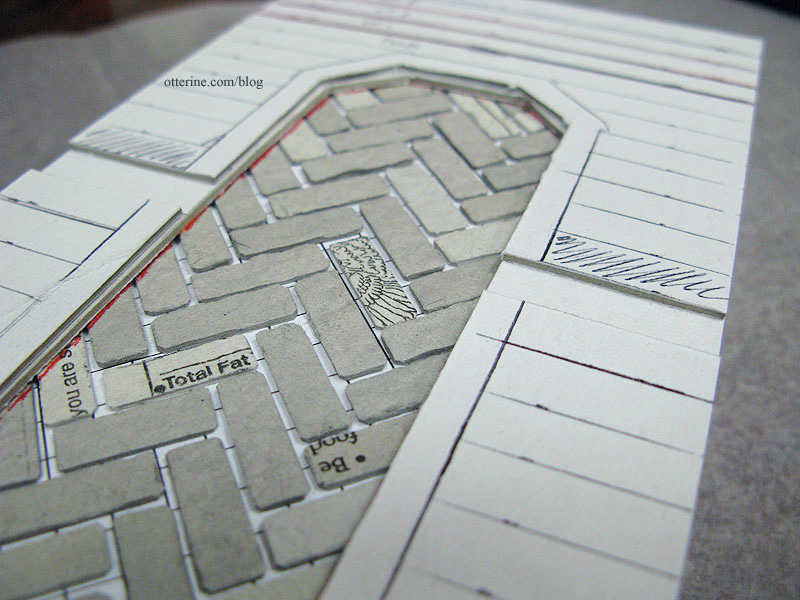
Since I didn’t need to brick this whole layer but needed to match the thickness of it, I added random bits of egg carton filler to the rest of this layer.

I then added the next cardboard layer on top, matching up the outline on the herringbone bricks.
I cut out one row on the top layer of cardboard to allow for a slightly indented vertical row, as in the original. I glued the two pieces in place, following the herringbone frame outline.
Next, I built up the sides, also leaving space for the indented vertical row.
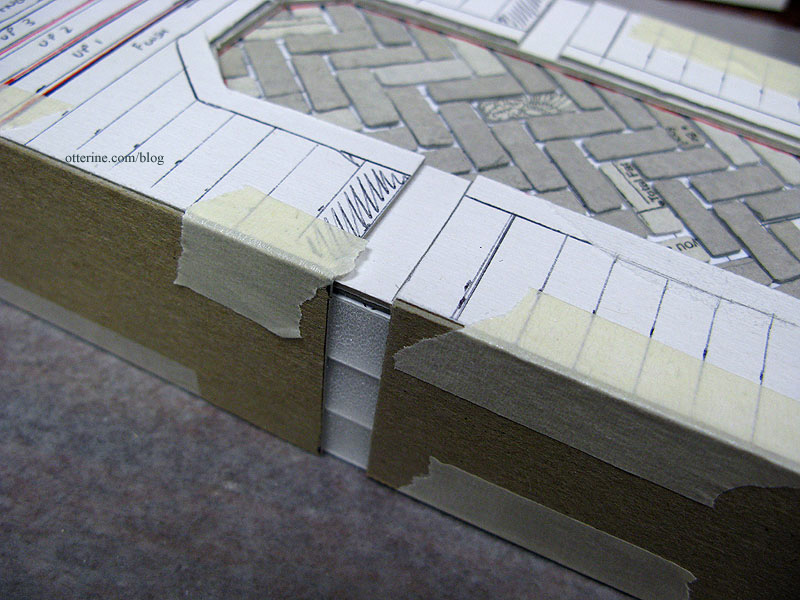
Since the original photos don’t show much of the ground portion, I had to wing it. I figured a straight shot to the ground might look top heavy, so I added just a bit more weight to the very bottom where it sits with the foundation by adding some 1/4″ thick foam core board the same height as the bricks on the foundation.
So far, so good.