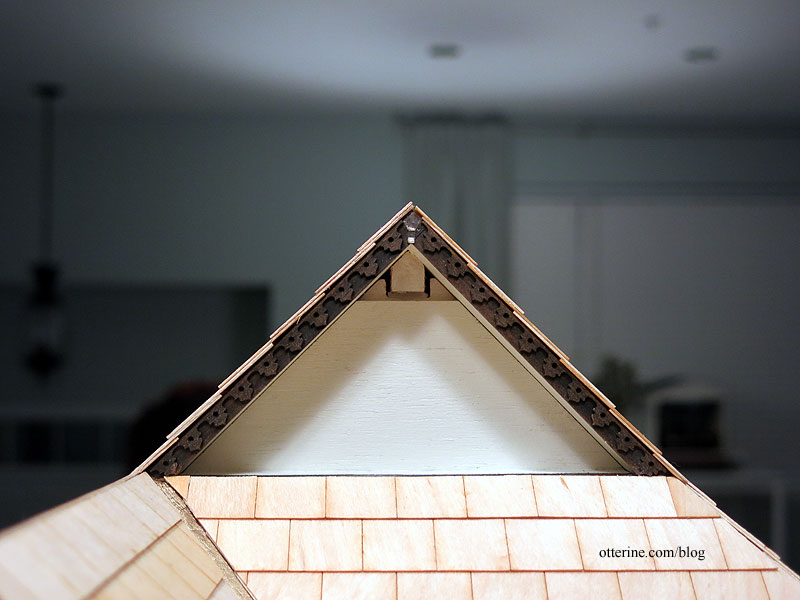
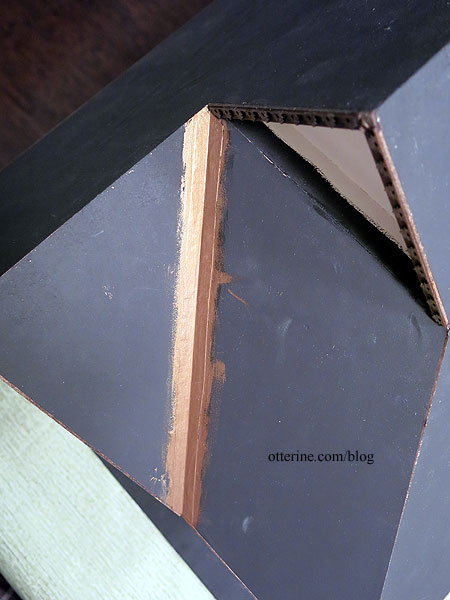
Continuing work on the roof. I glued on the front roof boards. So scary to be completely out of dry fit. For the most part, the pieces fit pretty well. The one minor gap will be easily disguised with shingles.
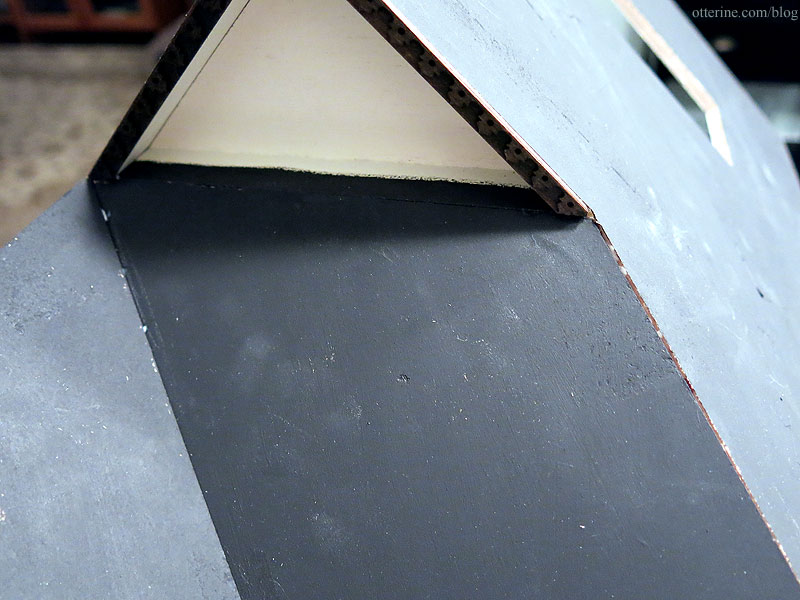
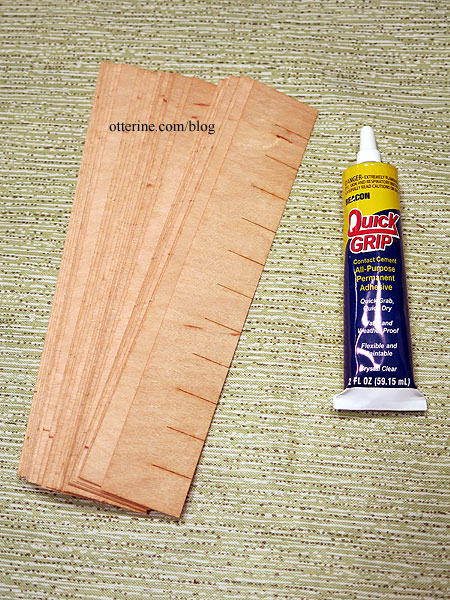
I am using Greenleaf speed shingles for the HC roof. These are laser cut, thin wood. I use Quick Grip glue, which is stinky and messy, just the way a fun project should be. I also utilize movies and/or TV in the background.
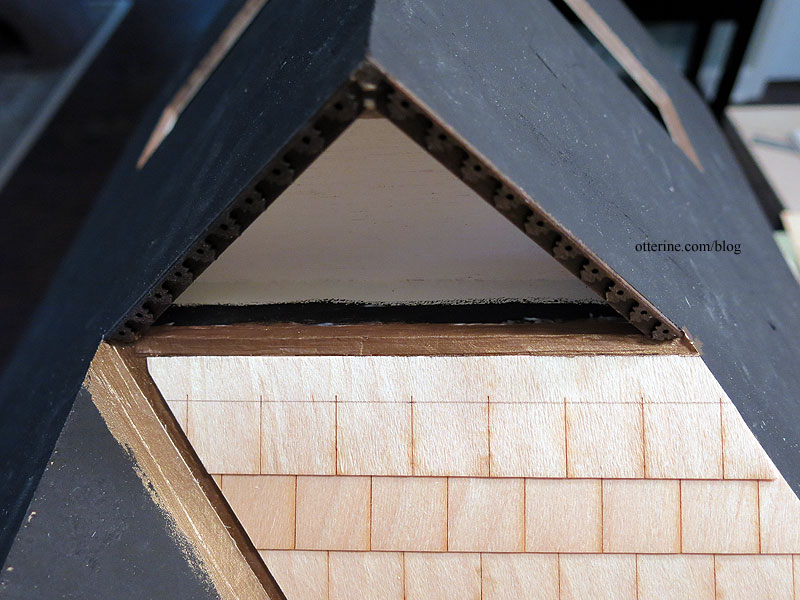
There’s one valley on the roof, so I lined that with Tyvek.
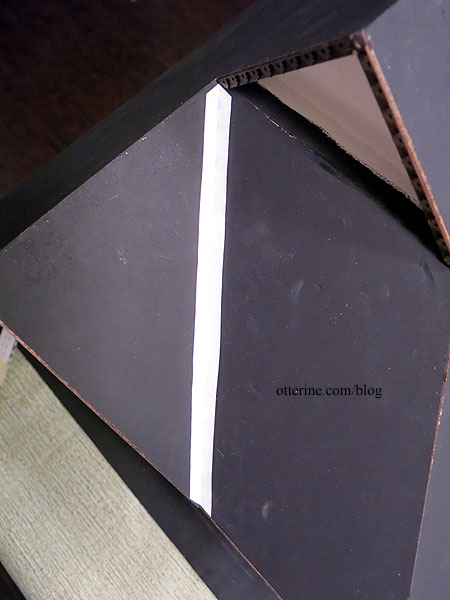
I painted it Liquitex Iridescent Bronze.
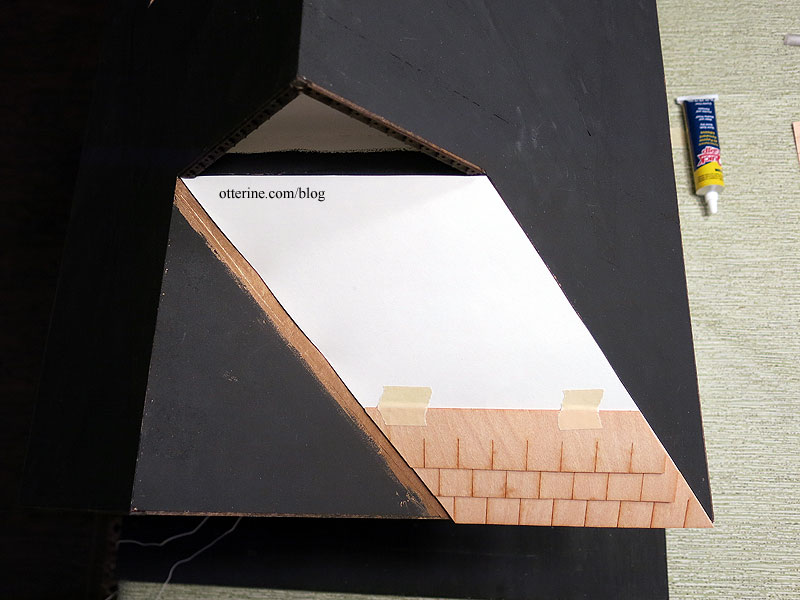
The templates for the front help a great deal. I find it’s easier to start with the small, complicated sections. You can even out placement on a long run, but in a small space you need accuracy and consistency. If the two small sections are off, it will be more obvious. I started with the parallelogrammatic template. (There’s a $175 word for ya!) I taped and cut each row, continually testing it on the actual roof. While I use the template to cut the strips, I glue the strips directly to the roof.
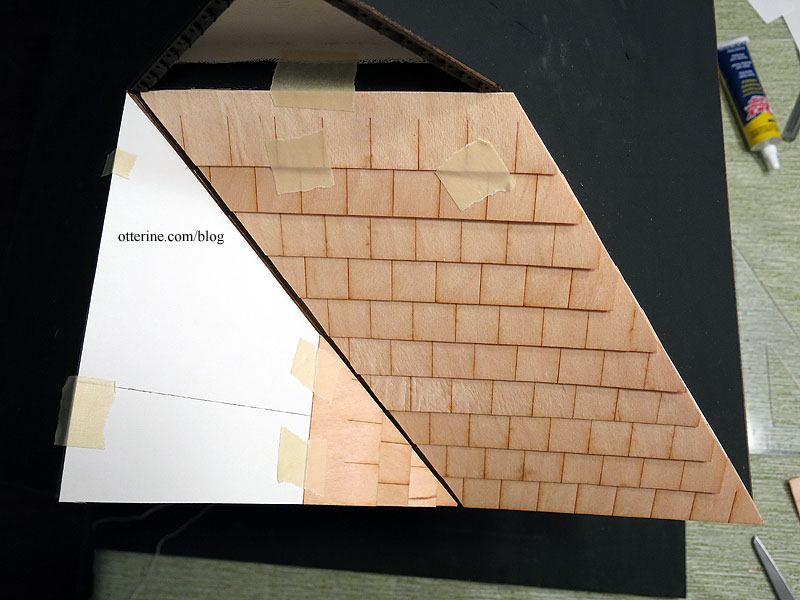
Next, I marked the rows on the triangular template. The spacing is not the same as it was on the first template, but the alignment is more important.
Next up was the remaining angled piece. I used only a partial template since the remaining portions will just follow the length of the roof.
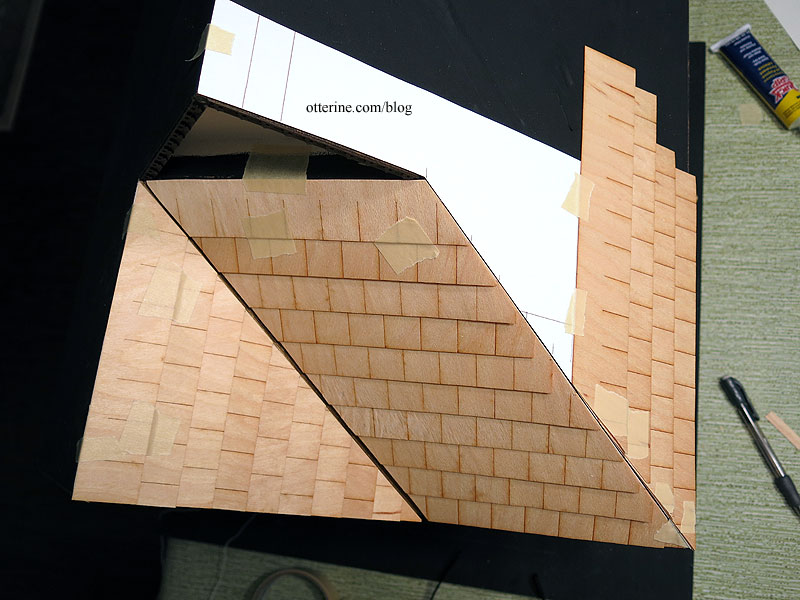
I added a post to the top of the dovecote to stabilize the apex.
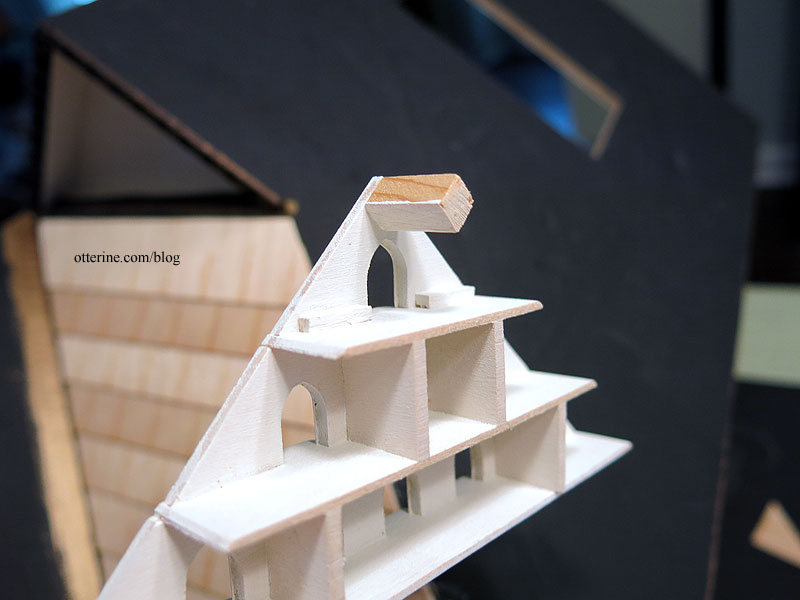
To finish the edge below the dovecote, I glued a strip of Tyvek painted Liquitex Iridescent Bronze.
It was a long day, but I got all the shingles in place.
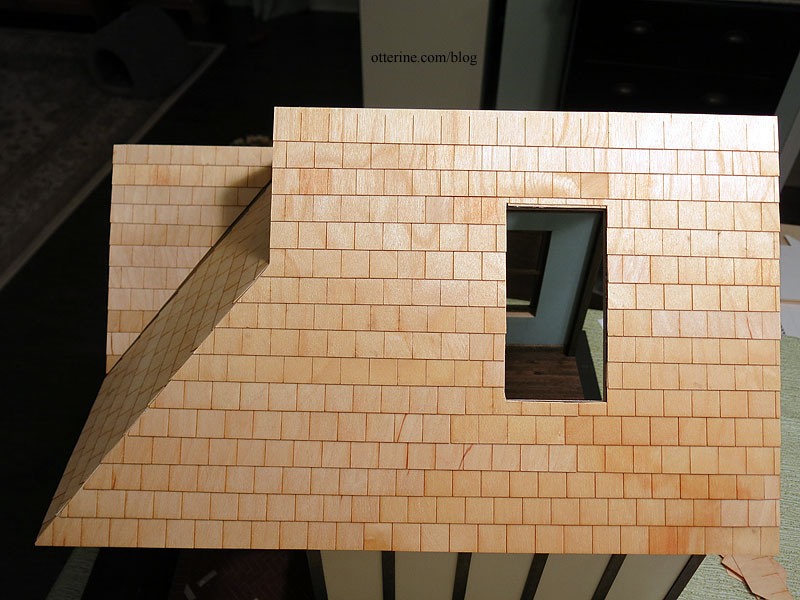
I ran out of Quick Grip and switched to Shoe Goo since that was all I had on hand and I didn’t want to run to the store. It’s thicker than Quick Grip but just as smelly.
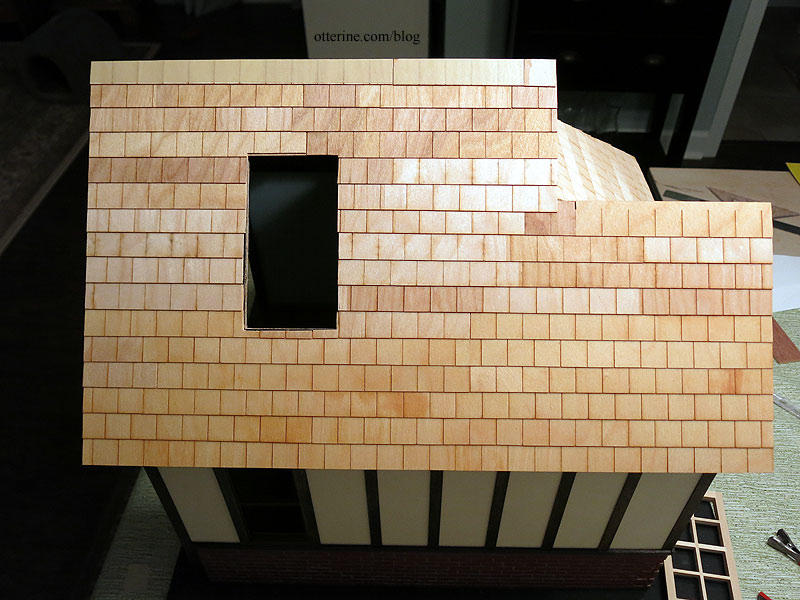
The one thing I didn’t think to do was measure the remaining long edge, so my rows differ in height from the opposite side. The rows are straight and uniform, so it’s not really obvious. Noted for next time.
