
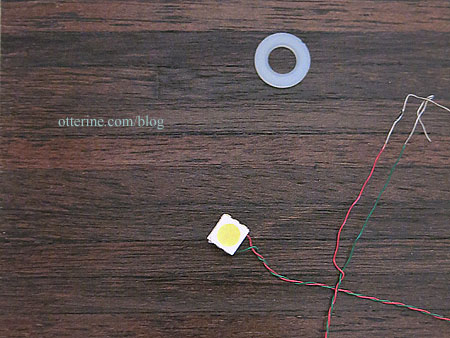
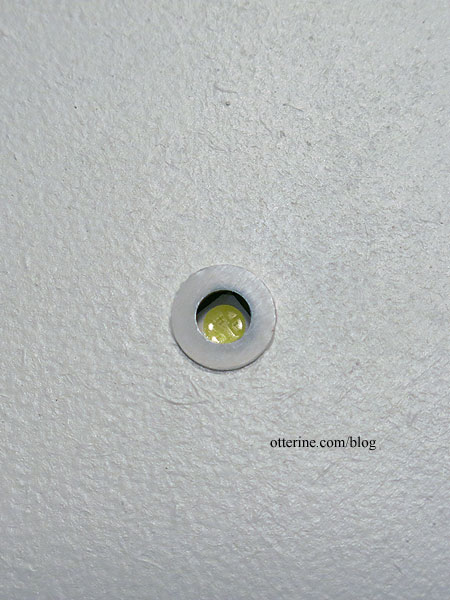
There isn’t a lot of space for lighting now that I’ve cut down the structure, so I’m opting for recessed ceiling lights alone for the interior. I’ve put NovaLyte can lights in past houses, but they require a 3/8″ thick board to sit flush. In this instance, I will fake it with LEDs from Evan Designs and nylon washers.
I am planning eight for the ceiling. It might seem like a lot, but the vaulted ceiling is high above the living space and I want to be sure there is plenty of light. If they are too overwhelming once in place, there are methods for addressing the color and brightness. I will run these wires along the roof to the enclosed gable and down through the small front room to the landscaping board. They won’t be easily replaceable, so let’s hope they last a long time. Hence, the reason to use long-lasting LEDs.
I will add two new old stock ceiling light kits by Illinois Hobbycraft to the front alcove as well. As you can see, I had some flooring issues. I’m finishing a patch for the flooring separately.
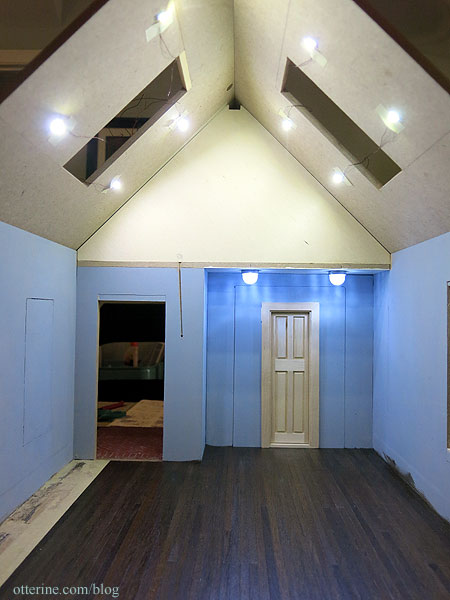
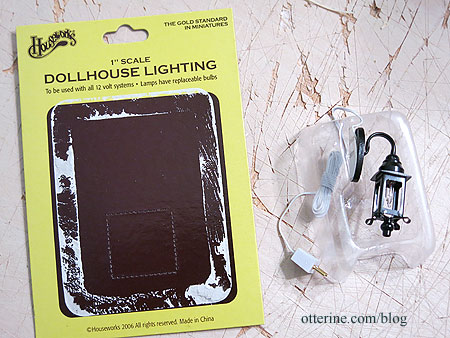
The only other light I have in mind right now is the front porch light, which will be a coach lamp.
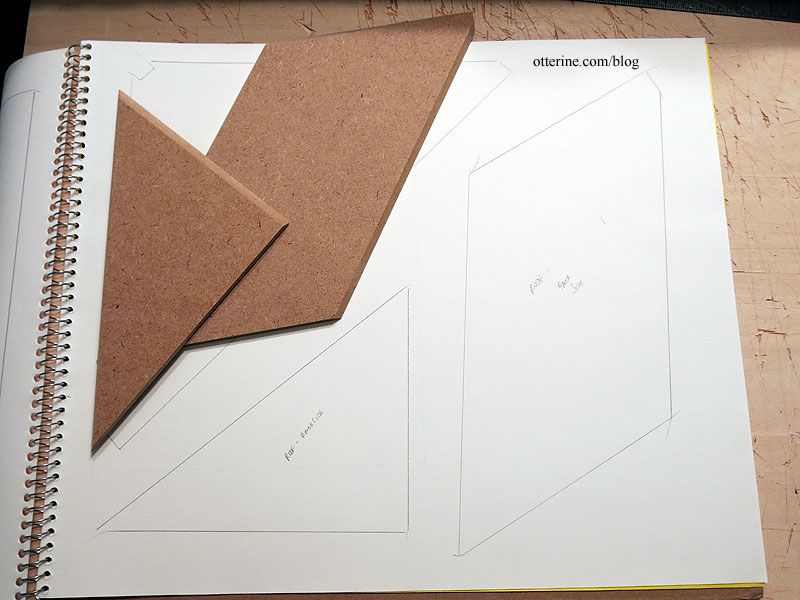
I had a long weekend taking some vacation days, so I got some extra work done. With the structure out of dry fit, I could start tackling the roof. First up was making templates of all the roof pieces onto drawing paper. This will make for easier shingling later.
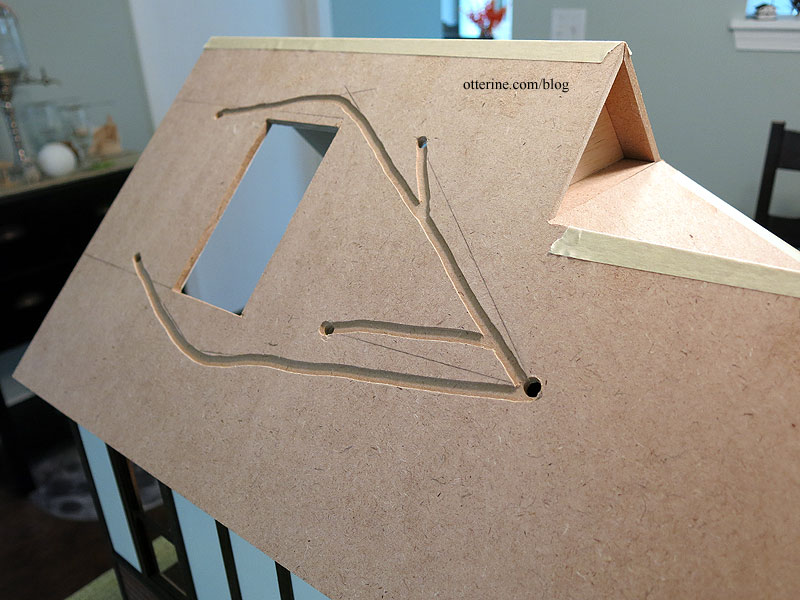
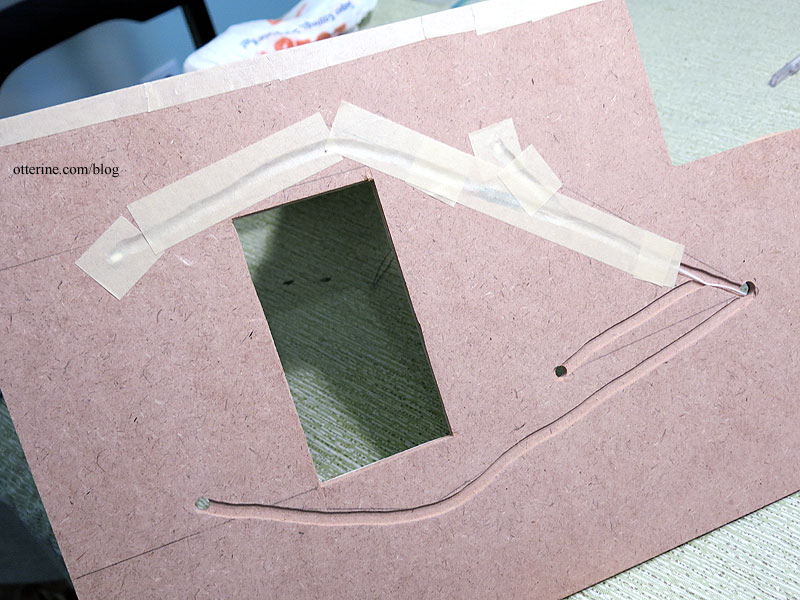
I then made my wiring channels for the recessed ceiling lights using a Dremel Trio. After, I taped the two roof boards while flat, added glue and then folded the boards. I used my carpenter’s square and a triangle to hold the boards in position while the glue dried. I left the tape in place on the exterior for stability and will remove it once I’ve installed the board onto the structure. The two smaller roof boards are still in dry fit.
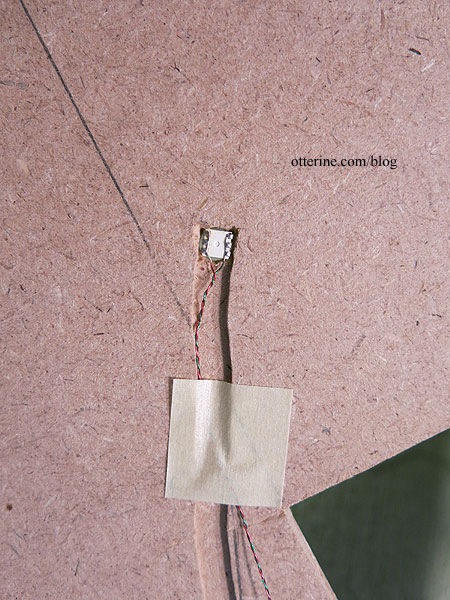
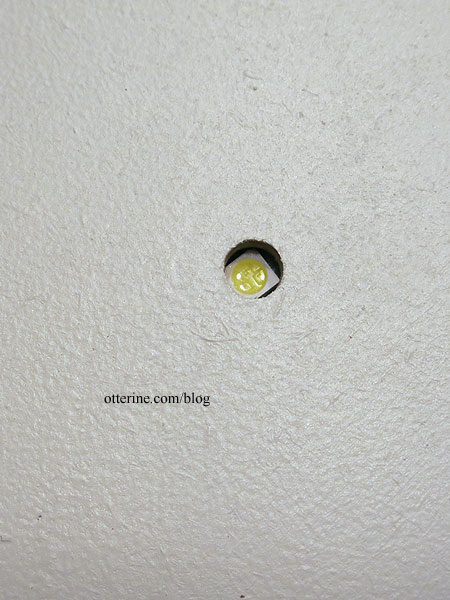
I installed the LEDs in the ceiling on the roof side.
I taped over the channels on the outside to protect the wires and to keep them in place.
On the inside, I added nylon washers to serve as the recessed light rings.
I previously marked where the walls would need to connect, then painted the interior and eaves White Birch by Americana, using the same stucco stippling effect from the outside. I had a little trouble covering the joins where I filled in the one board, but it’s not very noticeable. The eaves should be a nice contrast with the dark chocolate trims.
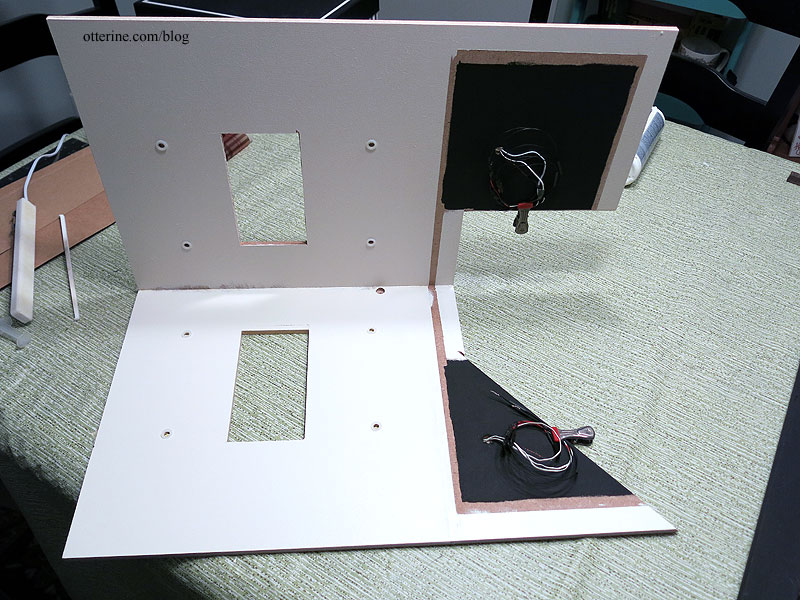
I painted the front gable portion black. You can also see the wiring for the ceiling lights curled and clamped for later work.
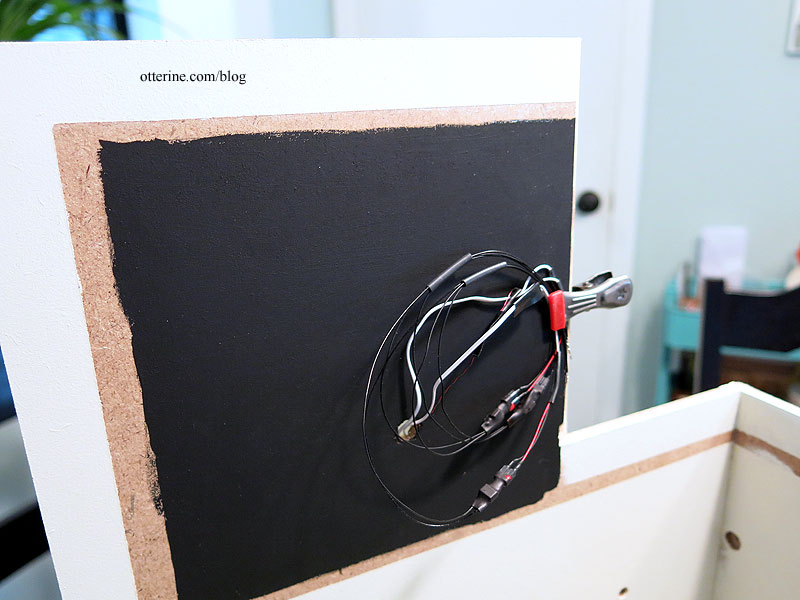
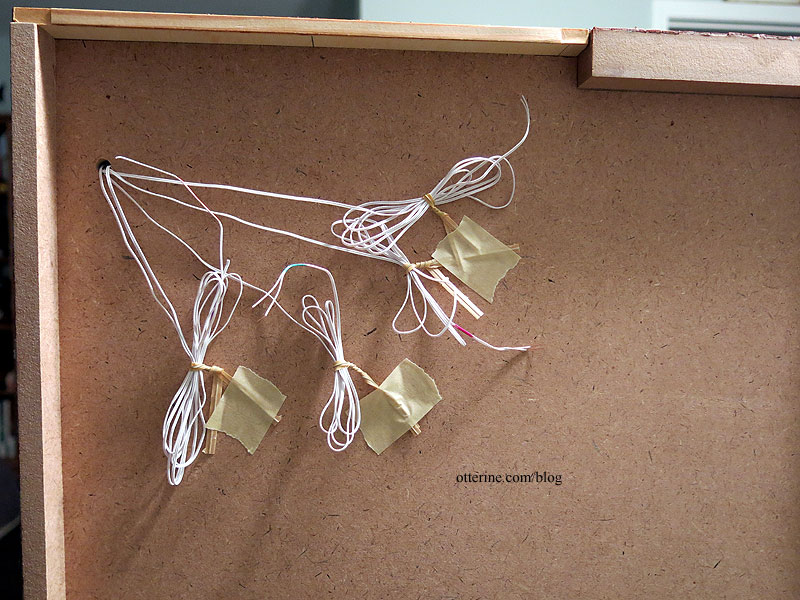
I have some of the wires that will extend to the power strip in place. These have been bundled under the structure for later use when I attach the building to the landscaping board.
I’ve painted the exterior of the roof black to move on to the next steps.


